
Last update February 18, 2005
*** Click here to check the Crests and Magic in on Shadow Hearts II (31/May/05)
*** Click here to check the translated stuffs on Shadow Hearts II (Spoiler free) (18/Feb/05)
*** Click here to check the general stuffs on Shadow Hearts II (Spoiler free) (27/Jun/05)
*** Click here to check the English script of Shadow Hearts II (Spoilers) (8/Jun/05)
*** Click here to check the Shadow Hearts Series Image Gallery
| Seq | Location | Lead Char. | Purpose |
| 1 | Tower of Apoina (Apoina Tower) |
Nicholas (Nicolai) | Get Yadorigi (Holy Mistletoe) |
| 2 | Domremy Village (Domremy) |
Kallen (Karin) | Fight Uru (Yuri) |
| 3 | Ardennes Forest | Uru (Yuri) | Escape from Nicholas (Nicolai) and gang |
| 4 | Paris (Worn out apartment of Geppetto) (Geppetto's Apartment) |
Uru (Yuri) | Escape and find ways to Wales |
| 5 | Paris (Montmartre) | Uru (Yuri) | Same as above |
| 6 | Paris (Champs Elysees) | Uru (Yuri) | Talk to the designer of the Sub-way train system |
| 7 | Paris (Ruin of the Sub-way train system) | Uru (Yuri) | Go to Le Havre |
| 8 | Le Havre | Uru (Yuri) | Find way to go to Wales |
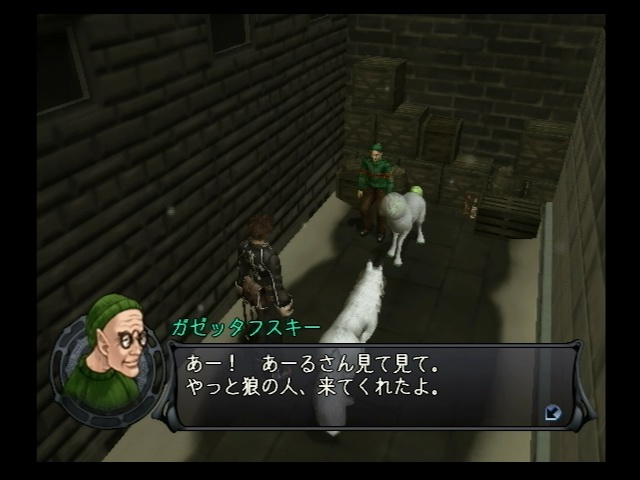
| 9 | Wine Cellar | Joachim | Rescue the kids |
| 10 | Southampton (Port of Southampton) |
Uru (Yuri) | Find way to go to Wales |
| 11 | Abandoned mine of Ronda (Rhondda Mine) |
Uru (Yuri) | Same as above |
| 12 | Wales | Uru (Yuri) | Find Roger Bacon |
| 13 | Firenze (Florence) | Uru (Yuri) | Find Carla/Lucia |
| 14 | Isla Man Mariala (Manmariana Island) |
Uru (Yuri) | Distracted path by Carla/Lucia |
| 15 | Firenze (Florence) | Uru (Yuri) | Find way to rescue Roger Bacon |
| 16 | Italy branch of Group SG (SG Italian Branch HQ) |
Uru (Yuri) | Find Roger Bacon |
| 17 | Wales (Underground ruin of Neam) (Neam Ruins) |
Uru (Yuri) | Get Emigre Manuscript |
| 18 | Cannes | Uru (Yuri) | Find way to go to the prison |
| 19 | Iles Sainte Marguerite (St.Marguerite Island) |
Uru/Blanc (Yuri/Blanca) |
Find Roger Bacon |
| 20 | Cannes | Uru (Yuri) | Prepare to go back to Wales |
| 21 | Wales | Uru (Yuri) | Flight to Petrograd |
| 22 | Petrograd (Hermitage) | Anastasia | Find way to leave the Hermitage |
| 23 | Petrograd (Hermitage/Streets) | Anastasia/ Uru (Yuri) |
Rasputin |
| 24 | Gully of Goreme (Goreme Valley) |
Uru (Yuri) | Acquire Amon |
| 25 | Petrograd (Corridor of the dead) (Gallery of the Dead) |
Uru (Yuri) | Find way to go into the Hermitage |
| 26 | Petrograd (Hermitage) | Uru (Yuri) | Fight Rasputin |
| 27 | Idar Flamme | Uru (Yuri) | Fight Rasputin |
| 28 | Tower of Apoina (Apoina Tower) |
Uru (Yuri) | Fight Nicholas (Nicolai) |
| 29 | Yokohama Brick Warehouses | Blanc (Blanca)/ Kurando |
Save Kawashima and co. |
| 30 | Yokohama Brick Warehouses | Uru (Yuri) | Find Blanc |
| 31 | Yokohama Streets | Uru (Yuri) | Find Blanc |
| 32 | Battleship Mikasa | Uru (Yuri)/ Kurando |
Save Yoshiko Kawashima |
| 33 | Imperial Capital (Toudou's research lab) (Hojo Research Lab) |
Ouka | Pass the tests |
| 34 | Yokohama Streets | Uru (Yuri) | Find Kawashima and co. |
| 35 | Yokohama (Foreigner's Cementery) | Uru (Yuri) | Save Kawashima and co. |
| 36 | Imperial Capital (Kawashima's place) | Uru (Yuri) | Meet with Naniwa Kawashima |
| 37 | Imperial Capital (Nihonbashi) | Joachim | Meet Gran Gama and other members |
| 38 | Imperial Capital (Nihonbashi) | Uru (Yuri)/ Ouka & co. |
Fight the monsters derived from Nicholas (Nicolai) |
| 39 | Imperial Capital (Toudou's research lab) (Hojo Research Lab) |
Uru (Yuri) | Find Nicholas (Nicolai). Escape from the Lab |
| 40 | Imperial Capital (Nihonbashi) | Uru (Yuri) | Meet other members and Roger Bacon |
| 41 | Forest of Wind | Uru (Yuri) | Go to Inugami Village |
| 42 | Inugami Village | Kurando | Talk with Saki at the cave |
| 43 | Immortal Mountain (Mt. Fuji) | Uru (Yuri) | Beat Nicholas (Nicolai) (Astaroth) |
| 44 | Yokohama (Foreigner's Cementery) | Uru (Yuri) | Talk to Kato |
| 45 | Azabu Kurayamizaka (Azabu Kamiyashiki) |
Uru (Yuri) | Beat Ishimura |
| 46 | Queen's Garden | Uru (Yuri) | Get Moon Crystal |
| 47 | Wales | Uru (Yuri) | Try reviving an important person |
| 48 | Inugami Village | Uru (Yuri) | Talk to Saki about the location of Kato |
| 49 | Asuka Stone Platform | Uru (Yuri) | Final Dungeon the Vessel |
Note: Better be after the last dungeon appeared, simply enter the last dungeon and left to explore the hidden ones.
1. Tiffauges Castle
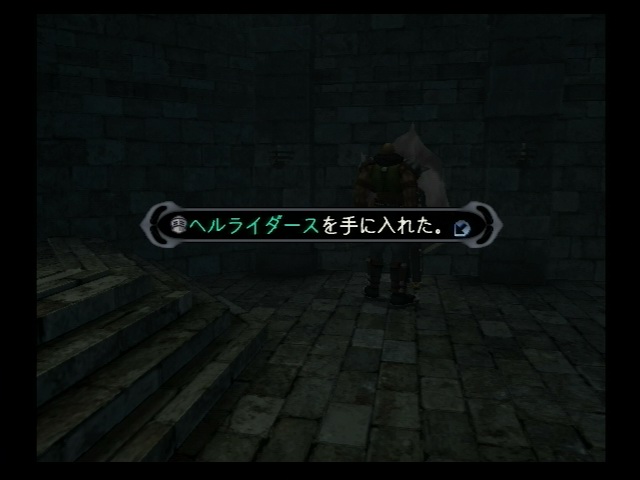
- Beat the boss and get Neo Amon
- Beat the 3rd last wolf and get the stamp
- After you have Amon, talk to a fat man at Firenze/Florence
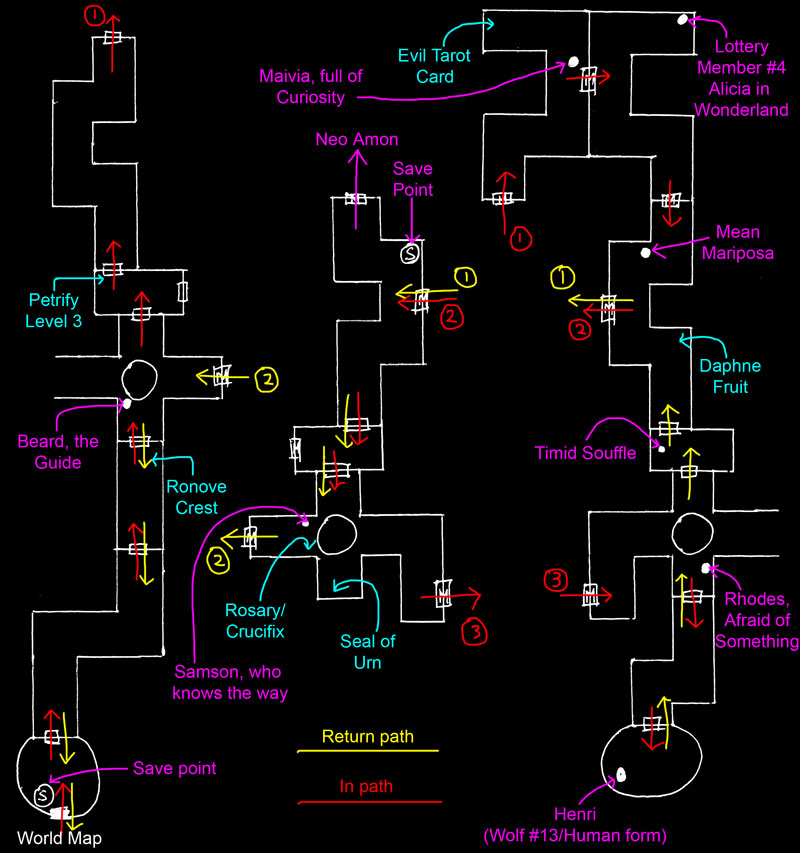
- Click here for the maps section which has my hand drawn map of the castle
2. Doll House
- Beat the boss and get the ultimate weapon for Geppetto
- Talk to this man at Yokohama streets
3. Dog Shrine
- Beat the boss and get the ultimate weapon for Kurando
- Trigger the event to get the ultimate fusion for Kurando
- You must have all grade 3 fusions, Amon and Neo Amon, level them up to acquire all skills
- Talk to Saki and a new place will be unlocked, finish that dungeon and go back to Saki to trigger one more event
- Click here to check the way to solve the Dog Shrine puzzle
4. Schwarzwald (Black Forest)
- Beat the boss and get the ultimate Aroma oil
- Talk to the drunk at Joachim's place at Le Havre
- Click here to check the solution to the flower quest
5. 2nd visit to Underground ruin of Neam (Neam Ruins)
- Get Shanghai Heaven, Hieroglyphics and Eternal Key
- Beat and snap the boss and get the ultimate Album entry for Anastasia
- Talk to Roger at Wales and Anastasia will assume the lead role
- Click here to check the video walkthrough of 2nd visit to Neam Ruins
6. Fort of Regrets at Iles Sainte Marguerite (St.Marguerite Island)
- Finish the requests of the ghosts and you will get Joachim's ultimate weapon and Kallen's ultimate weapon
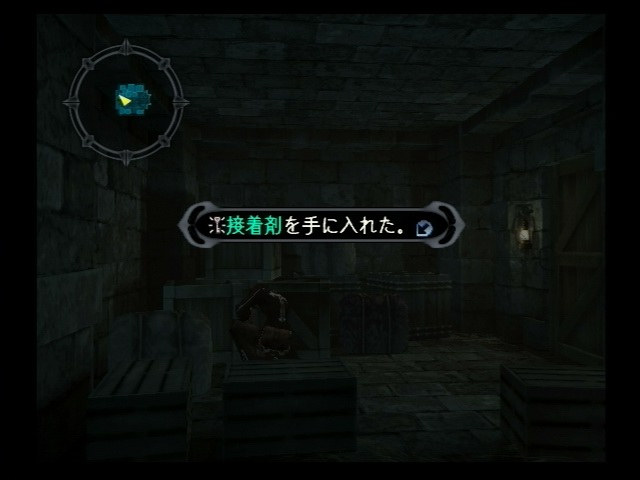
- Check the store room (where you get the adhesive) at the Iles Sainte Marguerite (St.Marguerite Island)
- Click here to check the solution to the ghosts requests
7. Gran Gama's Tower of the Holy Ring
- You will jump to Floor 89 after beating Floors 1-26
- Complete all the levels and you'll get the ultimate mask for Joachim
- Simply keep talking to Gama at Nihonbashi will do
*** Added since it is quite an FAQ ***
Continue from a cleared save, you keep the followings (if you have them) in the next game
- All crests
- Fusion souls and their grade and levels (Uru/Yuri & Kurando)
- Album (Anastasia)
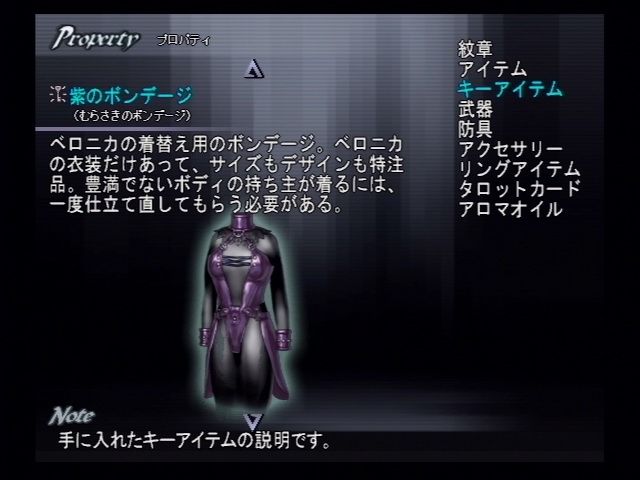
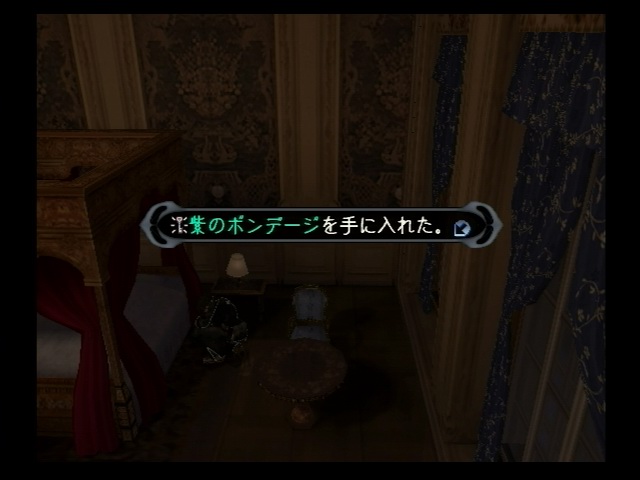
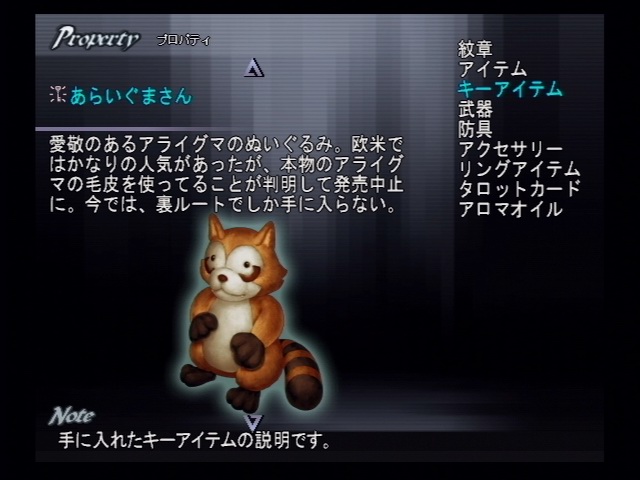
- Raccoon Friend, Purple Bondage, Stud Cards, Cornelia's dresses and the associated magic skills
- Monsters and Characters in the Library
- Special Accessories (Autumn Kimono, Bride's Dress, Dating Outfit, White Underpants, Black Underpants)
- Score
27 MBytes, 320x240 29.97fps, 384Kbps WMV9, zipped to prevent direct playing
32 MBytes, 480x360 29.97fps, 448Kbps WMV9, zipped to prevent direct playing
Bigger English version with acquisitions of all the items at lower levels
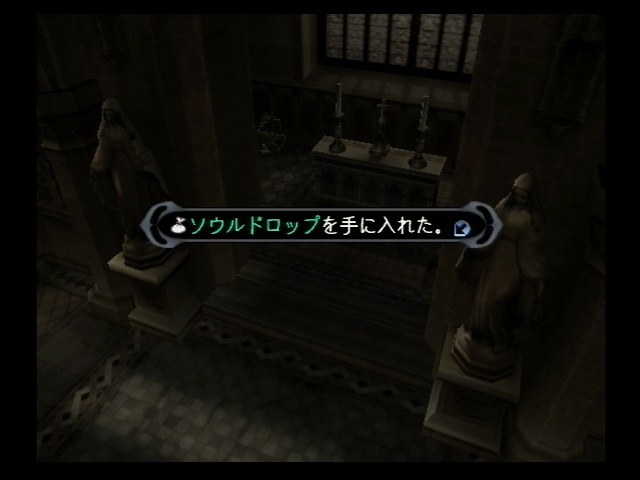
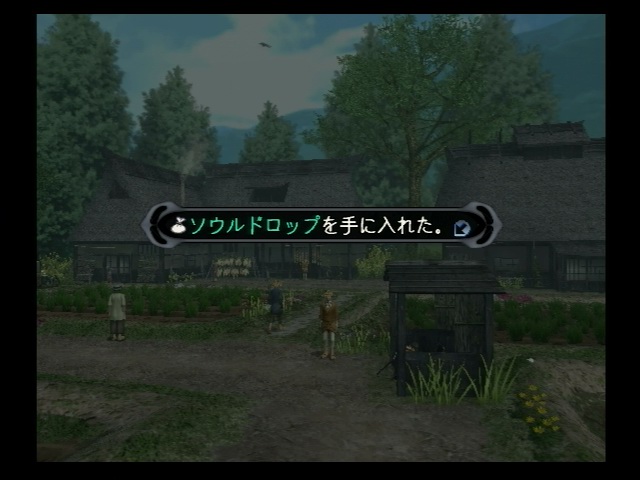
1. At the church in Domremy, behind the altar - click here to see the picture
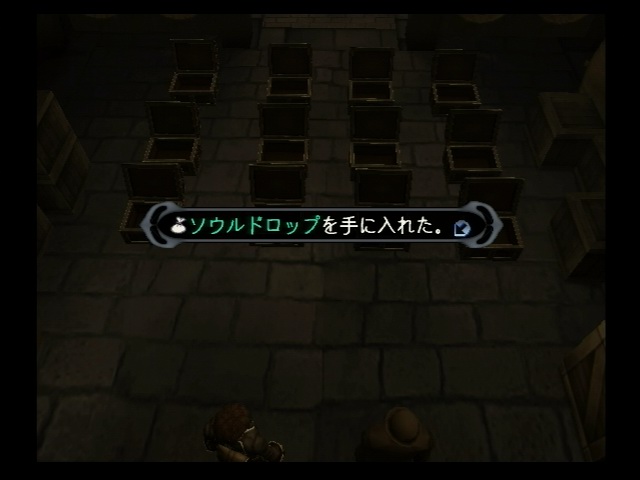
2. Anxiety (Lucky Boxes) Level 2 at Wine Cellar (only after Idar Flamme was cleared) - click here to see the picture
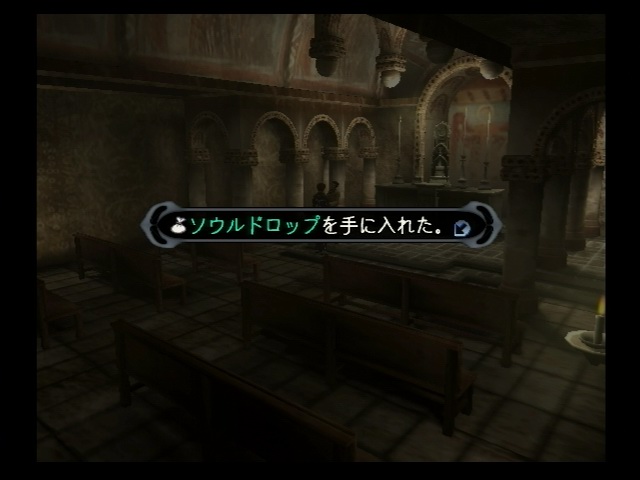
3. From Lawrence (Thomas) at Gully of Goreme (Goreme Valley) - click here to see the picture
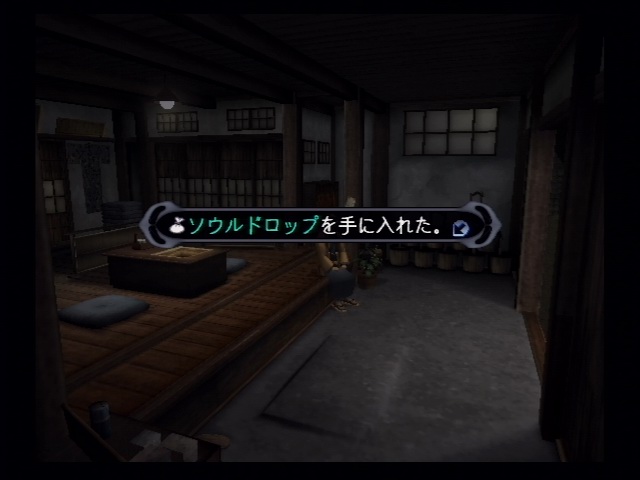
4. Yokohama Inn (Kawashima's place) at Yokohama Streets - click here to see the picture
5. The small hut at the entrance of Inugami Village - click here to see the picture
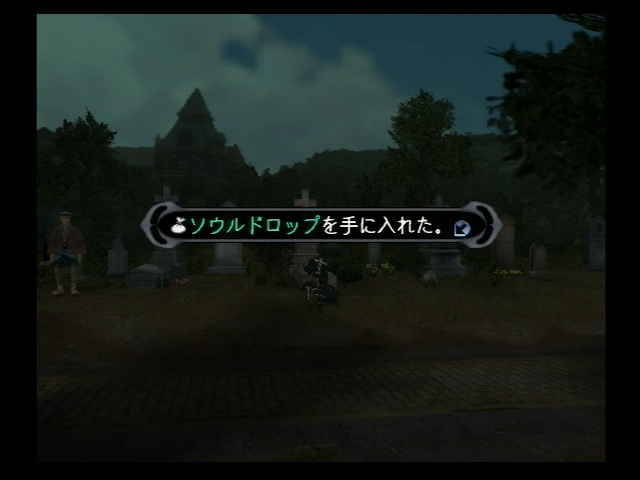
6. Foreigner's Cementery at Yokohama - click here to see the picture
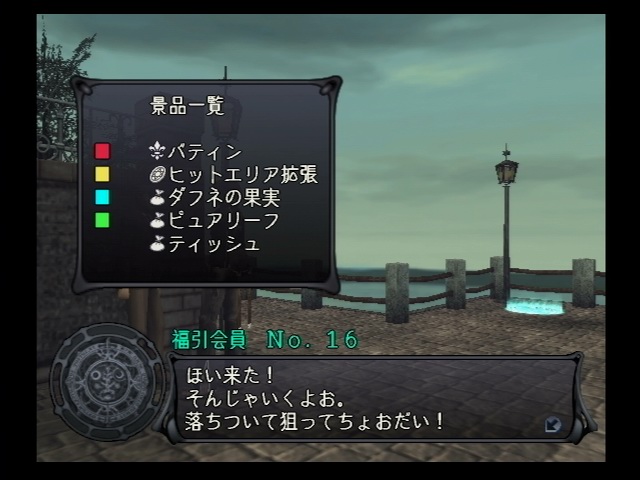
16. A man (Fox, a Lottery Member) near the save point at Le Havre - click here to see the picture
- Bathin Crest, Hit Area Expand, Daphne Fruit, Pure Leaf, Tissues
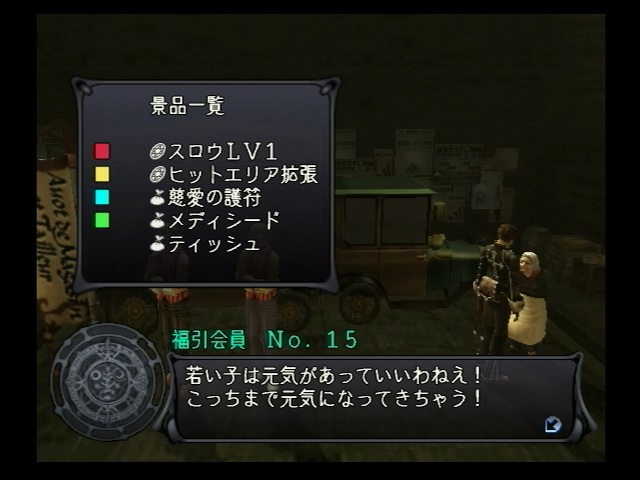
15. A women (Gossip-monger Maureen) near Mazymell brothers at Southampton (Port of Southampton) - click here to see the picture
- Slow Level 1, Hit Area Expand, Talisman of Mercy, Thera Seed, Tissues
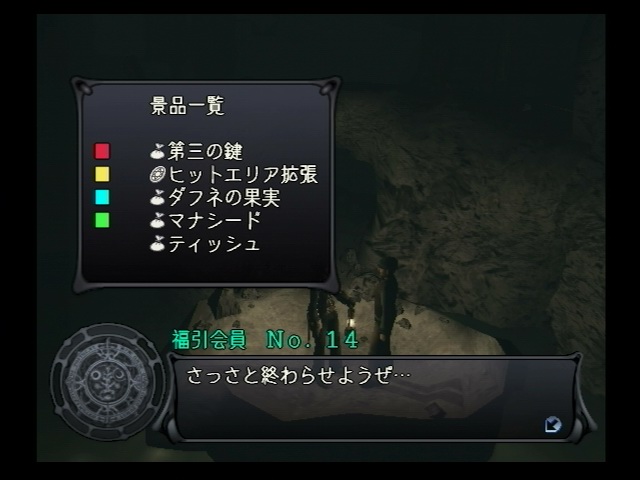
14. A man (Anthony, Weary of People) at 2nd lowest level of Abandoned mine of Ronda (Rhondda Mines) - click here to see the picture
- Third Key, Hit Area Expand, Daphne Fruit, Mana Seed, Tissues
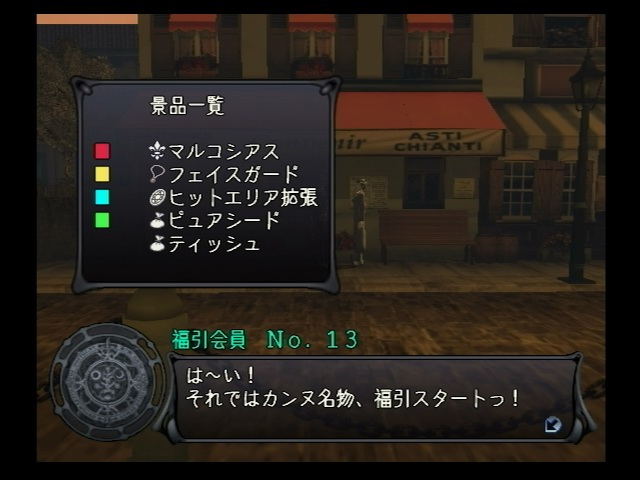
13. Woman (Cannes-born Marivele) near the bar at Cannes - click here to see the picture
- Marchosias Crest, Face Guard, Hit Area Expand, Pure Seed, Tissues
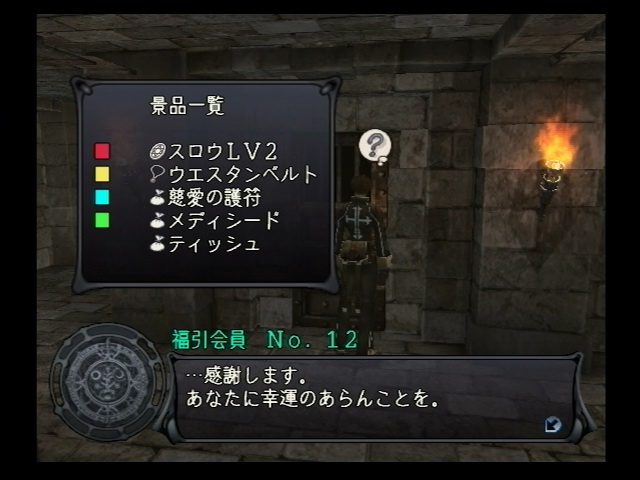
12. One of the prisoners (Panty Thief Thompson) at Iles Saint Marguerite (St. Marguerite Island) - click here to see the picture
- Slow Level 2, Western Belt, Talisman of Mercy, Thera Seed, Tissues
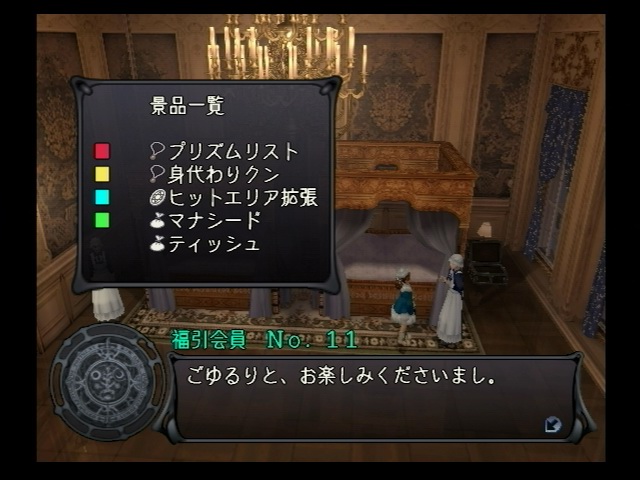
11. A Maid (Natalya, Always Serving People) in the Hermitage at Petrograd - click here to see the picture
- Prism Band, Replacement Man, Hit Area Expand, Mana Seed, Tissues
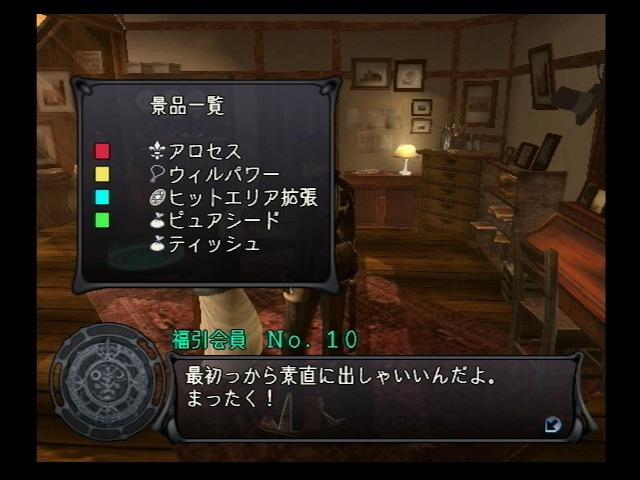
10. A women (Cremins the Landlord) at worn out apartment of Geppetto (Gepetto's Apartment) - click here to see the picture
- Alloces Crest, Will Power, Hit Area Expand, Pure Seed, Tissues
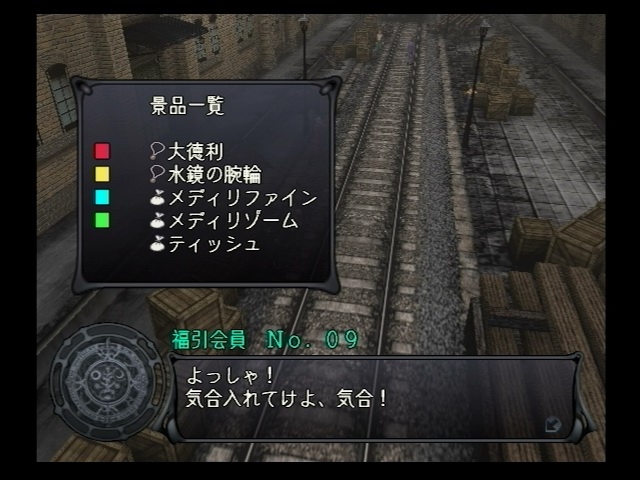
9. A worker (Manual Laborer Murai) at the Brick Warehouses at Yokohama - click here to see the picture
- Huge Jug, Mirror Bracelet, Thera Extract, Thera Root, Tissues
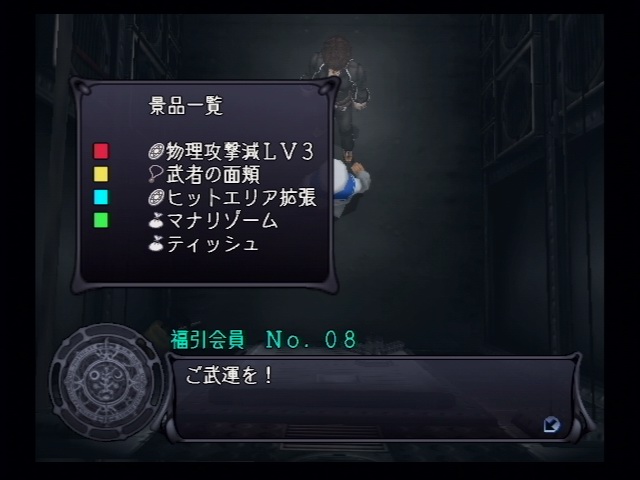
8. A sailor (Watanabe, the Warrant Officer) in Battleship Mikasa at Yokohama (lower level, near the center of the ship) - click here to see the picture
- P-Attack Down Level 3, Kendo Mask, Hit Area Expand, Mana Root, Tissues
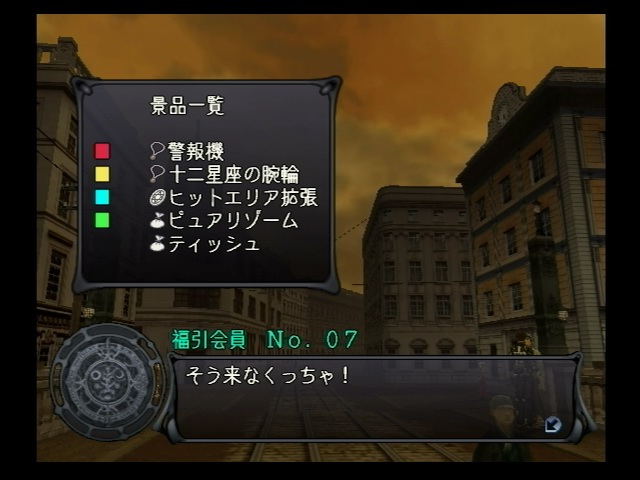
7. The man (Gambling Maniac Kanehira) at the entrance of the Nihonbashi - click here to see the picture
- Warning Device, Zodiac Bracelet, Hit Area Expand, Pure Root, Tissues
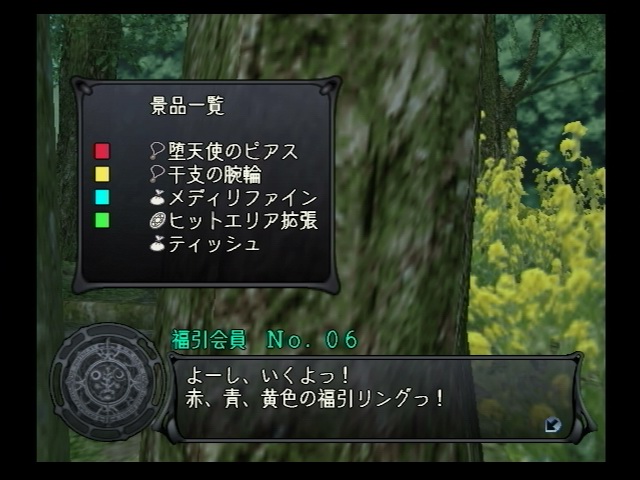
6. The bugs (Samba the Ladybug) on the tree near the save point at Inugami Village - click here to see the picture
- Dark Angel, Cosmic Bracelet, Thera Extract, Hit Area Expand, Tissues
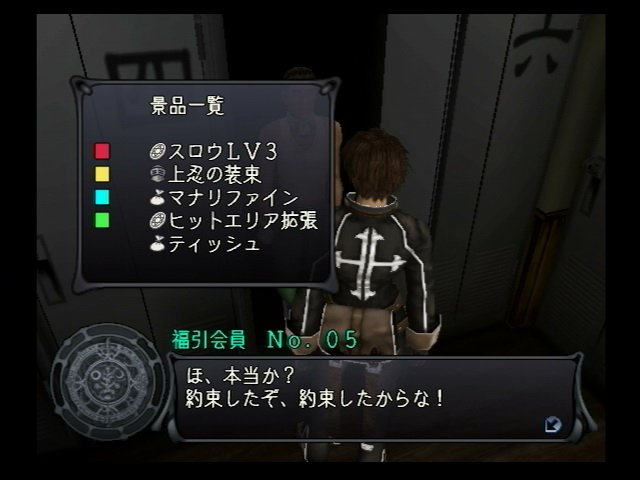
5. The man (Guy Who's Running Away) inside the locker #5 in the store room at Azabu Kamiyashiki - click here to see the picture
- Slow Level 3 , Ninja Gi, Mana Extract, Hit Area Expand, Tissues
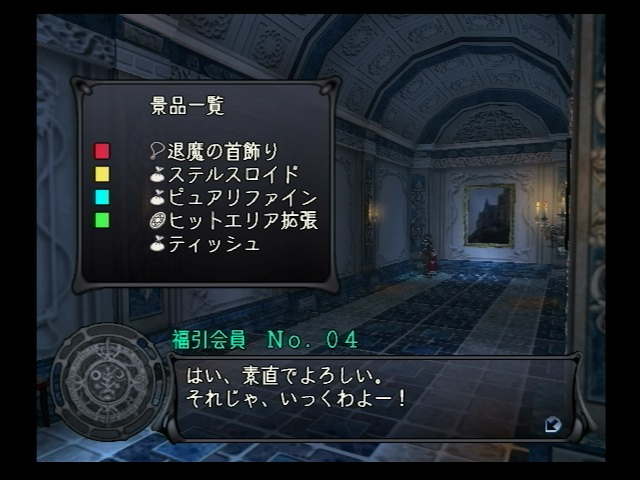
4. A little girl (Alicia in Wonderland) at Tiffauges castle - click here to see the picture
- Demon Ward, Strongoids, Pure Extract, Hit Area Expand, Tissues
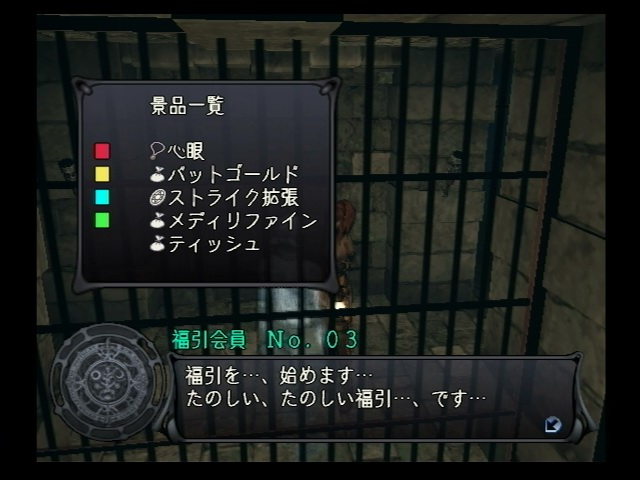
3. A ghost (Bitter Ludwig) at 2nd level of "Fort of Regrets", underground of Iles Saint Marguerite (St. Marguerite Island) - click here to see the picture
*** You can only play
3 times and he disappears, so take your chance ***
- Mind's Eye, Bat's Gold, Strike Expand, Thera Extract, Tissues
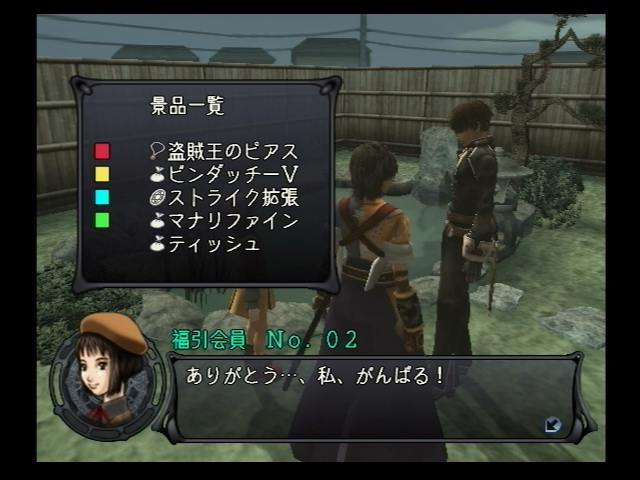
2. Yoshiko Kawashima at Mukyo-An in the Imperial Capital (after meeting with #3-#16) - click here to see the picture
- Thief Earring, Getitup!, Strike Expand, Mana Extract, Tissues
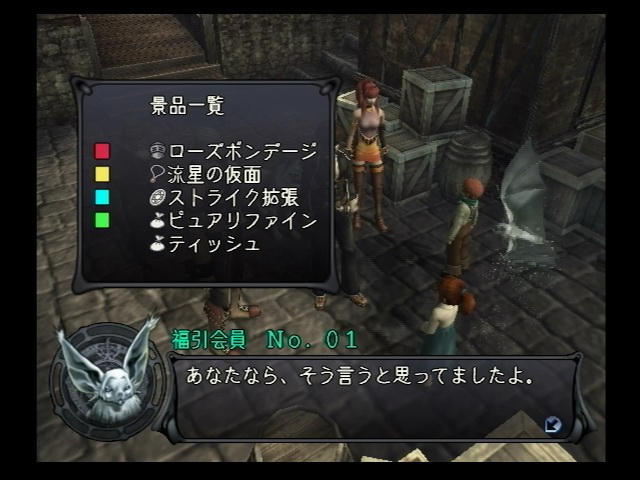
1. The silver bat (Keith from SH1) at Le Havre (after #2 was discovered) - click here to see the picture
- Rose Bondage, Meteor Mask, Strike Expand, Pure Extract, Tissues
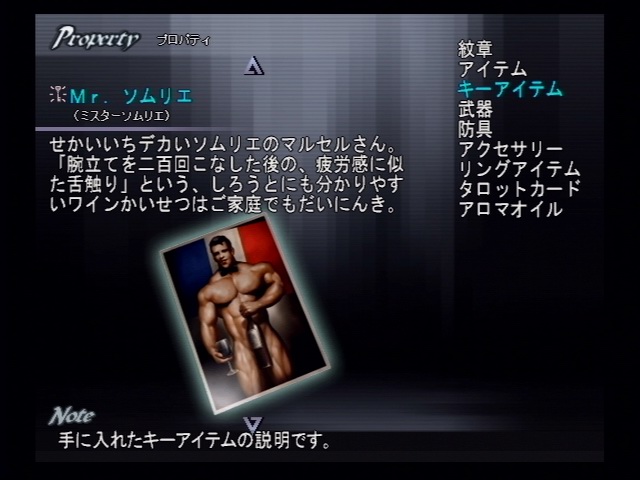
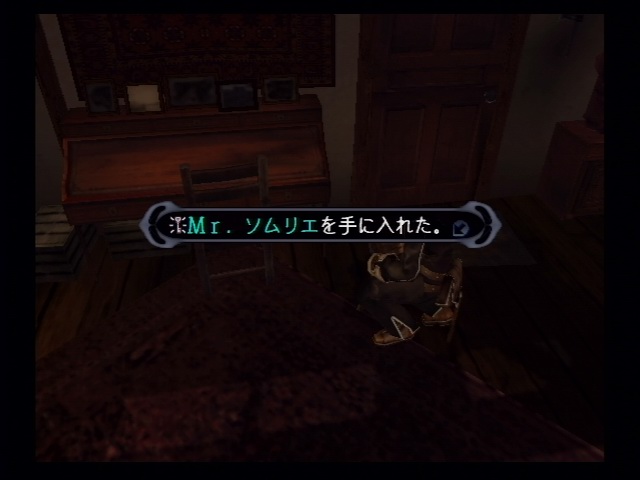
1. Mr. Sommelier at worn out apartment of Geppetto (Gepetto's Apartment) - click here to see the picture
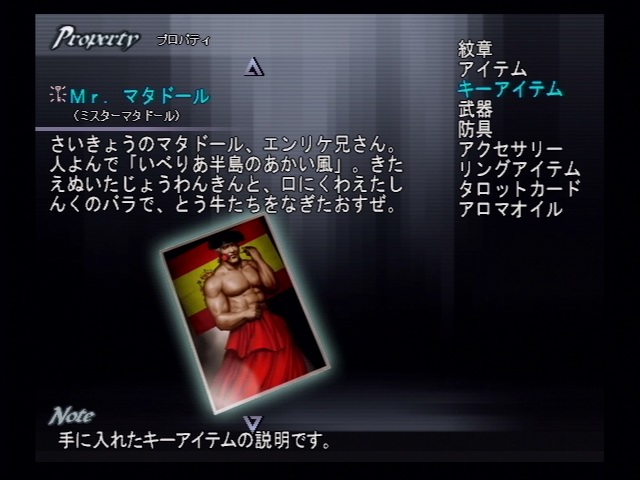
2. Mr. Matador at worn out apartment of Geppetto (Gepetto's Apartment) (with a SH1 save) - click here to see the picture
(or at Firenze/Florence from "Becky, the Artist" if you don't have a save file for SH1)
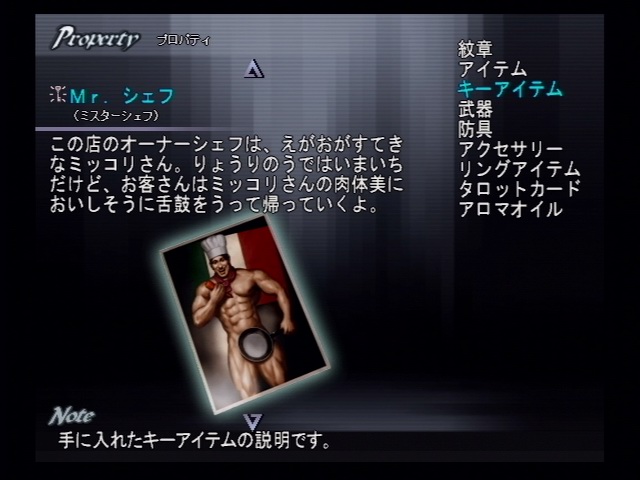
3. Mr. Chef at Wine Cellar (Level 1 of Anxiety/Lucky Boxes) - click here to see the picture
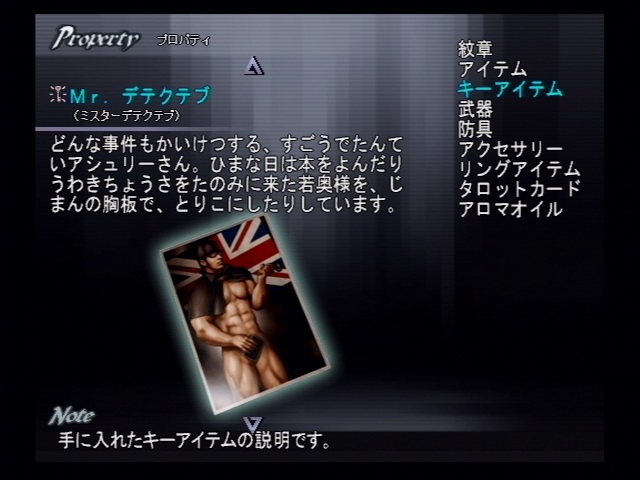
4. Mr. Detective in the hotel at Southampton (Port of Southampton) - click here to see the picture
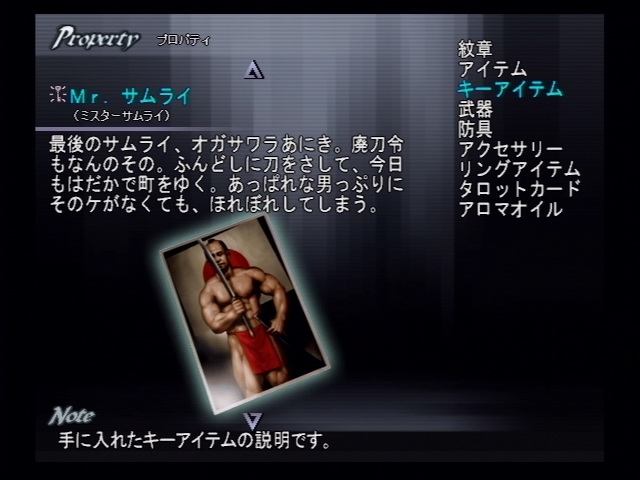
5. Mr. Samurai from a man (Anatol, Giving People the Eye) in the bar at Cannes - click here to see the picture
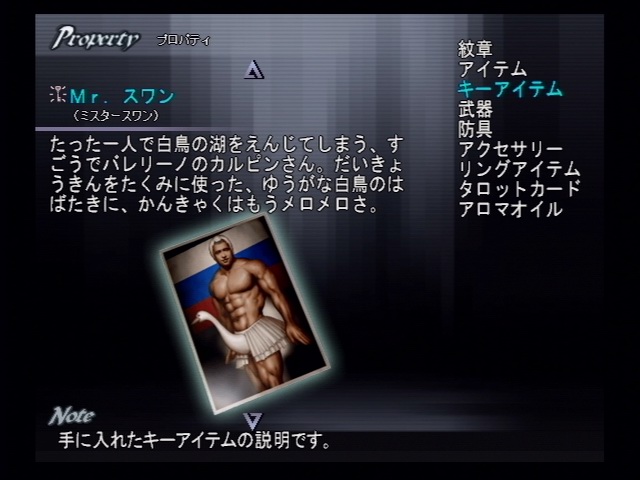
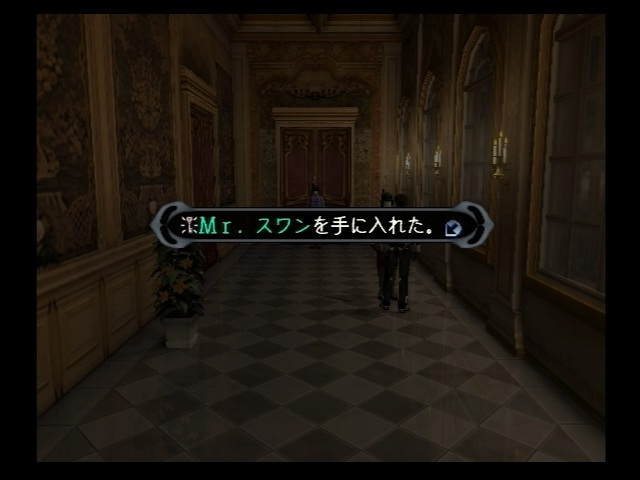
6. Mr. Swan from a guard (Cyril the Guard) in the Hermitage at Petrograd (the hallway where you enter the room of Anastasia) - click here to see the picture
(if you have a save file for SH1 PS2 the best, you will get this at the worn out apartment of Geppetto (Gepetto's Apartment))
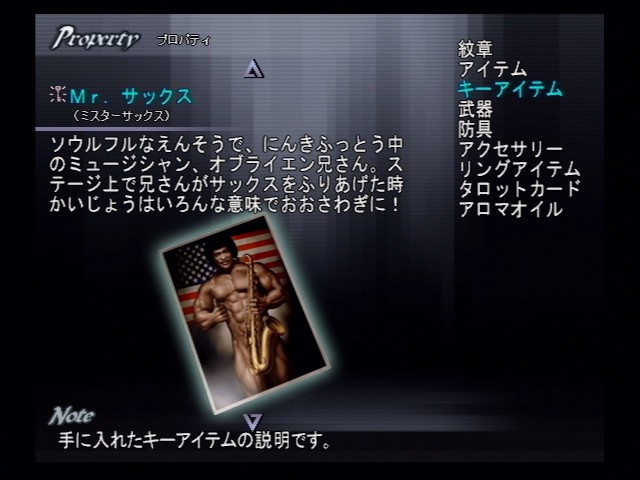
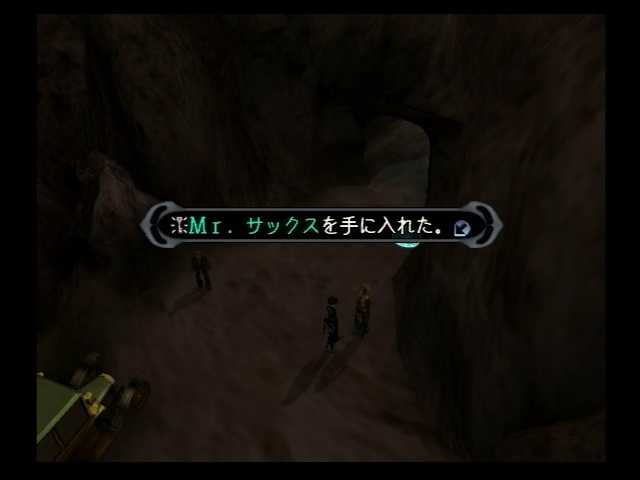
7. Mr. Sax in Gully of Goreme (Goreme Valley) (win from Beginner Level 4 of the Solomon trials) - click here to see the picture
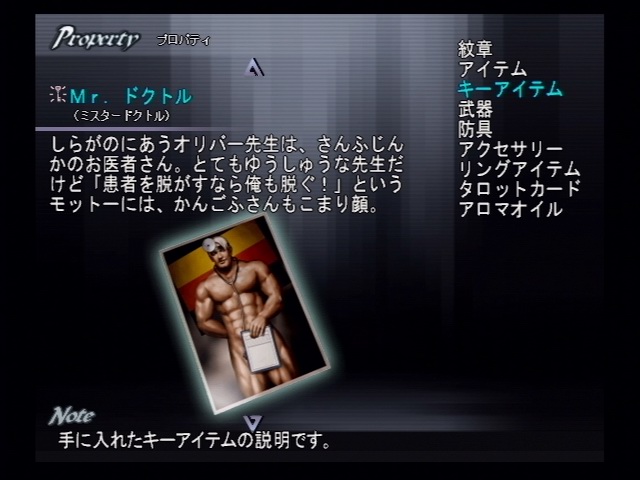
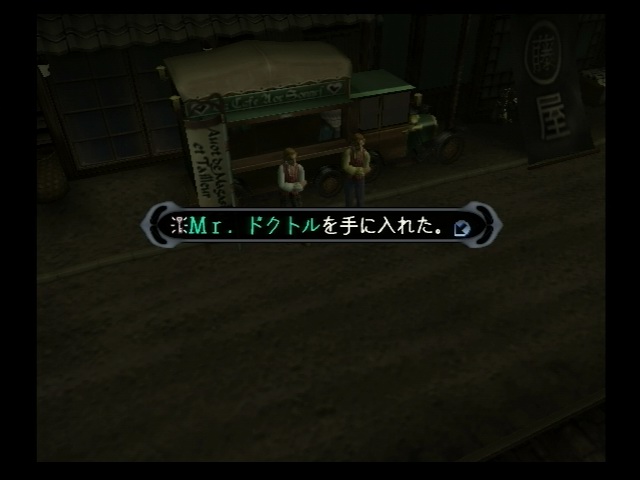
8. Mr. Doctor at Yokohama streets (close to Pierre Magimel) - click here to see the picture
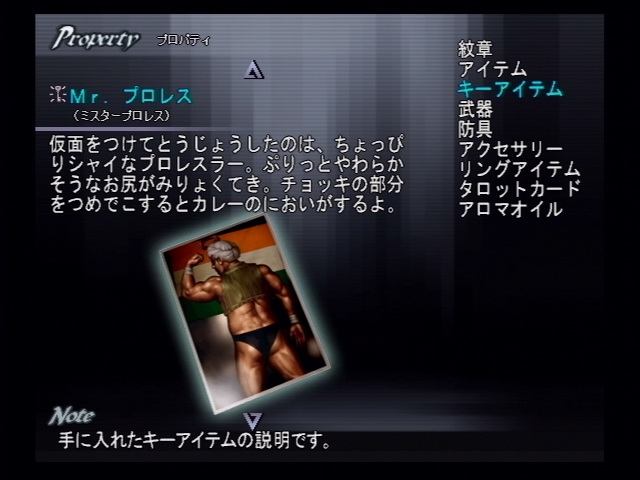
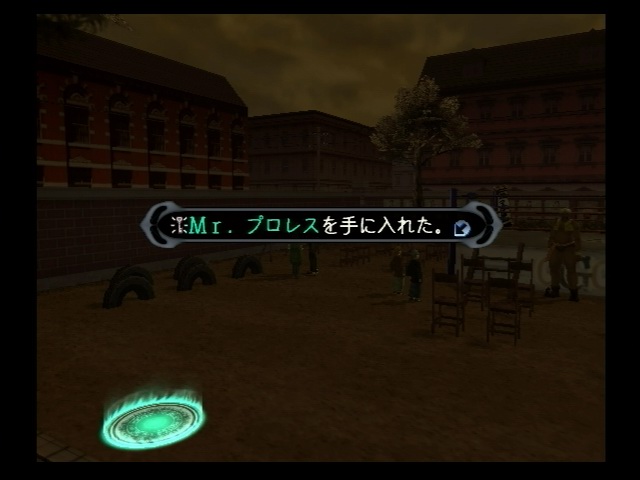
9. Mr. Pro-Wrestling from the man (Woken-up Yamaguchi) near (whom you take the builder quiz) the stage of Gama on the left side at Nihonbashi - click here to see the picture
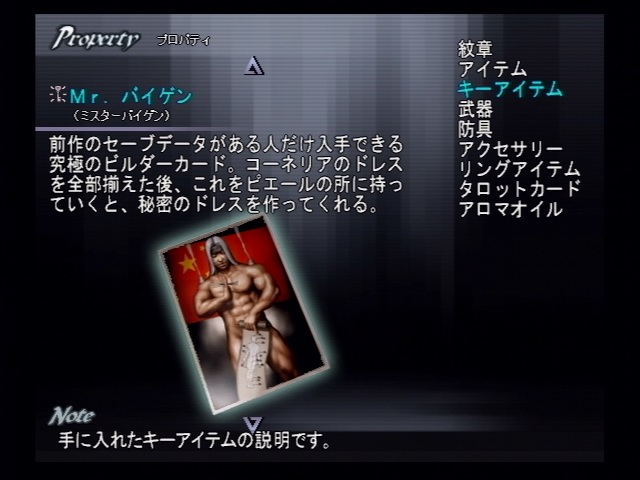
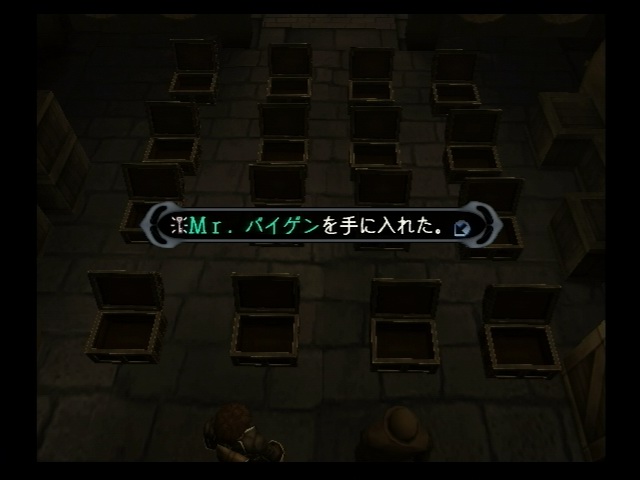
10. Mr. Baigen (Mr. Meiyuan) at Wine Cellar (Level 4 of Lucky Boxes) (require SH1 save) - click here to see the picture
(Not officially available in US version, you can get it by Action Replay Codes, though, but it doesn't get you anything in US version)
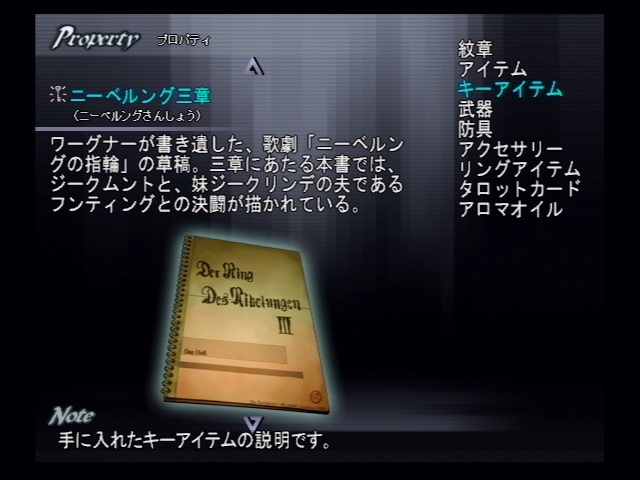
*** The following sequence is re-arranged to reflect the sequence of acquisition ***
*** Except Prelude (1), Volume 9 and Final (10), the others are not character specific, you should check them all to get them ***
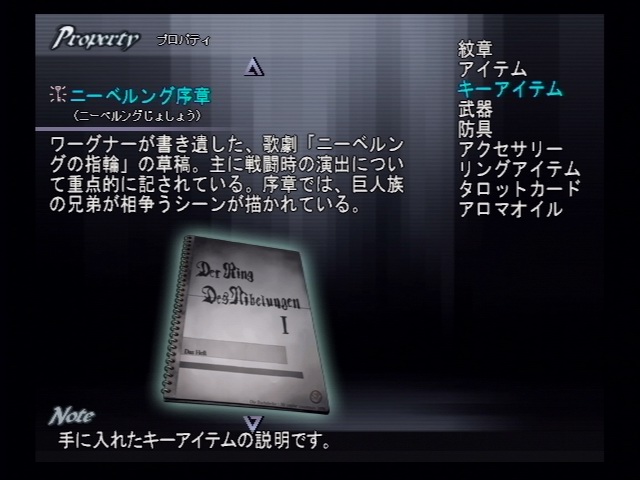
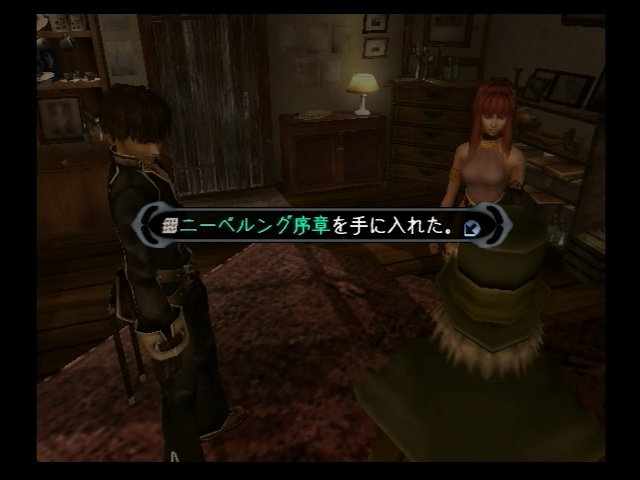
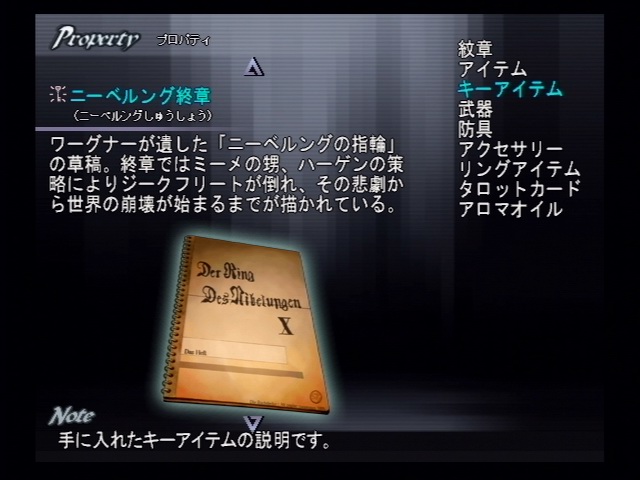
Volume 1 (Prelude) - Given to you by Geppetto in his worn out apartment (Gepetto's Apartment) - click here to see the picture
- Learned Heuervelk
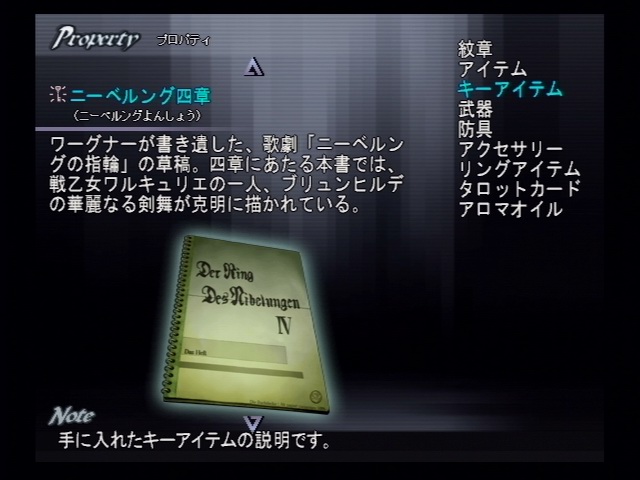
Volume 4 - The man (Sergent Upham, On Vacation) in front of the stairs to the fortress in Southampton (Port of Southampton) - click here to see the picture
- Learned Bullenfogel
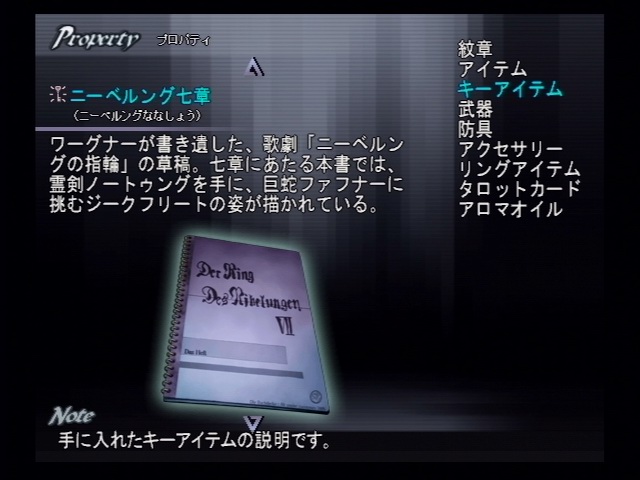
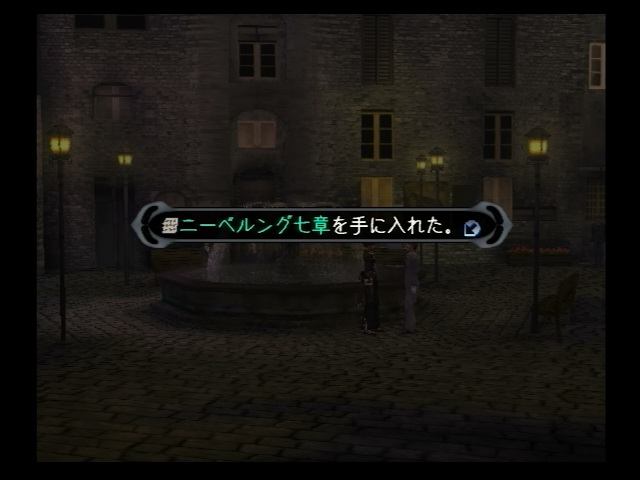
Volume 7 - The man (who has a fortune telling by Lucia) (Jones, the Rich Businessman) near the fountain at Firenze (Florence) - click here to see the picture
- Learned Geuschbenst
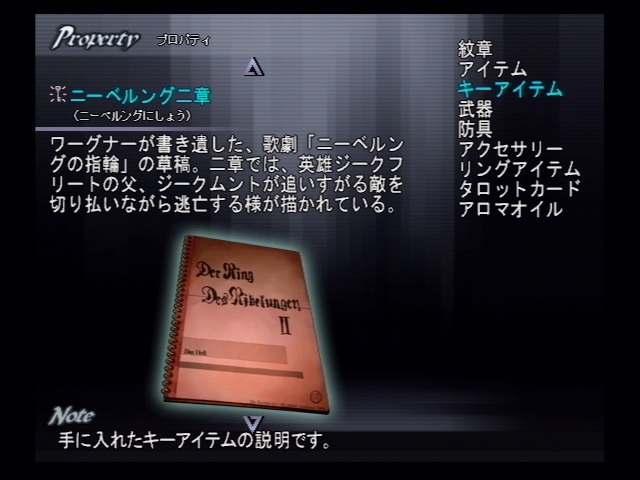
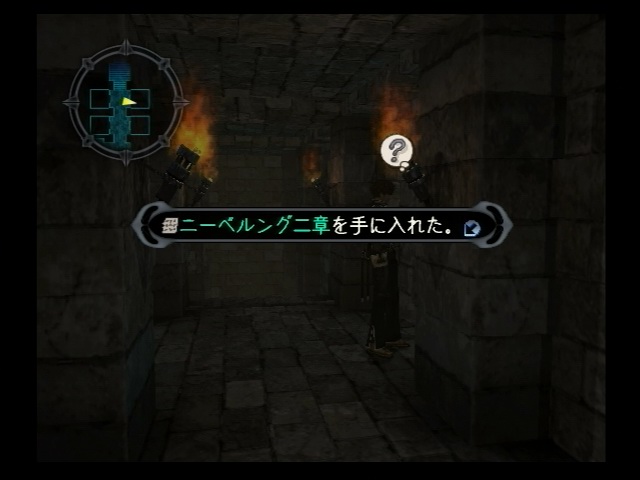
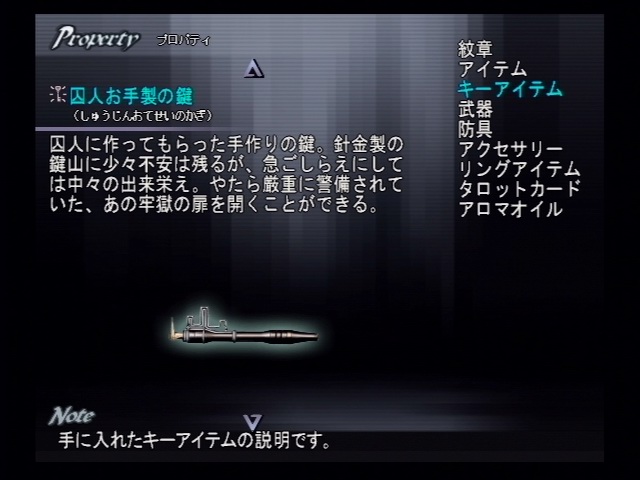
Volume 2 - You get it together with the handmade key in Iles Sainte Marguerite (St. Marguerite Island) prison - click here to see the picture
- Extra Heuervelk power
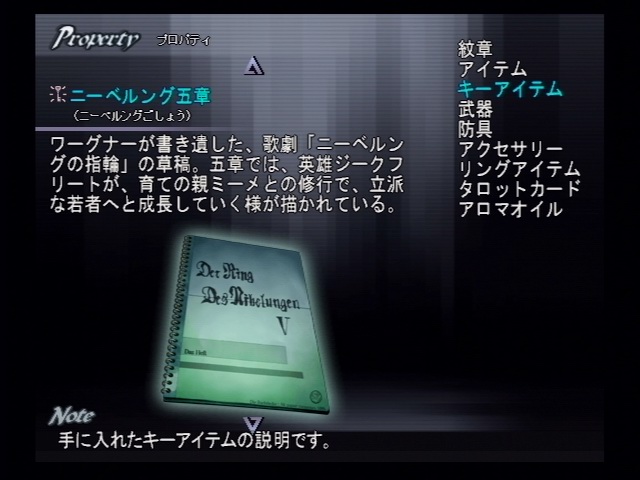
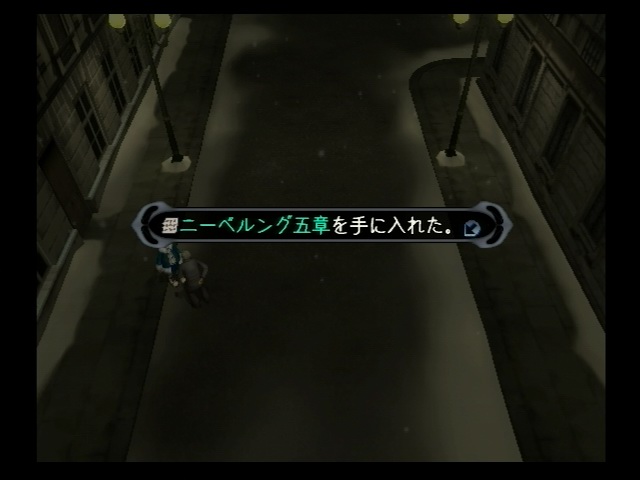
Volume 5 - The old man (Old Boris) at Petrograd (near the bottom of the screen from Edgar's shop to the Hermitage) - click here to see the picture
- Extra Bullenfogel power
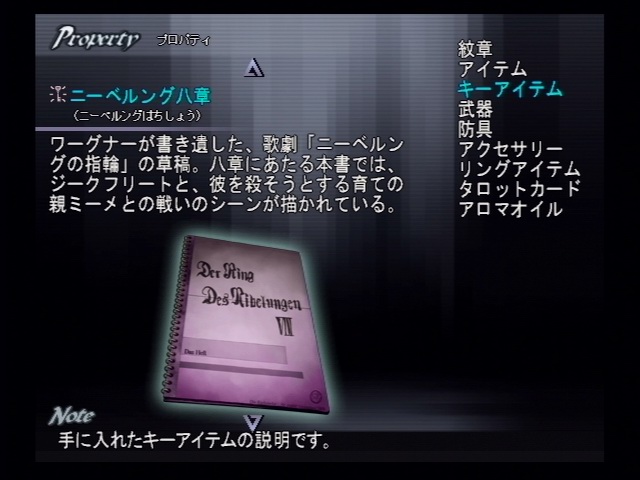
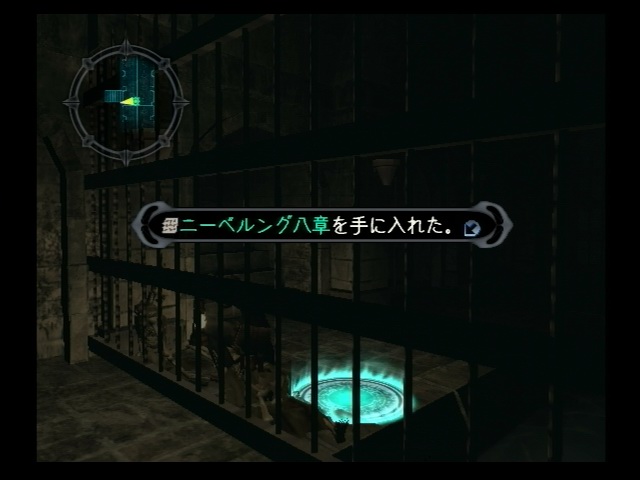
Volume 8 - Near the save point at the Corridor of the Dead (Gallery of the Dead) in Petrograd - click here to see the picture
- Extra Geuschbenst power
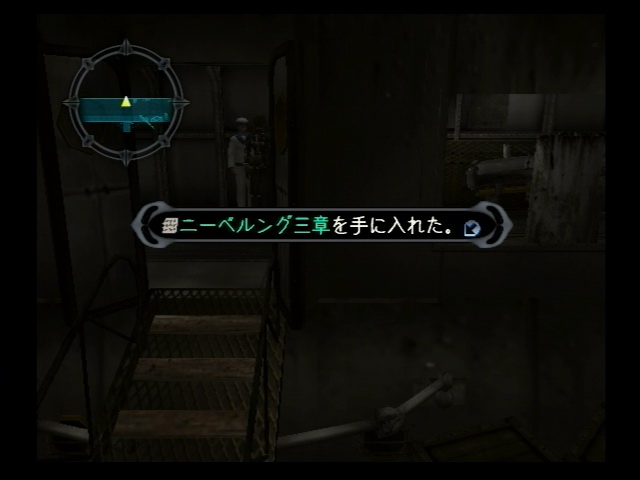
Volume 3 - The sailor (Sukiyama, the With-it Cadet) standing in front of the entrance stairs at Battleship Mikasa - click here to see the picture
- Extra Heuervelk power
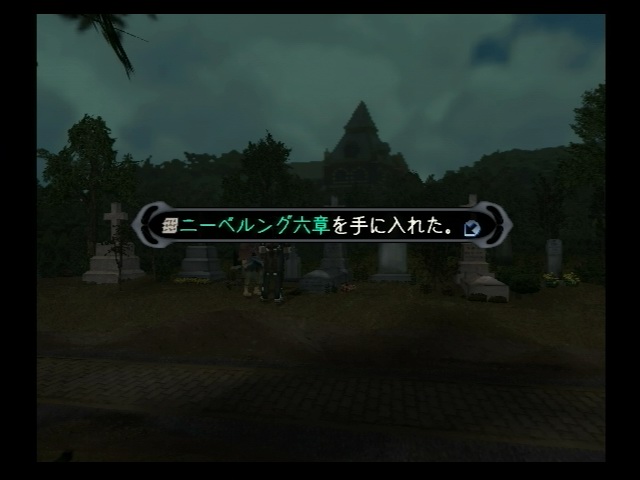
Volume 6 - The man (Azama, Mindful of his Ancestors) at Foreigner's Cementery in Yokohama - click here to see the picture
- Extra Bullenfogel power
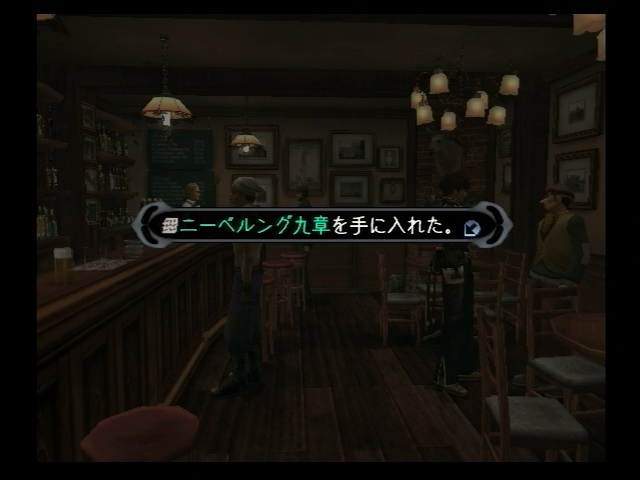
Volume 9 - The drunken man (Sefo, the Rescued Barfly) at the hotel at Southampton (Port of Southampton) - click here to see the picture
(Pre-requisite: you must have all the above 8 volumes)
- Extra Geuschbenst power
Volume 10 (Final) - Queen's Garden, center of the wall behind the altar - click here to see the picture
(Pre-requisite: you must have all the above 9 volumes)
- Learned Sonnestark
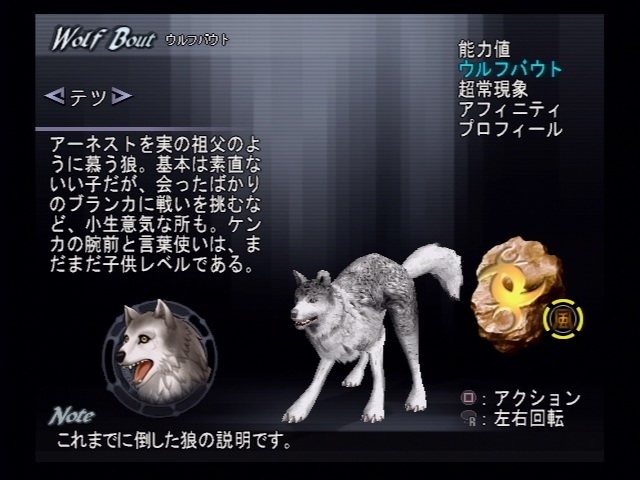
1. Tetsu - Montmartre (Paris)
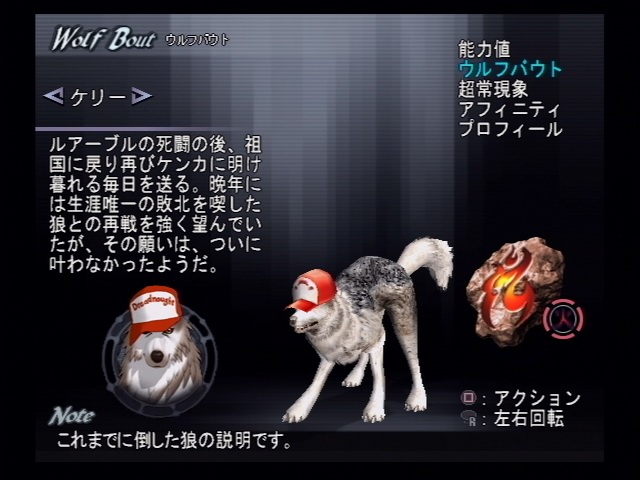
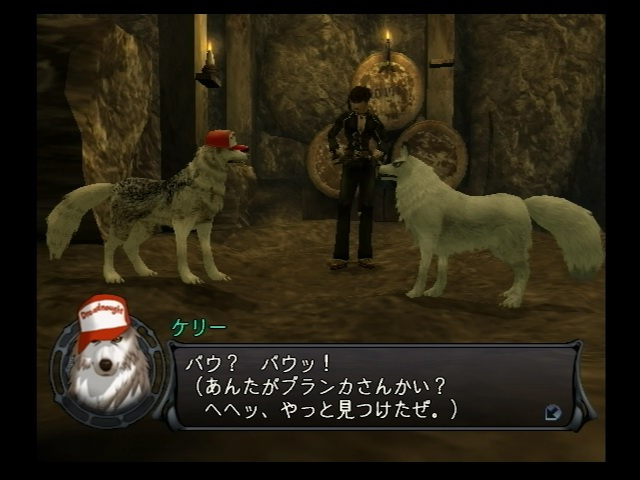
2. Kelly - Wine Cellar - click here to see the picture
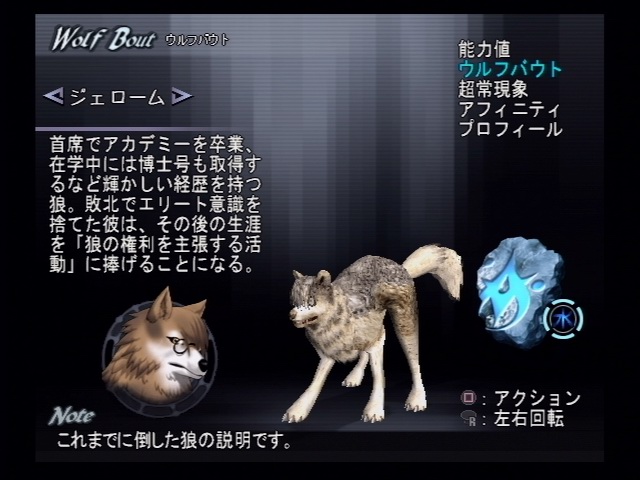
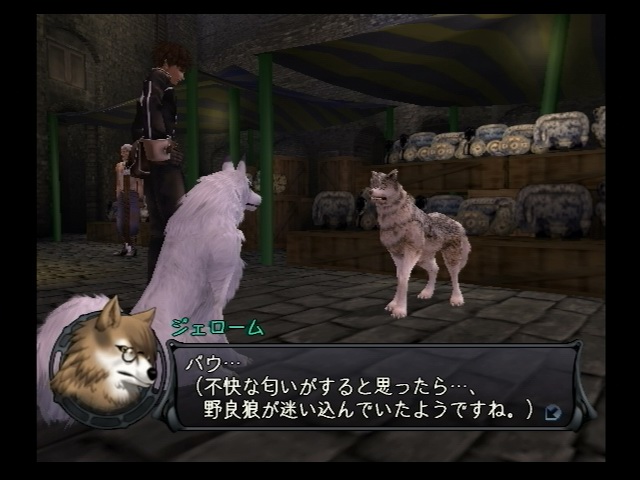
3. Jerome - Firenze (Florence) - click here to see the picture
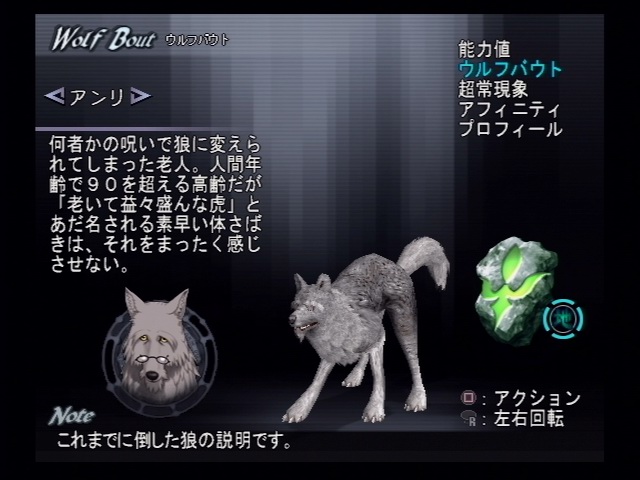
4. Henry (Henri) - Italy branch of group SG (SG Italian Branch HQ) - click here to see the picture
5. R-3 - a corridor in Petrograd - click here to see the picture
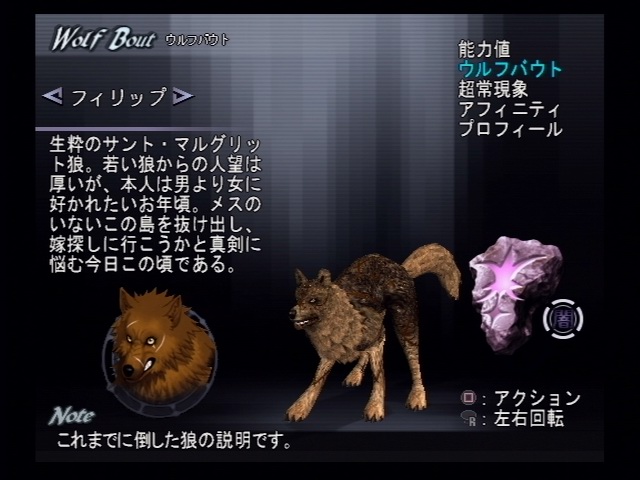
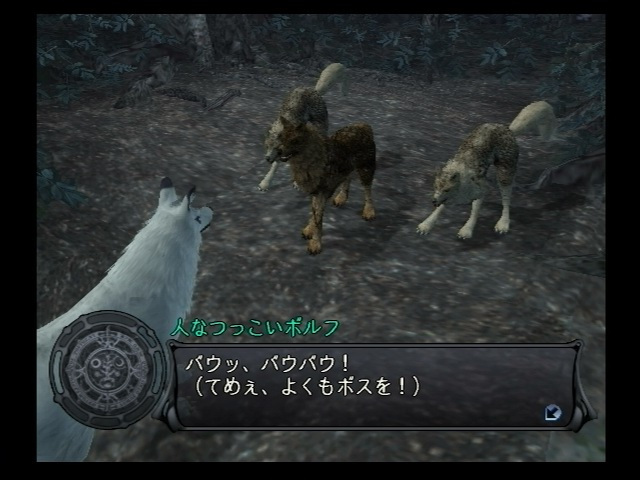
6. Philip - Wolves cave in Iles Saint Marguerite (St. Marguerite Island) - click here to see the picture
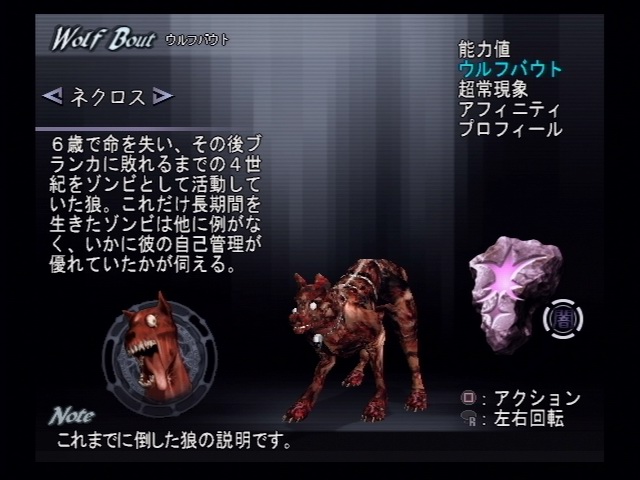
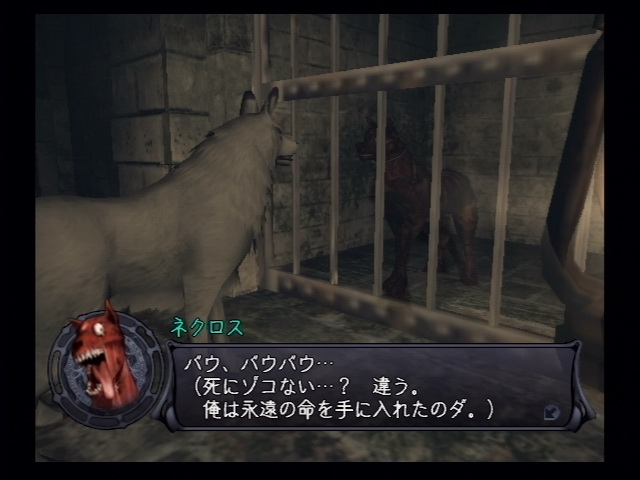
7. Necros - Corridor of the Dead (Petrograd) (Gallery of the Dead) - click here to see the picture
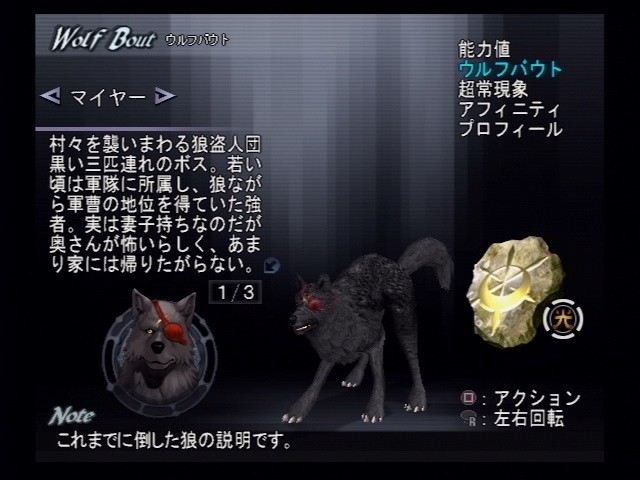
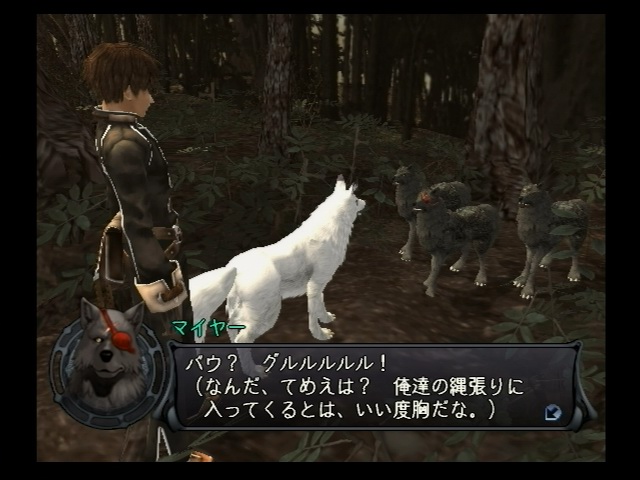
8. Maya - Forest before going into Domremy village - click here to see the picture
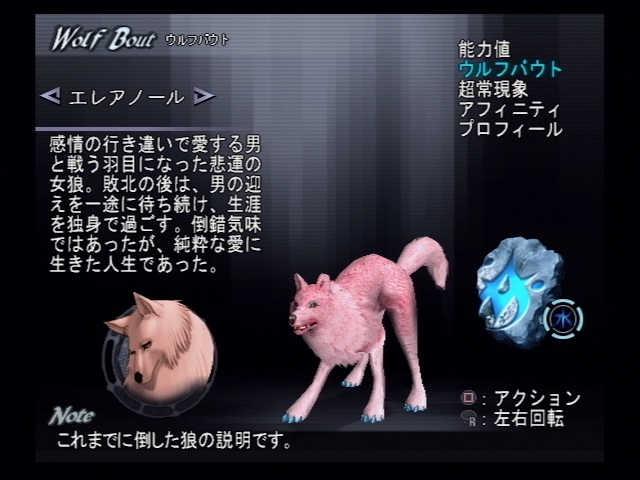
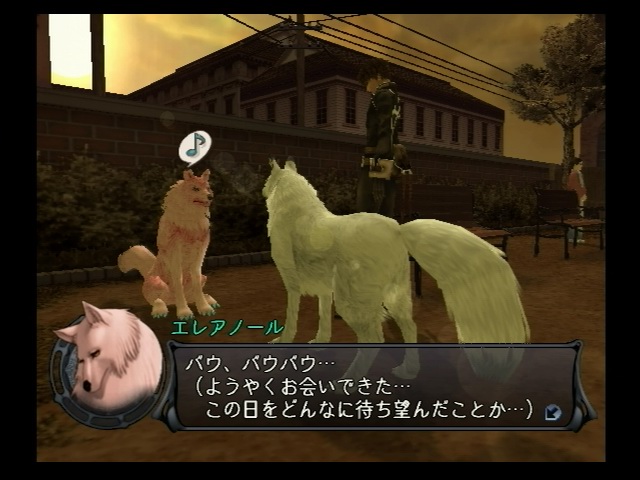
9. Eleanor - A park on the right side of Nihonbashi (Imperial Capital) - click here to see the picture
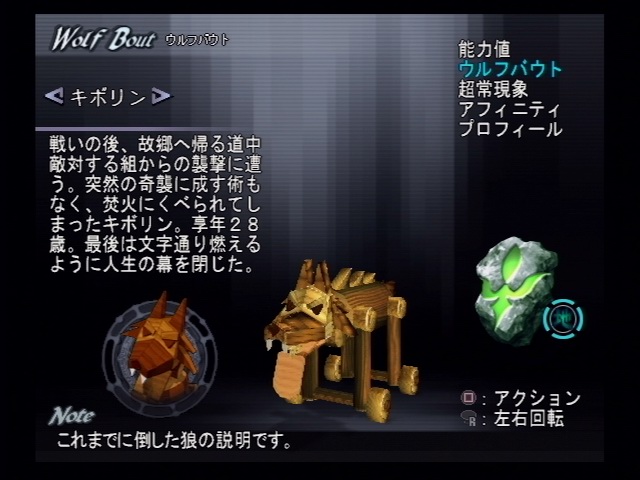
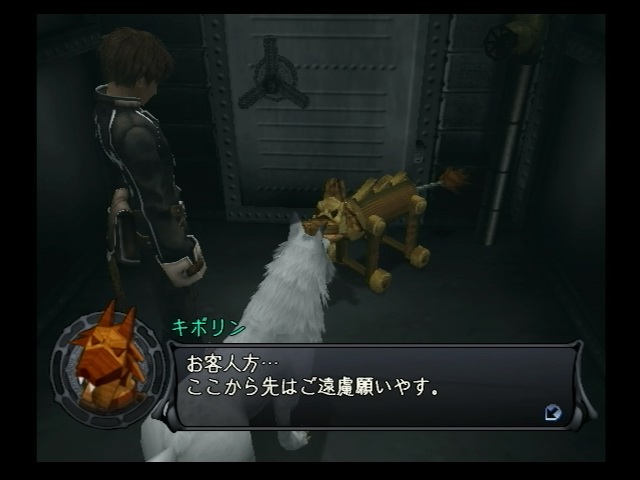
10. Kiborin (Carven) - Center part of Battleship Mikasa (Yokohama), upper level - click here to see the picture
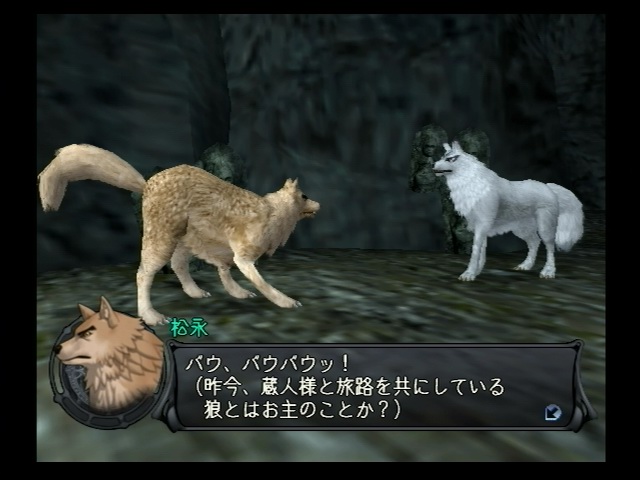
11. Matsunaga - Fountain of Sukune at Inugami Village - click here to see the picture
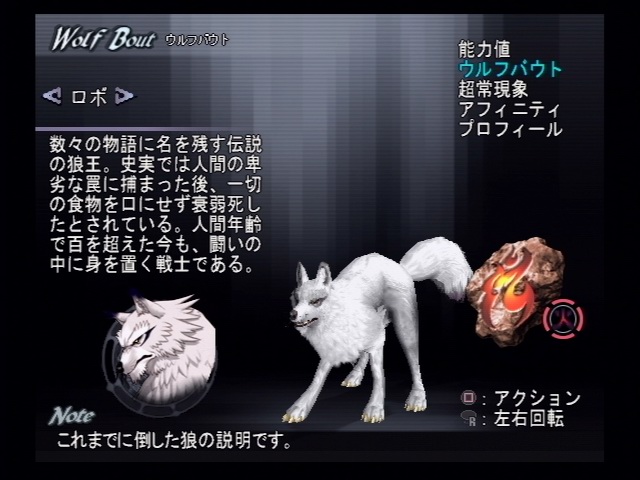
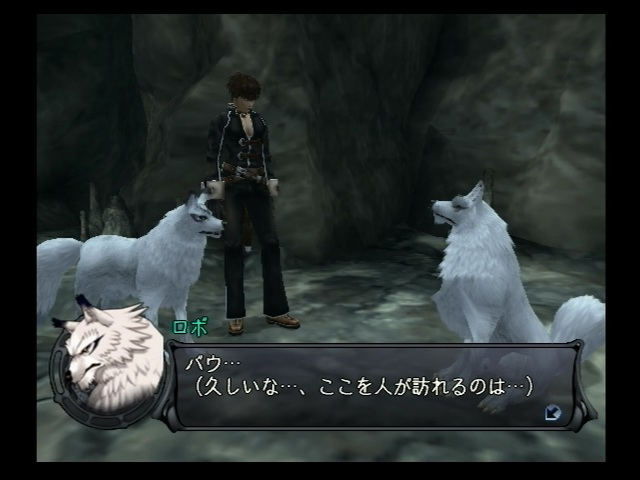
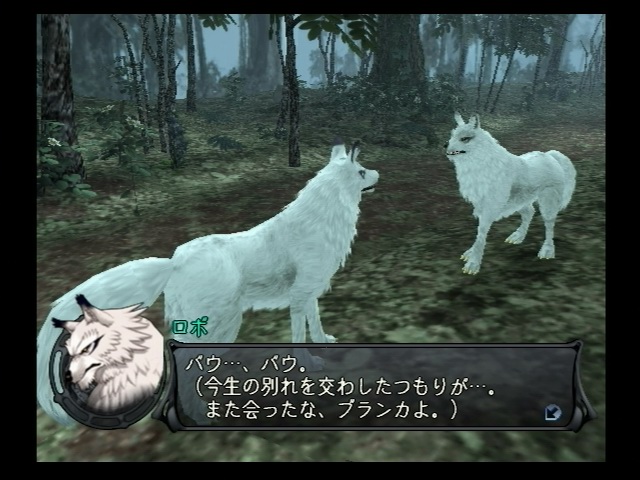
12. Robo (Lobo) - Living Mountain (Mt. Fuji), crystal sequence is Blue, Red, Yellow- click here to see the picture
(Pre-requisite: Beat all the other 11 wolves)
You have to beat all the above 12 wolves and then talk to Tetsu at Montmartre to reveal the back of the card before you can fight with the following (last) 3 wolves.
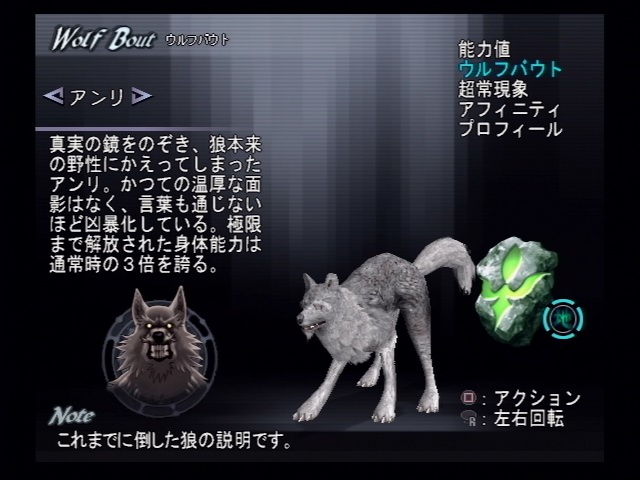
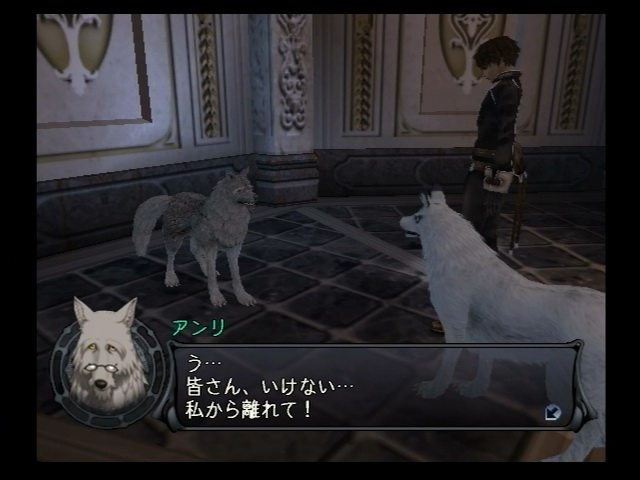
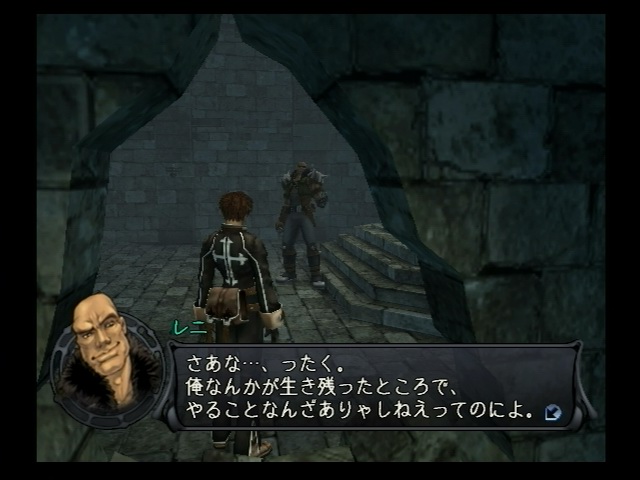
13. Henry (2) (Henri) - Tiffauges Castle - click here to see the picture
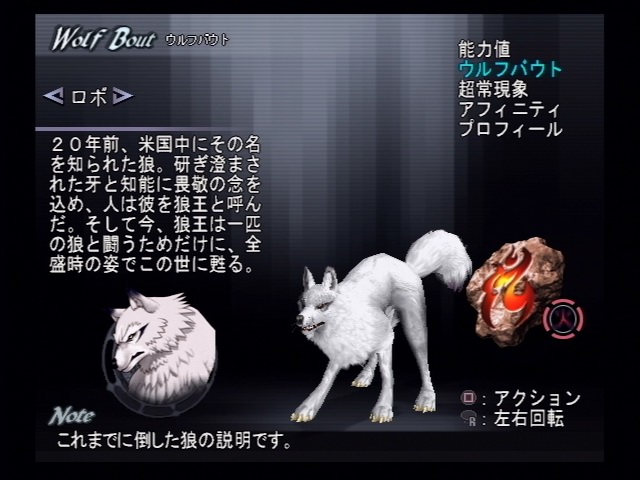
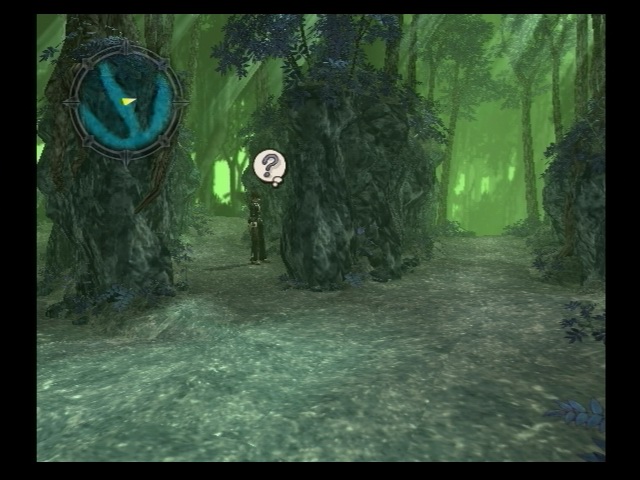
14. Animal King Robo (Lobo) - Forrest of Wind - click here to see the picture
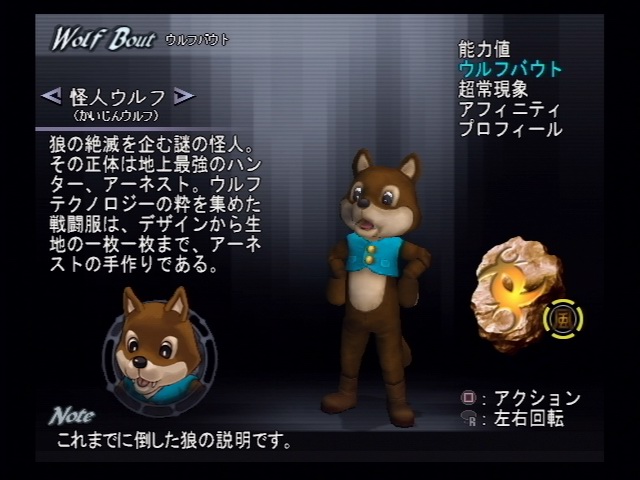
15. Wolfman - Montmartre (Paris) - click here to see the picture
Extra Stuffs
- After the final dungeon appeared, check R-3 again for a scene
- After finishing the Wolfman, go to Tiffauges Castle and find Henry (Henri) again, he will tell you something interesting and then go to Montmartre (Paris) and check the boy at usual location that Tetsu stands.
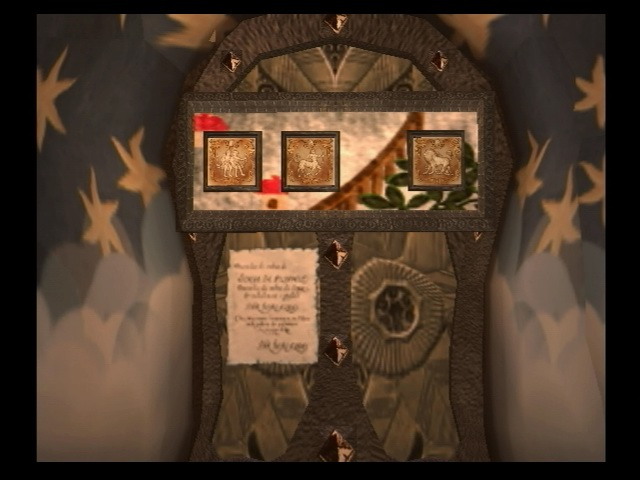
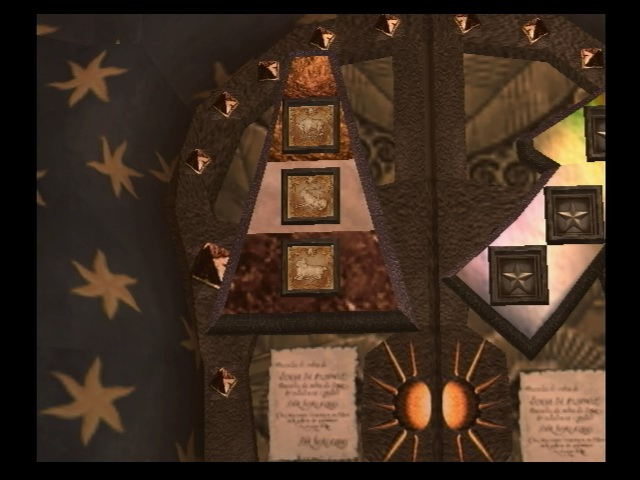
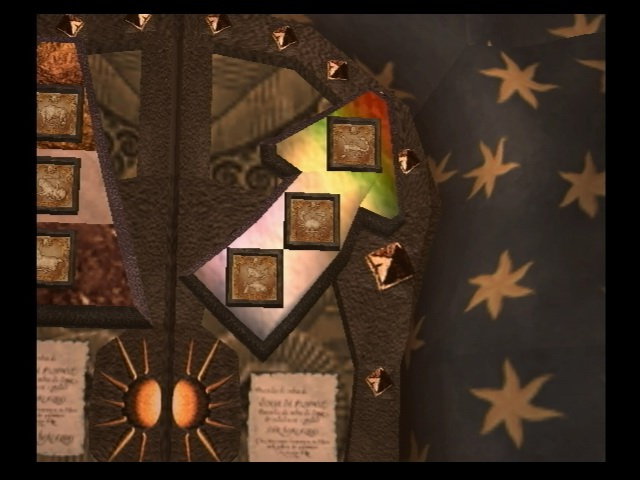
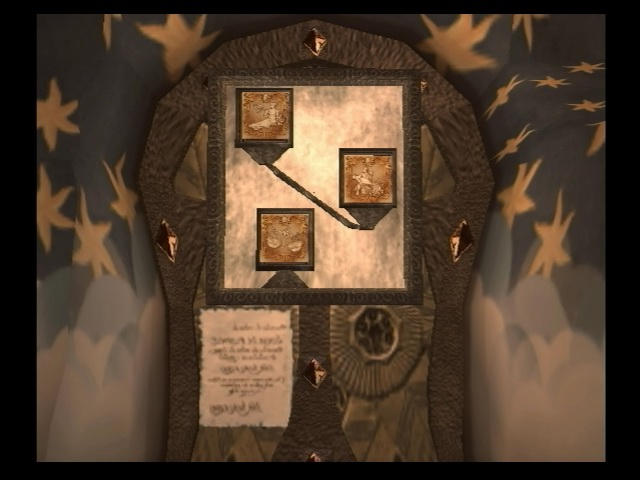
1. Ask Red, then Blue : Go Left, then Middle
2. Ask White : Go Right, Right, then Left
3. Ask Blue, then Yellow : Go Left, Middle, Middle, then Right
4. Ask White : Go Right, Middle, Right, Left, Left
5. Ask Yellow, then Red : Go Left 6 times
6. Ask Blue : Go Right, Left, then Center
7. Go Left (Black flower path), you will meet the boss
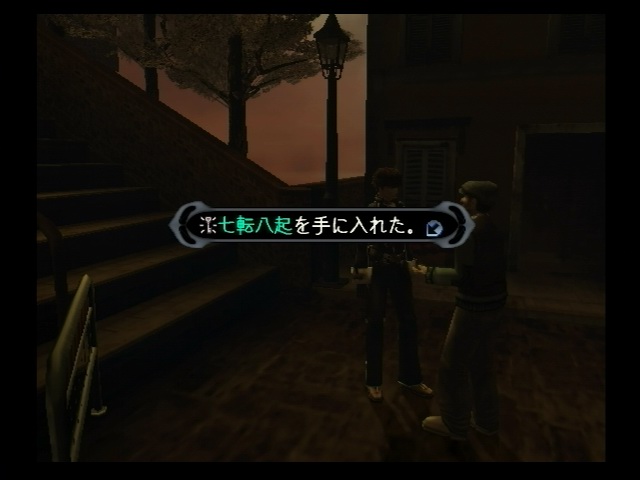
After clearing the mission in this area, you can get an accessory "Seven Stars", for Lucia at a middle branch.
A big thank to "Akira Suoh" @ GameFAQs forum and his friend for providing the name translations.
*** Names modified according to the US versions ***
Fusion Souls |
Front |
Back |
Skills (MP Needed in bracket) - Descriptions (Grades) |
| For Uru/Yuri | |||
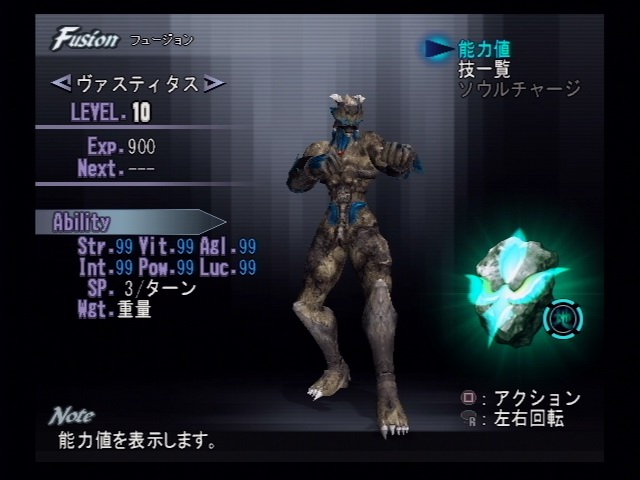
| Vastitas (Earth grade 1) | Shield (12) - Increases Physical Defense power of one ally. (1/2/3) Crag (16) - Earth Class Special Damage. Single/5 hits/Anti-ground/High angle.(1/2/3) Stand (26) - Stops SP Damage for all party members when "Resisting." (2/3) Thorn (32) - Earth Special Damage. Circular, medium/6 hits/Anti-ground/High angle.(2/3) Arc Shield (36) - Increases Physical Defense Power for all ally. (3) Howling (44) - Restore small amount of SP to all allies.(3) Strike (64) - Earth Class Special Damage. Circular, large/1 hit/High angle (3) |
||
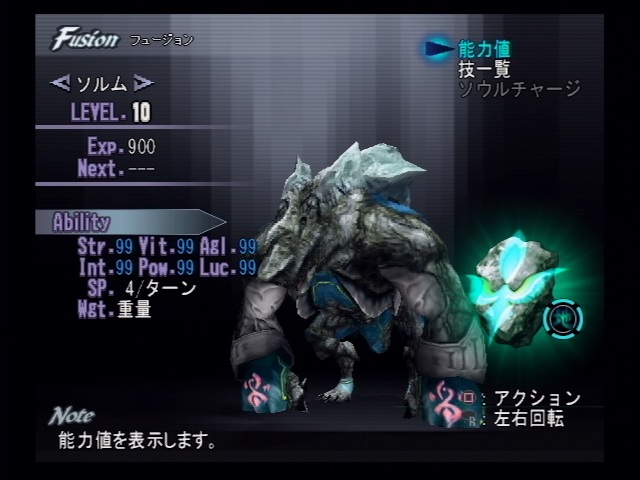
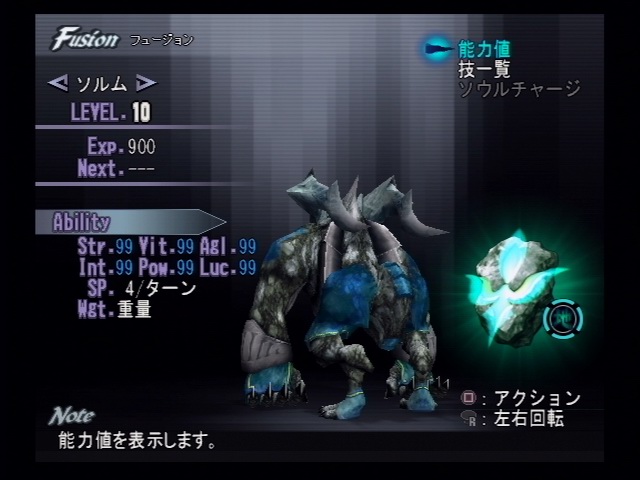
| Sorm (Earth grade 2) | |||
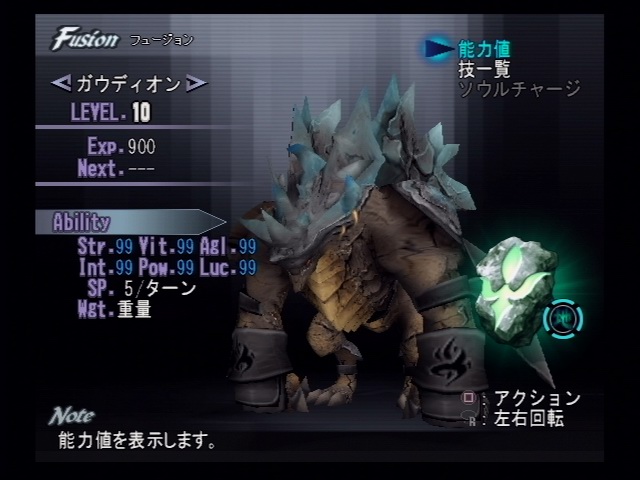
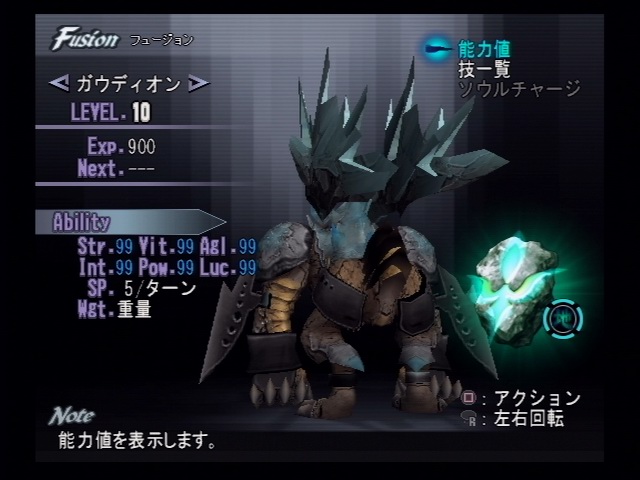
| Gaudion (Earth grade 3) | |||
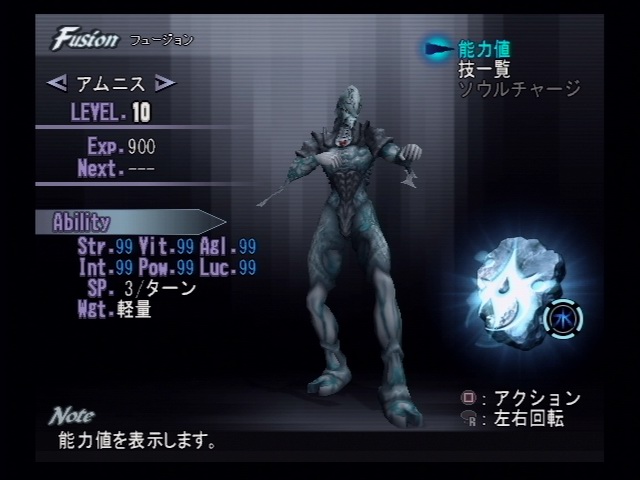
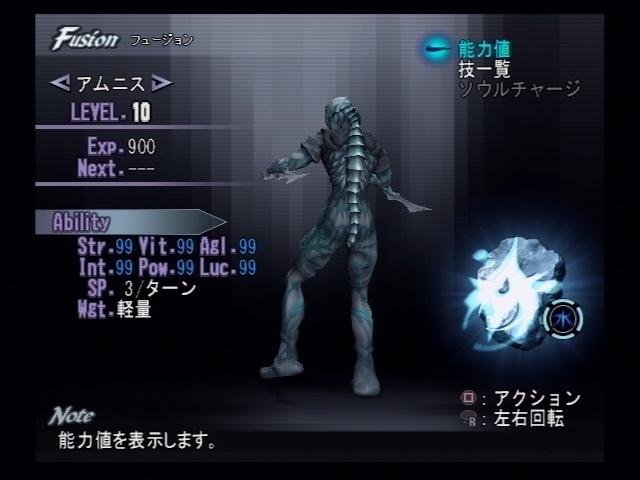
| Amnis (Water grade 1) | Mirage (12) - Increases Evasion Rate for one ally. (1/2/3)
Splash (16) - Water Class Special Damage. Single/3 hits/Hard hit (1/2/3) Cure Plus (24) - Restores medium amount of HP to one ally (2/3)
Icicle (32) - Water Class Special Damage. Circular, small/9 hits/Knock down (2/3) Arc Mirage (36) - Increases Evasion Rate for all allies. (3) Cure All (32) - Restores full amount of HP to one ally. (3) Hail (64) - Water Class Special Damage. Single/10 hits/High angle (3) |
||
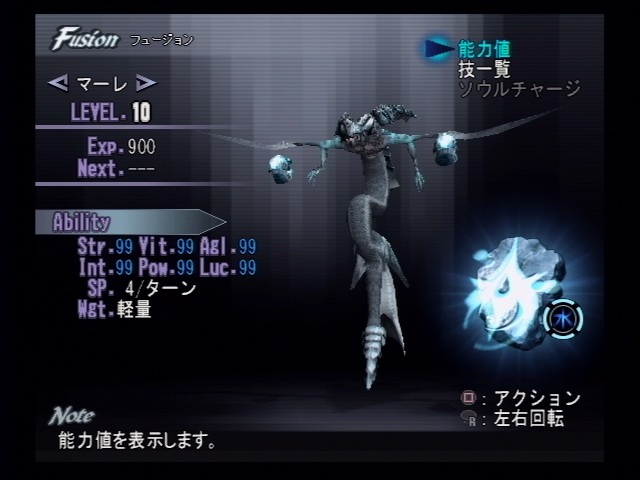
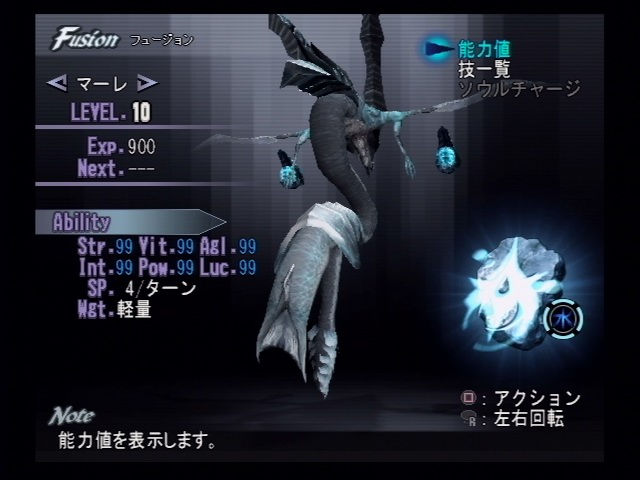
| Mahrae (Water grade 2) | |||
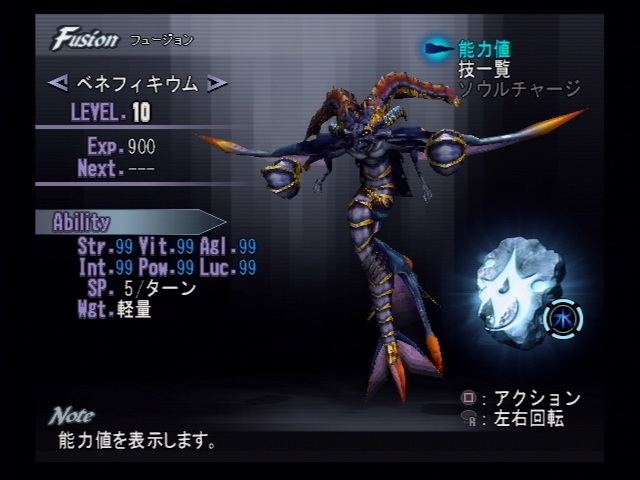
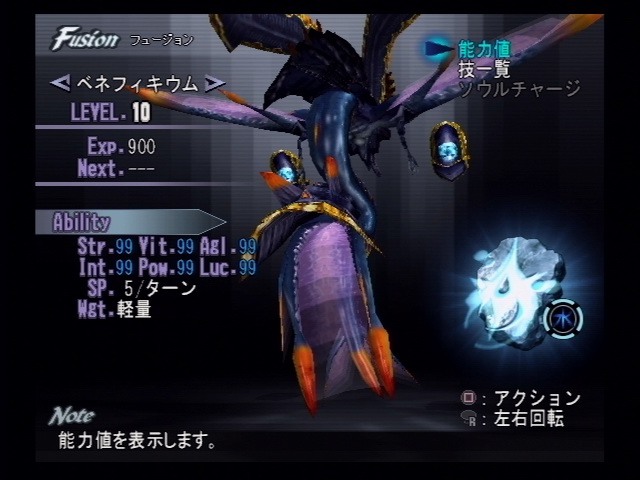
| Veneficium (Water grade 3) | |||
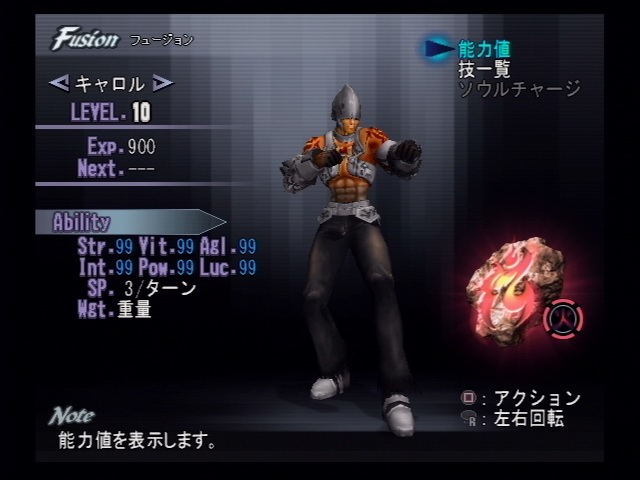
| Karyl (Fire grade 1) | Rage (12) - Increases one ally's Physical Attack Power. (1/2/3)
Blaze (16) - Fire Class Special Damage. Single/6 hits/Anti-air/Hard hit (1/2/3) Energy Charge (7) - Increases own Physical Attack. Use one turn. (2/3)
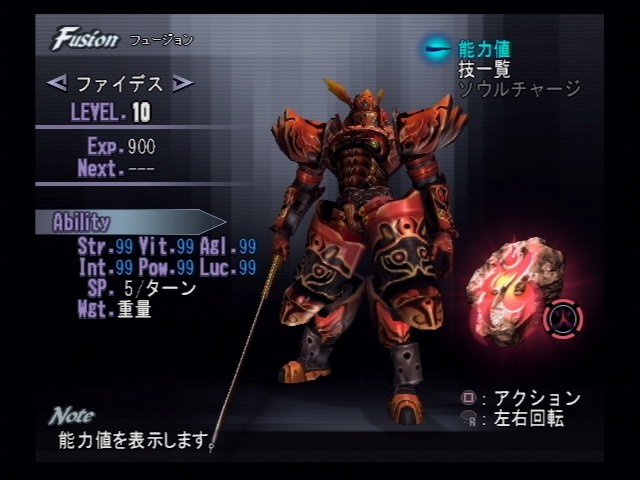
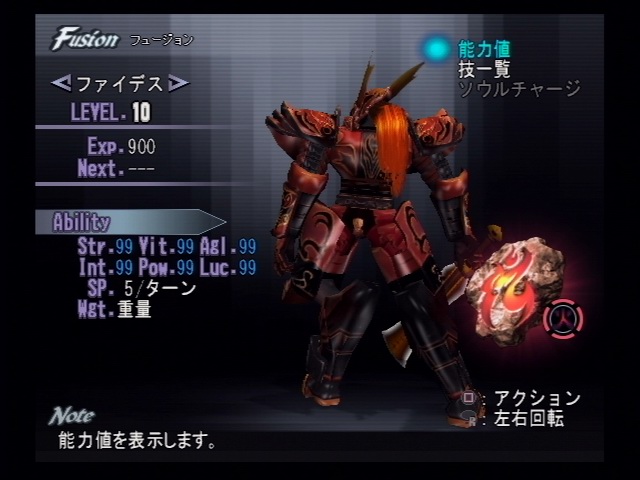
Magma (32) - Fire Class Special Damage. Piercing, medium/3 hit/High angle (2/3) Arc Rage (36) - Increases all allies' Physical Attack Power. (3) Hell Flame (64) -Fire Class Special Damage. Circular, medium/6 hits/Knock down (3) Inferno (80) - Fire Class Physical Damage. Single/15 hits/Hard hit (3) |
||
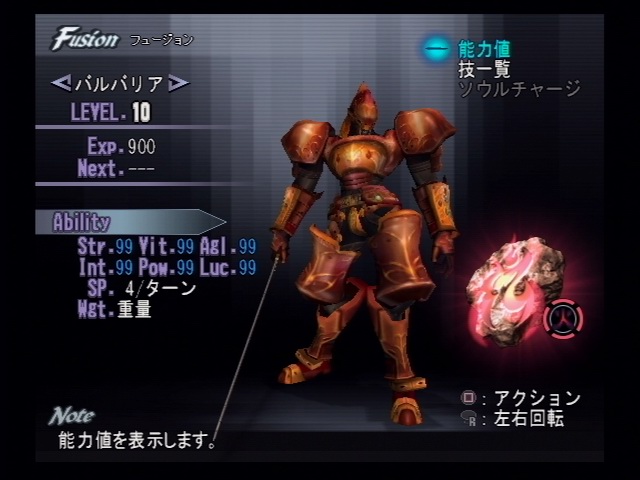
| Barbaria (Fire grade 2) | |||
| Fides (Fire grade 3) | |||
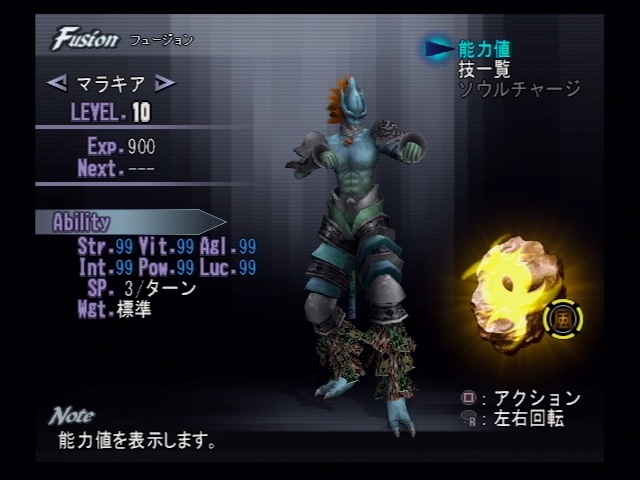
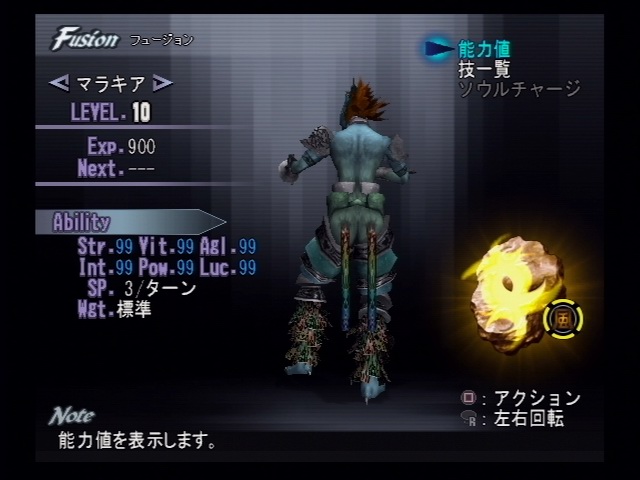
| Malakia (Wind grade 1) | Gale (12) - Shortens turn interval for one ally. (1/2/3)
Howling (16) - Wind Class Special Damage. Single/7 hits/Anti-air/Hard hit (1/2/3) Arc Heal (18) - Recovers Status, Ring Abnormalities for all allies. (2/3)
Slash (32) - Wind Class Special Damage. Single/12 hits/Anti-air/Hard hit (2/3) Arc Gale (36) - Shortens turn interval for all allies. (3) Gathering (64) - Gathers enemies into one place. (3) Storm (64) - Wind Class Special Damage. Circular, large/8 hits/Anti-air/Knock down (3) |
||
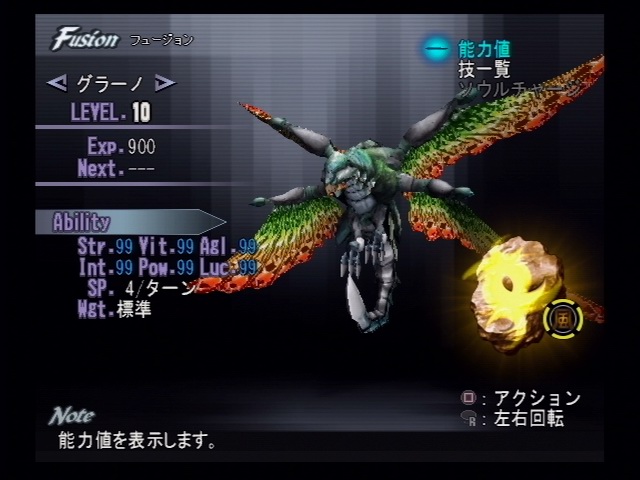
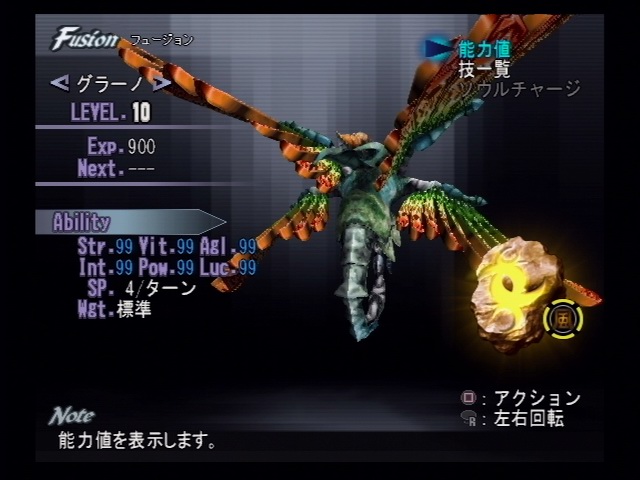
| Grano (Wind grade 2) | |||
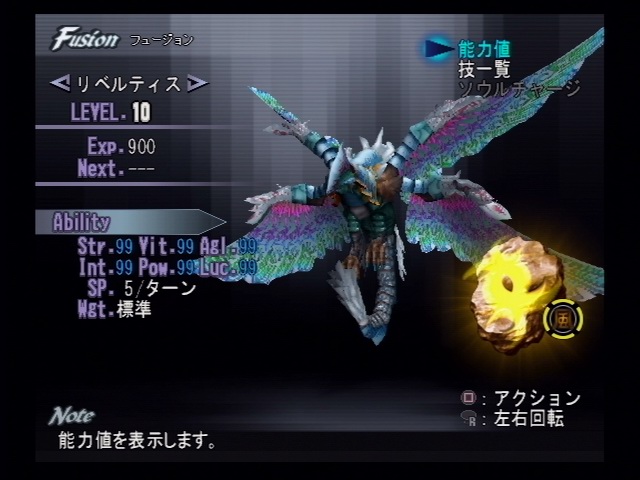
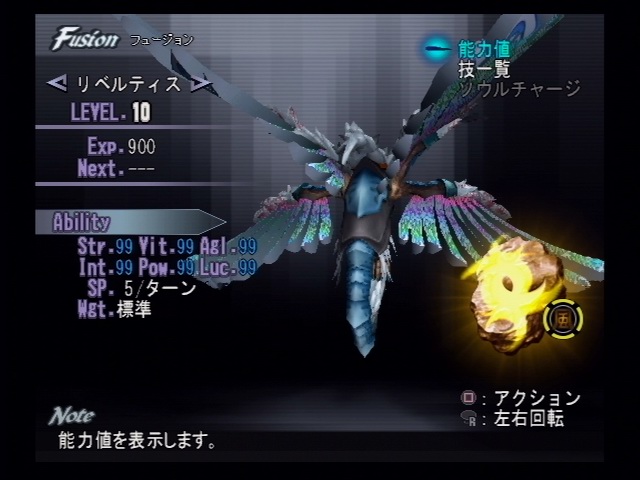
| Libertis (Wind grade 3) | |||
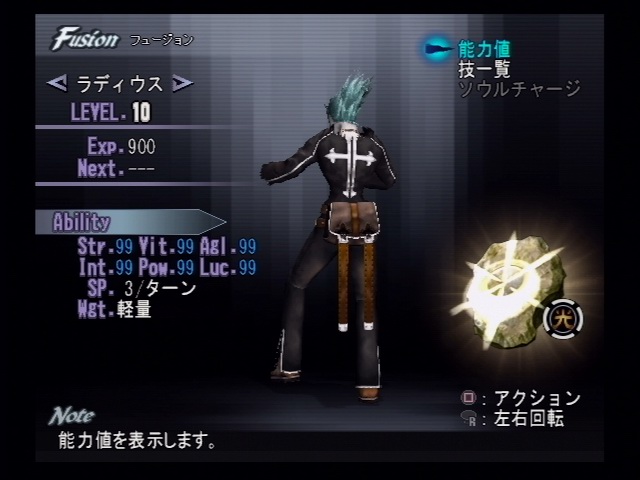
| Radeus (Light grade 1) | Barrier (12) - Increases one ally's Special Defense Power. (1/2/3)
Heaven (16) - Light Class Special Damage. Single/4 hits/Anti-ground/High angle (1/2/3) Raise Up (24) - Restores small HP and awakens one Unconscious ally. (2/3)
Nova (32) - Light Class Special Damage. Circular, medium/6 hits/Anti-air/High angle (2/3) Arc Barrier (36) - Increases all allies' Special Defense Power. (3) Resurrection (40) - Restores all HP and awakens one Unconscious ally. (3) Pulse (64) - Light Class Special Damage. Piercing, large/17 hits/Anti-ground/High angle (3) |
||
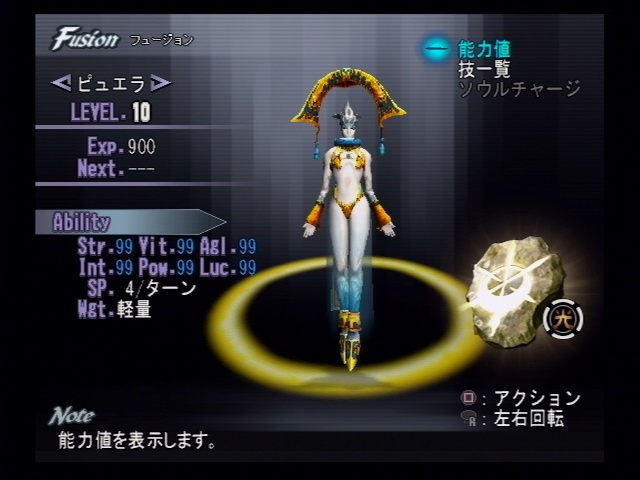
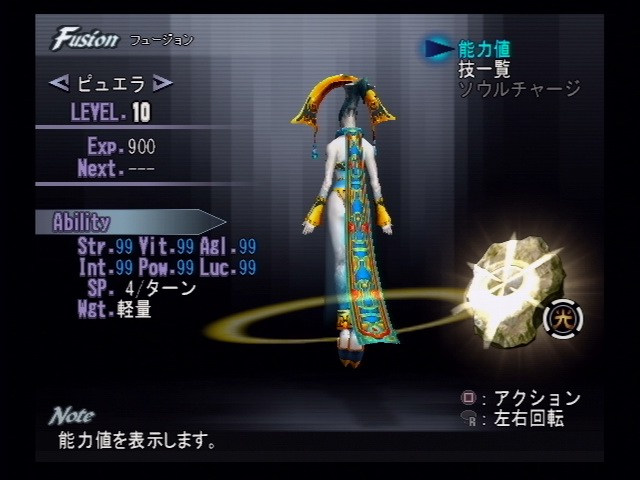
| Puera (Light grade 2) | |||
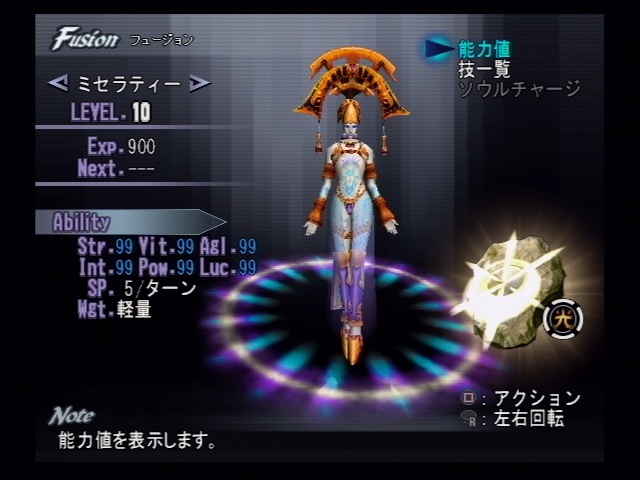
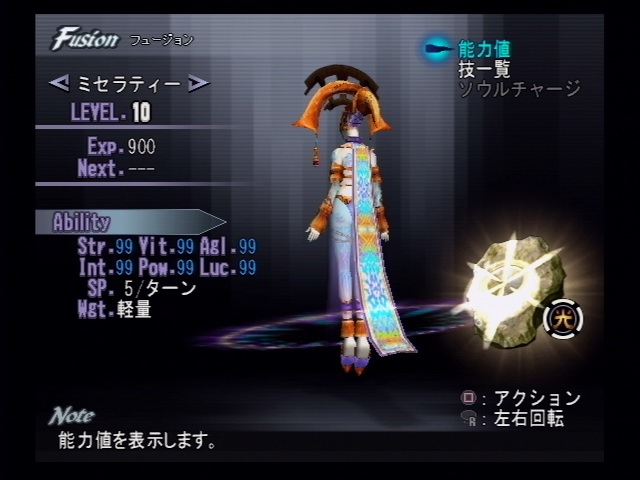
| Miserati (Light grade 3 ) | |||
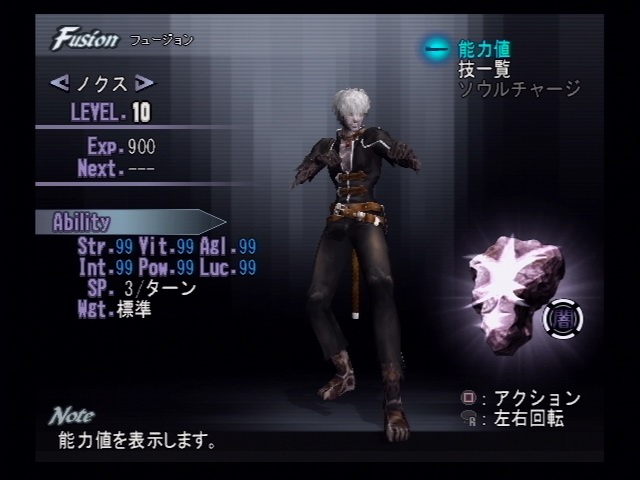
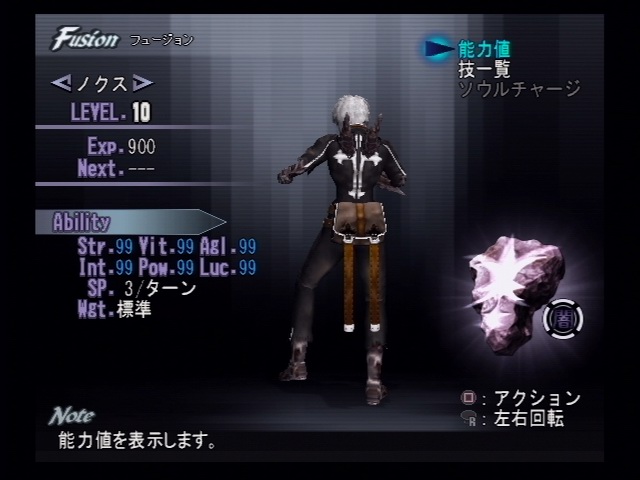
| Nox (Dark grade 1) | Surge (12) - Increase Special Attack Power for one ally. (1/2/3)
Hell's Eyes (16) - Dark Class Special Damage. Single/3 hits/Knock down (1/2/3) Mind Assault (1) - Drain MP from one enemy. (2/3)
Dark Claw (32) - Dark Class Special Damage. Single/9 hits/Knock down (2/3) Arc Surge (36) - Increase Special Attack Power for all allies. (3) Delay (40) - Slows the turn order of one enemy. (3) Thanatos (64) - Dark Class Special Damage. Linear, large/13 hits/ Knock down (3) |
||
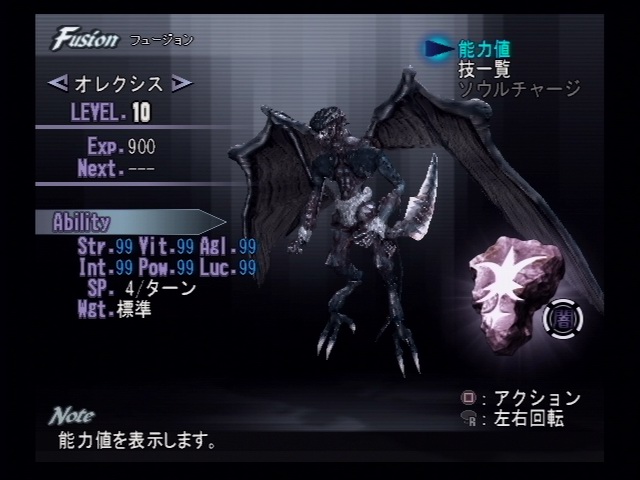
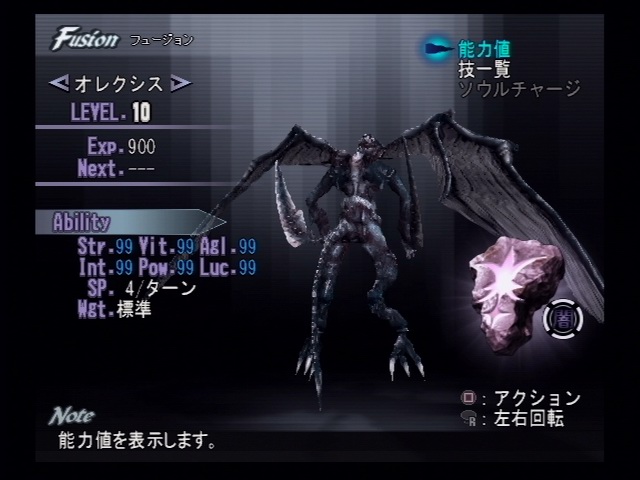
| Orexis (Dark grade 2 ) | |||
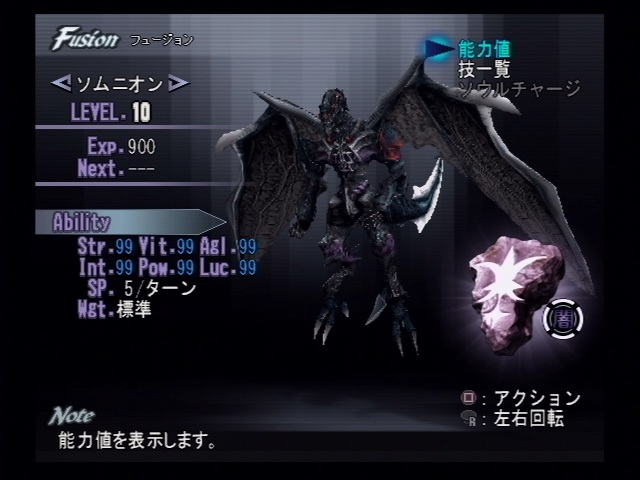
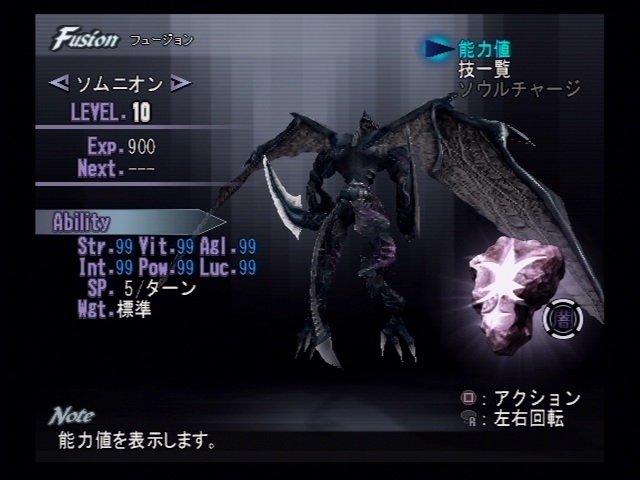
| Somnion (Dark grade 3) | |||
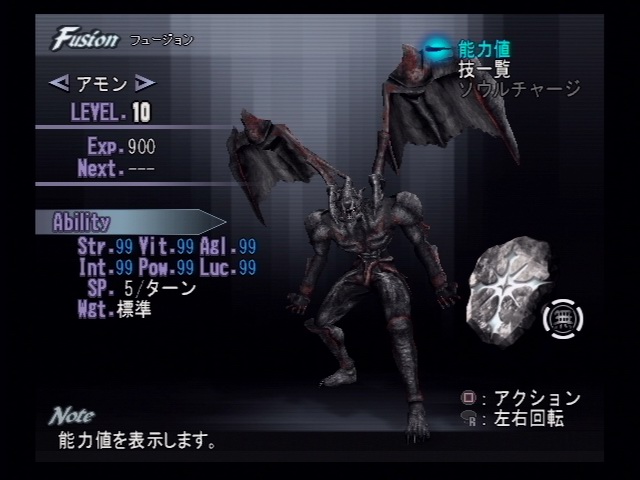
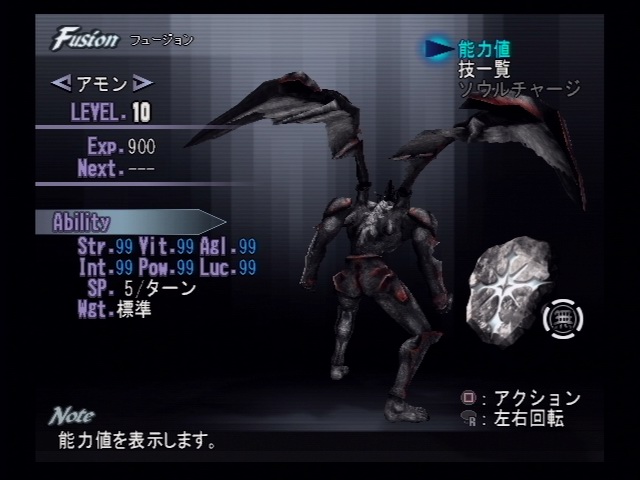
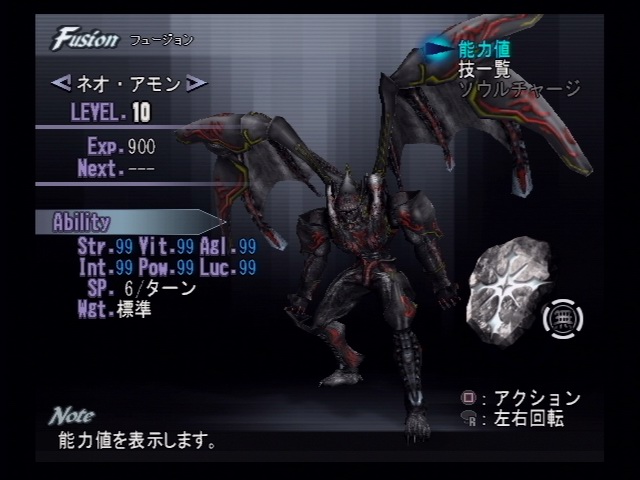
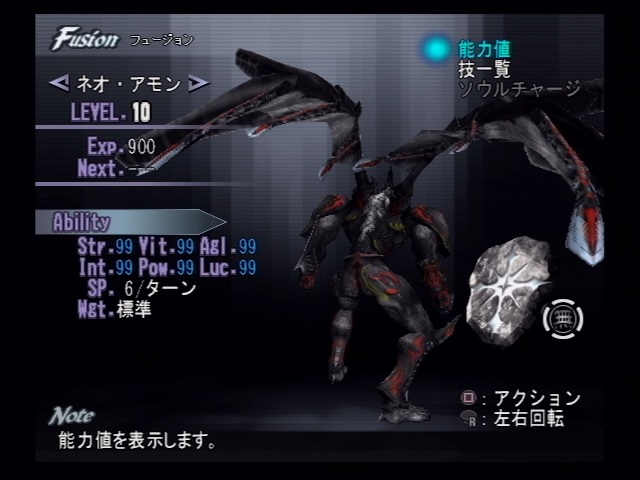
| Amon | Demon Rays (36) - Non-class Special Damage. Linear, medium/1 hit/High angle (Amon/Neo Amon)
Mind/Body Revival (48) - Fully restores HP and awakens one Unconscious ally.(Amon/Neo Amon) The End (54) - Non-class Special Damage. Circular, medium/1 hit/Hard hit (Amon/Neo Amon) Not yet! (56) - Restore a small amount of HP to all Unconscious allies. (Neo Amon) "Die, Scumbag!" (88) - Non-class Special Damage. Circular, large/18 hits/High angle (Neo Amon) |
||
| Neo Amon | |||
| Acquisition: Tiffauges Castle (check hidden dungeons section) | |||
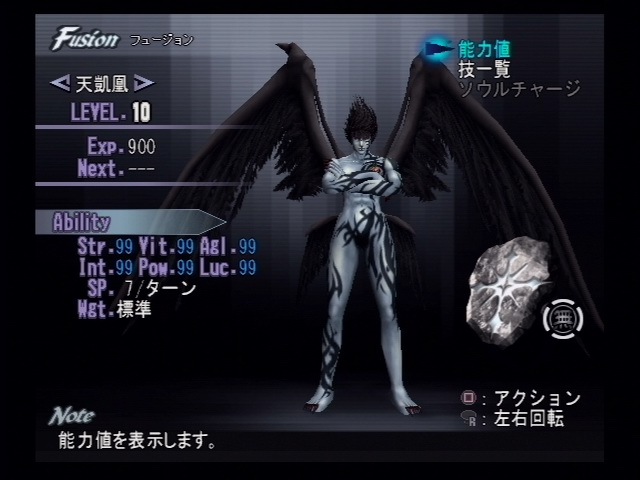
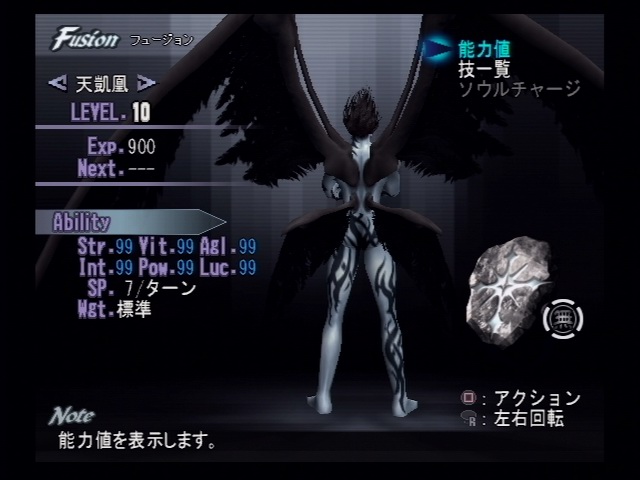
| Tengaiou (Dark Seraphim) | For Everyone... (72) - Increases Status for all allies. For Tomorrow... (88) - Non-class Special Damage+HP Drain. Single/1 hit/Normal For the Child... (160) - Non-class Special Damage. All/30 hit/Combo binding |
||
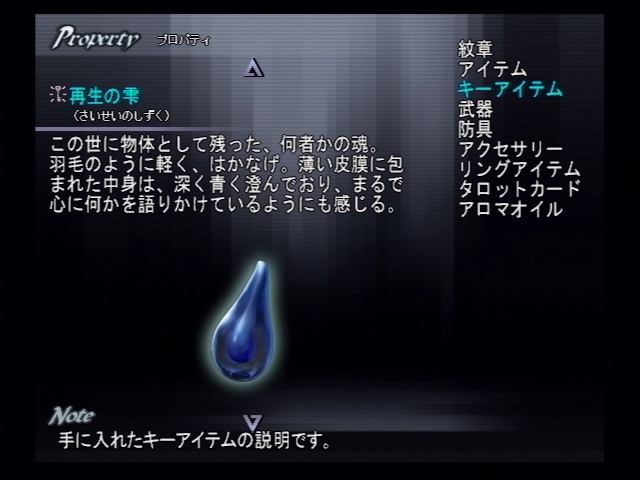
| Acquisition: Graveyard (better at the last save point in the last dungeon) - Must have all fusions for Uru and Kurando and all leveled up to have all skills - You will find a key item "Rebirth Droplet" near the tree (holding up a naked Uru) |
|||
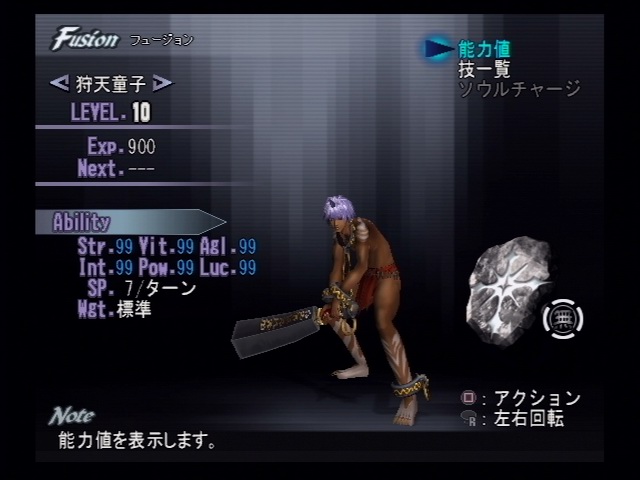
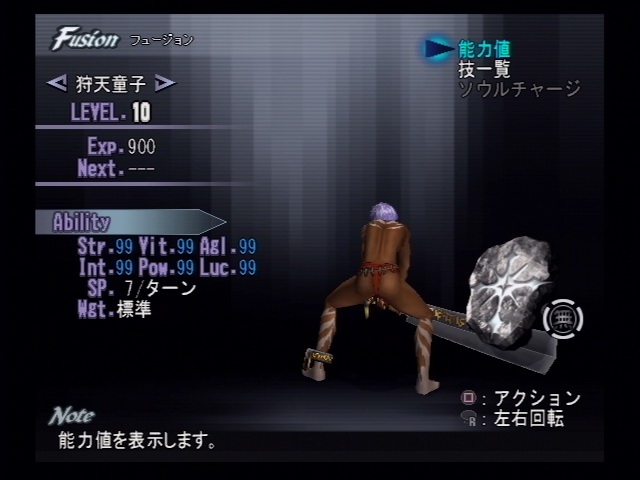
| For Kurando | |||
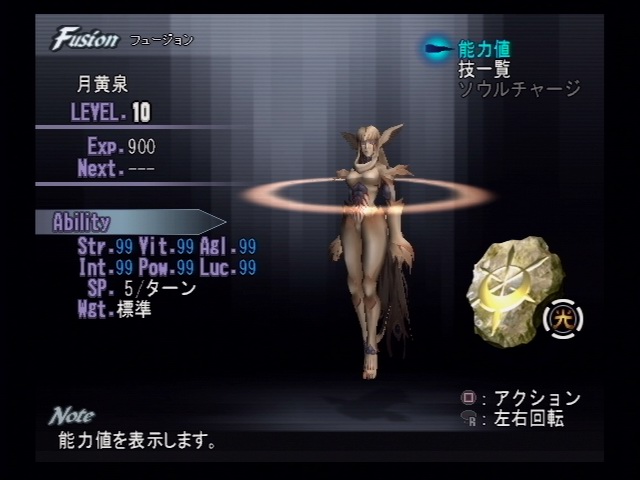
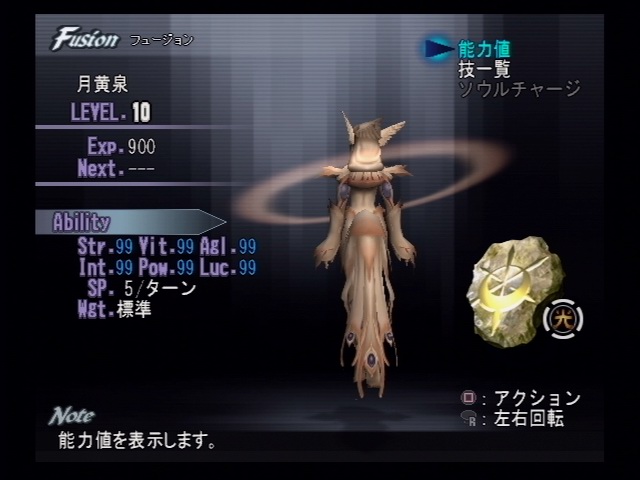
| Tsukuyomi (Tsukiyomi) | Hell's Light (64) - Light Class Special Damage. Linear, large/1 hit/High angle Star's Shadow (48) - Full HP, Status, Ring Abnormalities recovery for one ally Moon's Shadow (88) - Light Class Special Damage. Circular, large/15 hit/Knock down |
||
| Karitendouji (Jutendouji) | Ascetic's Fire (88) - Non-class Special Damage. Single/10 hits/Anti-air/Knock down Seven Bonds (32) - Reduces one ally's Non-class Special Damage by 1/4. Heavenquake! (160) - Non-class Physical Damage. Single/25 hits/Hard hit |
||
| Acquisition: Dog Shrine/Inugami Village (check hidden dungeons section) | |||
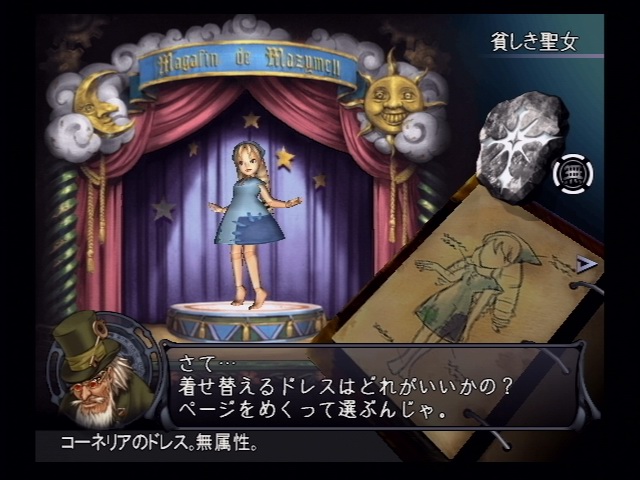
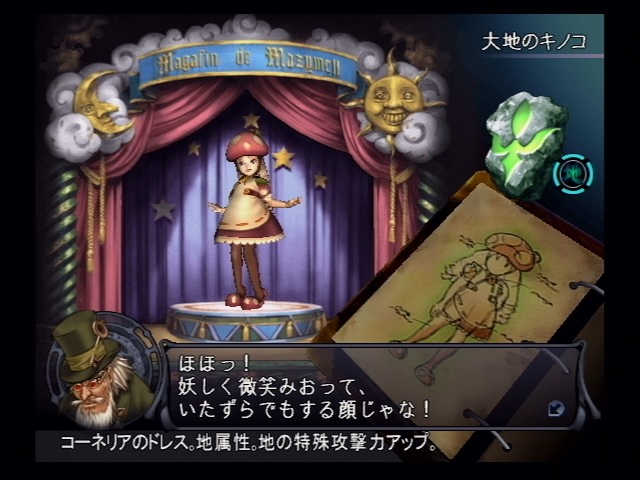
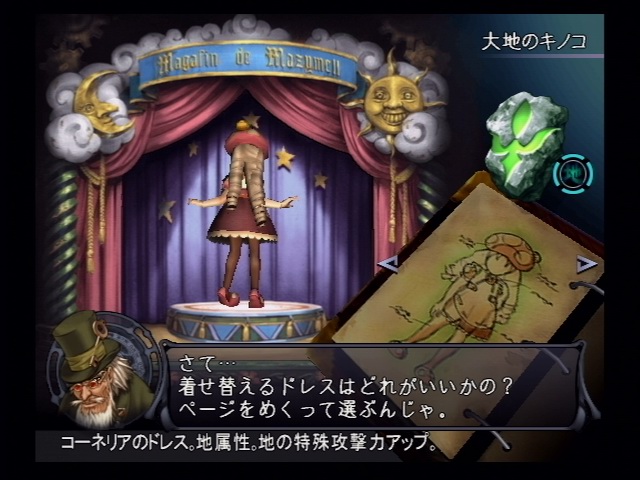
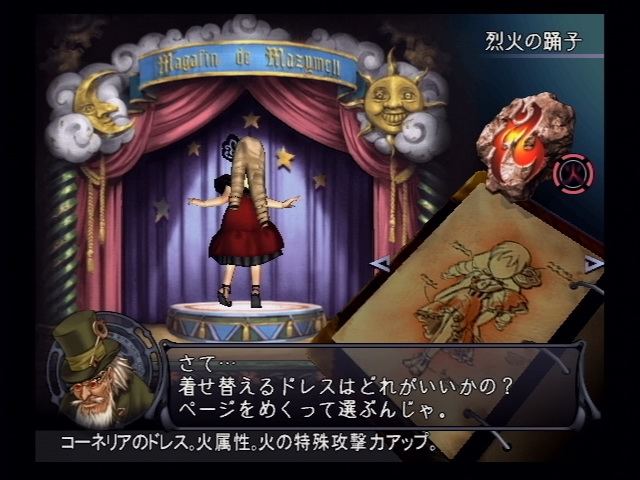
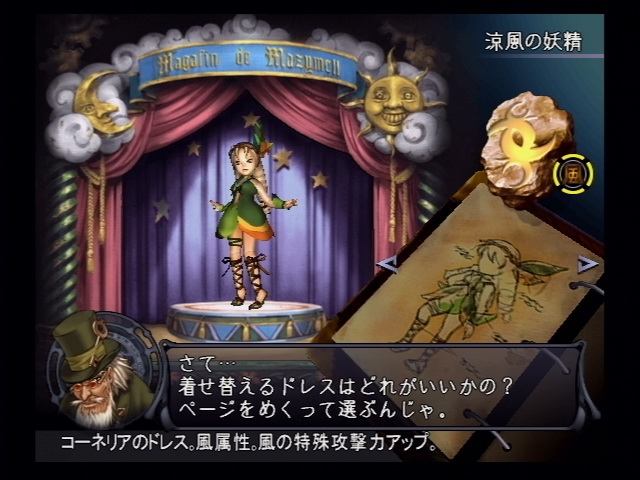
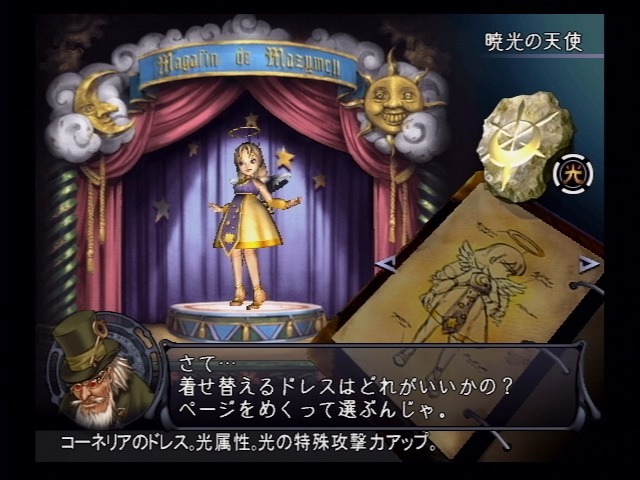
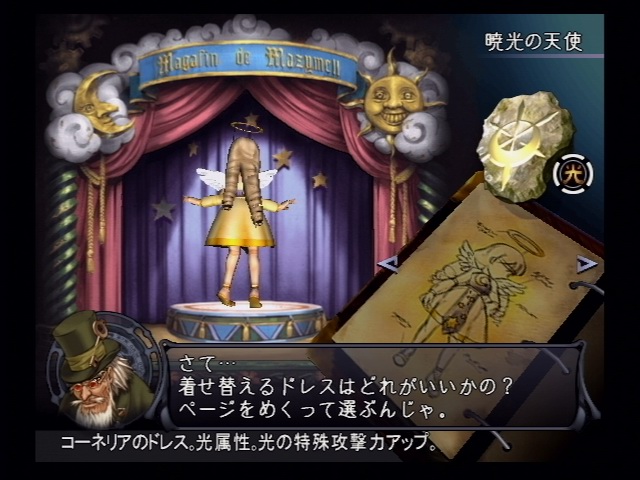
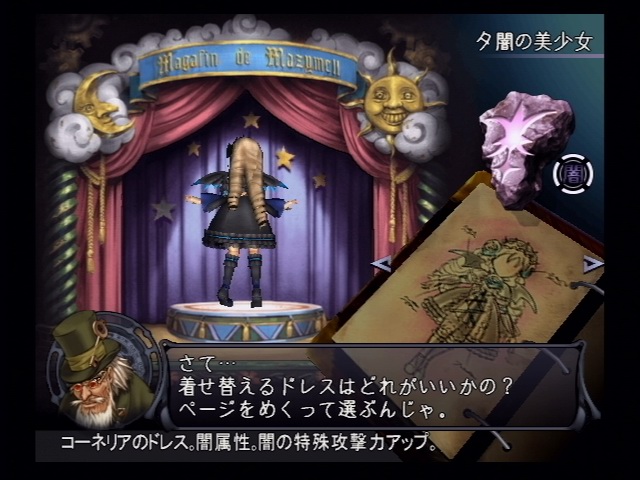
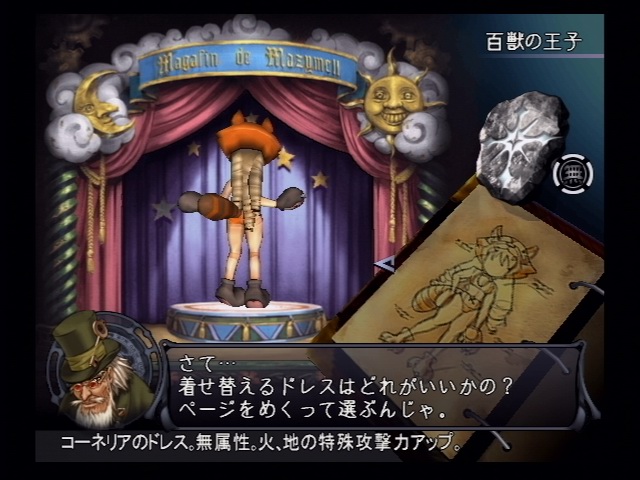
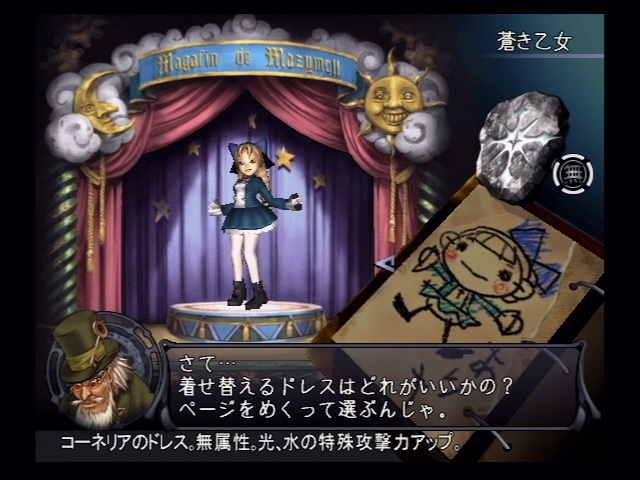
You need a new builder card in order to get a new dress from Mazymell brothers.
| Dress type | Front |
Back |
Skill (MP Needed) - Descriptions |
| Poor Saint (Original) | |||
| Little Mushroom (Earth) | Earth Cast (20) - Earth Class Special Damage. Circular, small/1 hit/Hard hit | ||
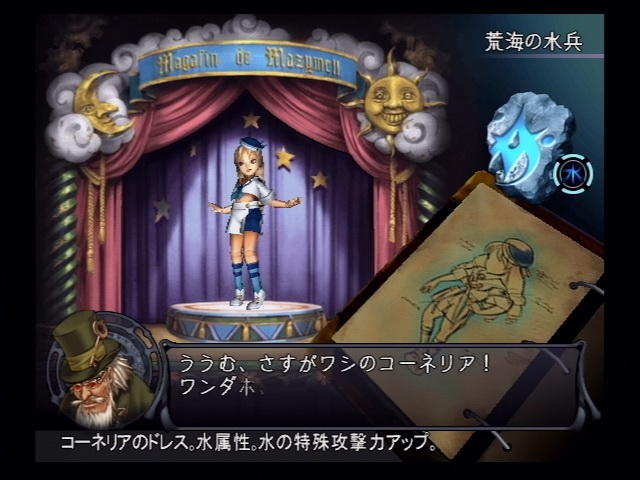
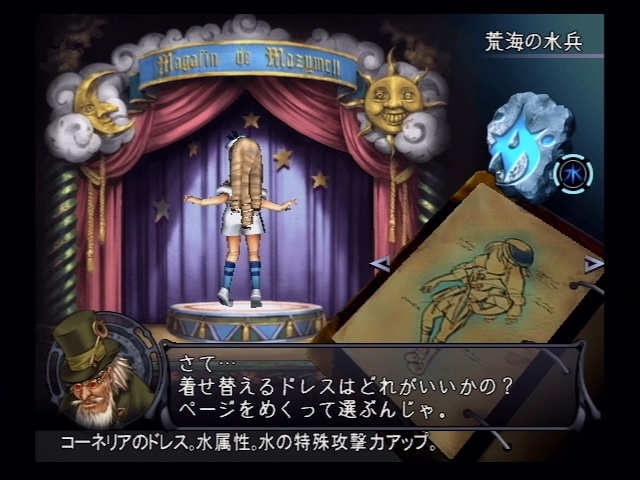
| Sassy Sailor (Water) | Aqua Cast (20) - Water Class Special Damage. Circular, small/1 hit/Hard hit | ||
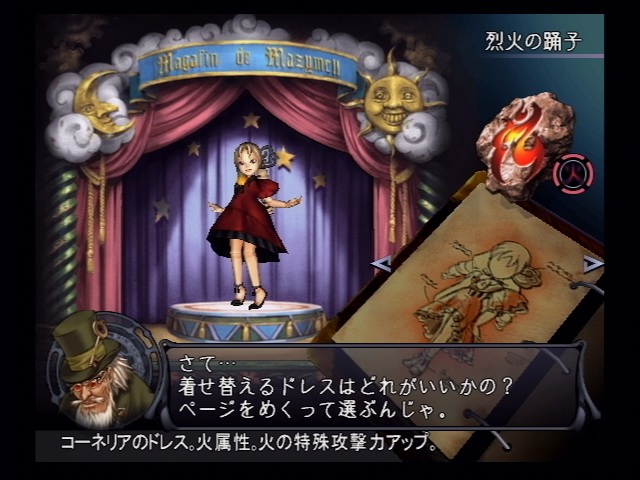
| Fire Dancer (Fire) | Heat Cast (20) - Fire Class Special Damage. Circular, small/1 hit/Hard hit | ||
| Windy Pixie (Wind) | Air Cast (20) - Wind Class Special Damage. Circular, small/1 hit/Hard hit | ||
| Angel of Light (Light) | Holy Cast (20) - Light Class Special Damage. Circular, small/1 hit/Hard hit | ||
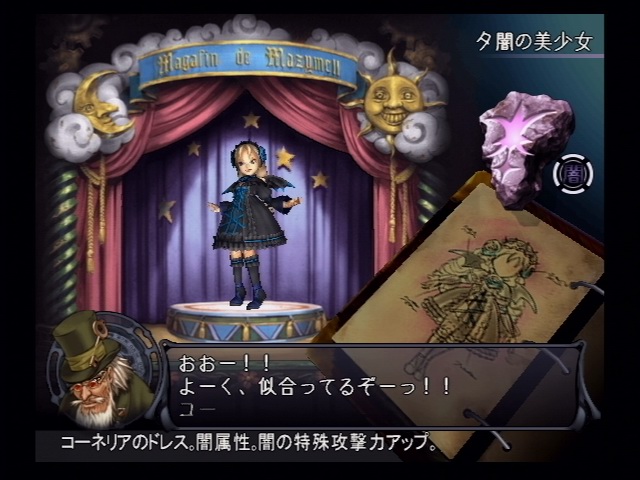
| Dark Beauty (Dark) | Dark Cast (20) - Dark Class Special Damage. Circular, small/1 hit/Hard hit | ||
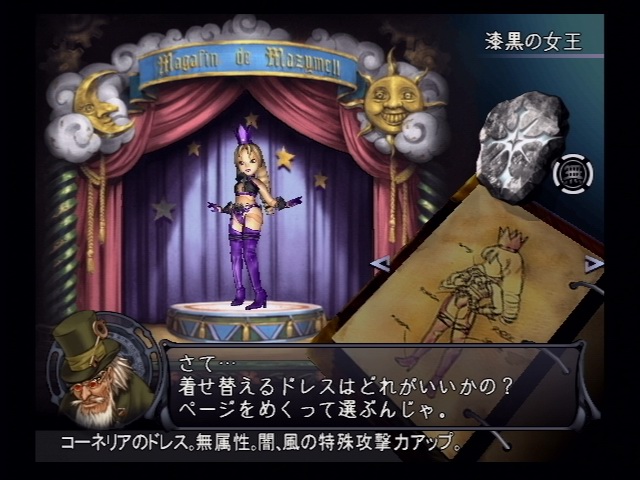
| Black Queen (Neutral 1) | Passion ( 36) - Dark Class Special Damage. Circular, medium/1 hit/Hard hit | ||
| Pre-requisites 1. A builder card 2. Veronica's Purple Bondage you got from Raspuchin's room - click here to see the picture |
|||
| Beastmaster (Neutral 2) | Ecstasy ( 72) - Earth Class Special Damage. Circular, medium/6 hit/High angle | ||
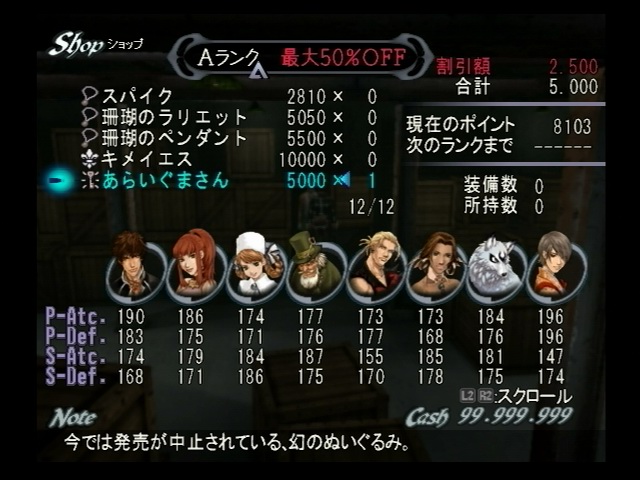
| Pre-requisites 1. A builder card 2. A Racoon Friend you bought from the Brick Warehouses at Yokohama - click here to see the picture |
|||
| Blue Virgin (Neutral 3) | Advent (88) - Light Class Special Damage. Circular, large/1 hit/Knock down | ||
| Pre-requisites 1. A builder card and all the above dresses 2. The last dungeon (Vessel) appeared already |
|||
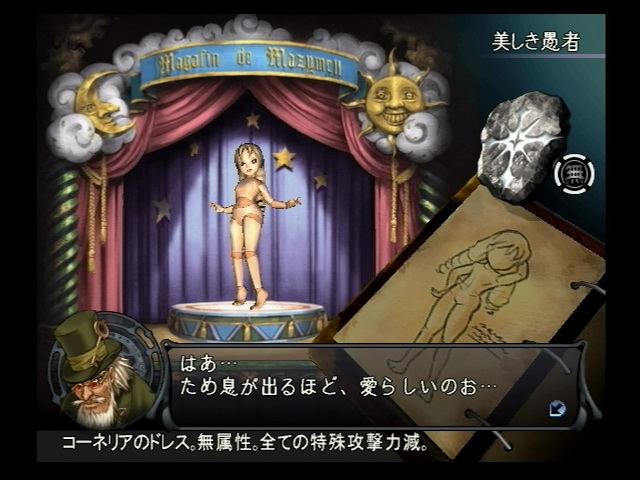
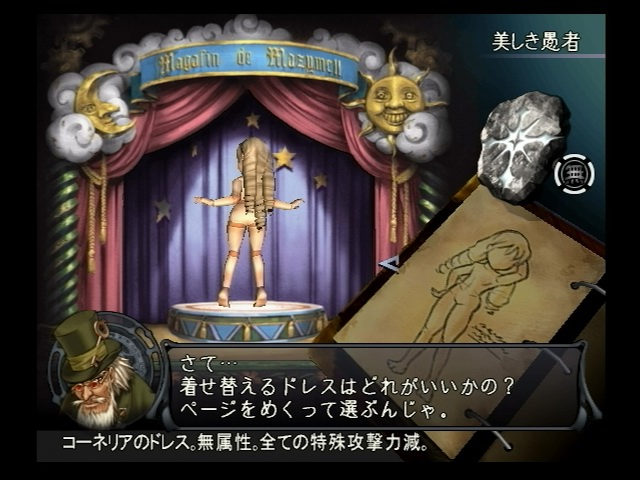
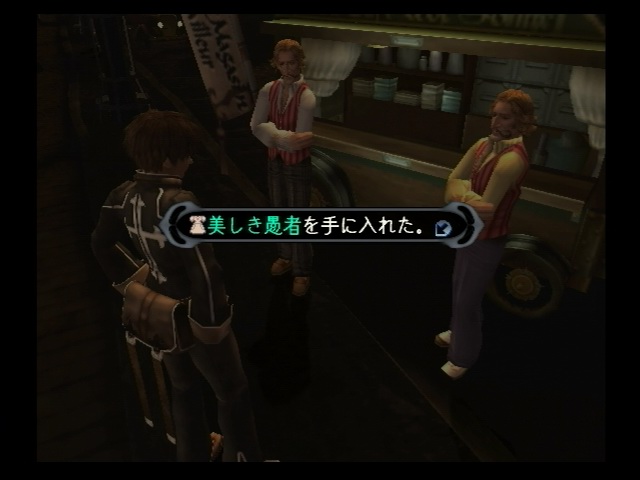
| Beautiful fool (Neutral 4) | |||
| Pre-requisites 1. Builder card Mr. Baigen 2. You must talk to the Mazymell brothers at Champs Elysees (only works there) in Paris - click here to see the picture (Not available in US version, you can still trigger the scene if you use Action Replay to get the card but you will be given "Poor Saint" again) |
|||
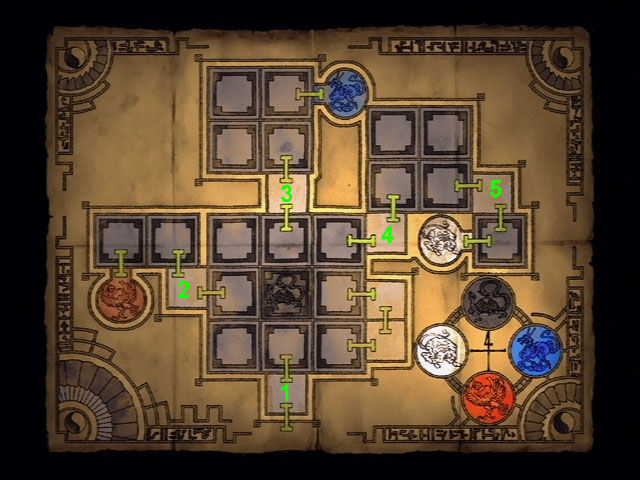
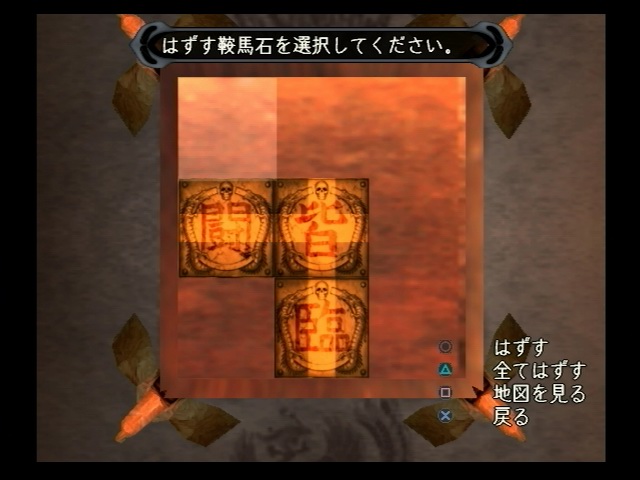
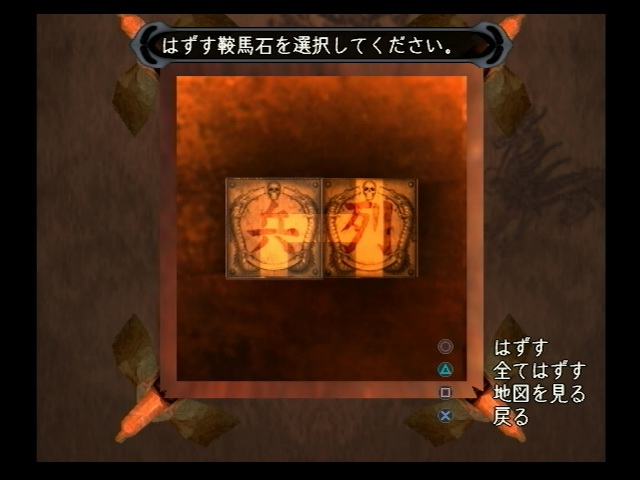
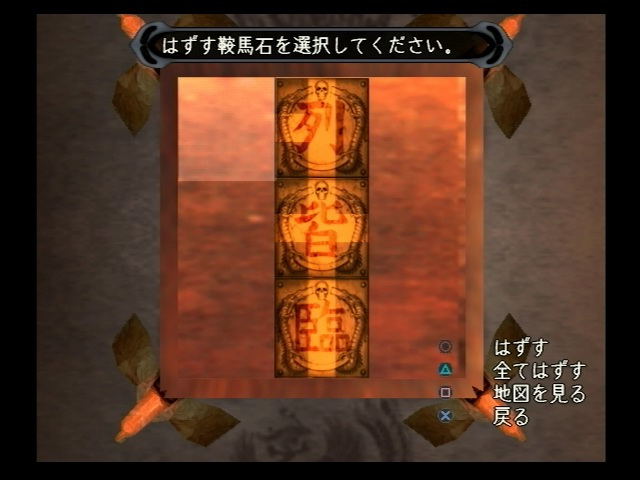
The stones positions for the left door - click here to see the picture
The stones positions for the left side of the center door - click here to see the picture
The stones positions for the right side of the center door - click here to see the picture
The stones positions for the right door - click here to see the picture
Legends : ![]() is toggle door switch,
is toggle door switch, ![]() is door switches that need a key
is door switches that need a key
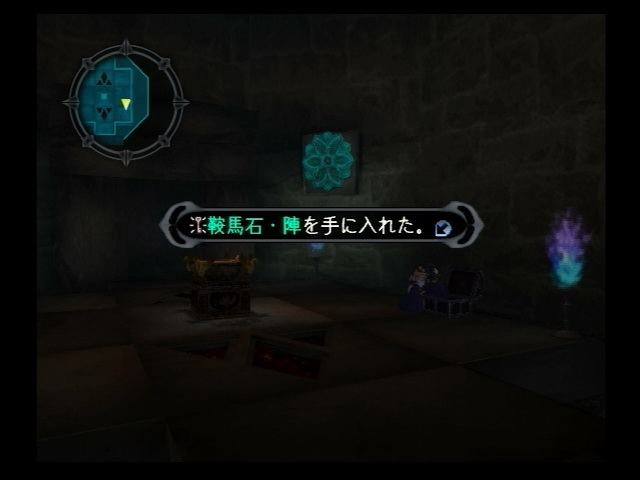
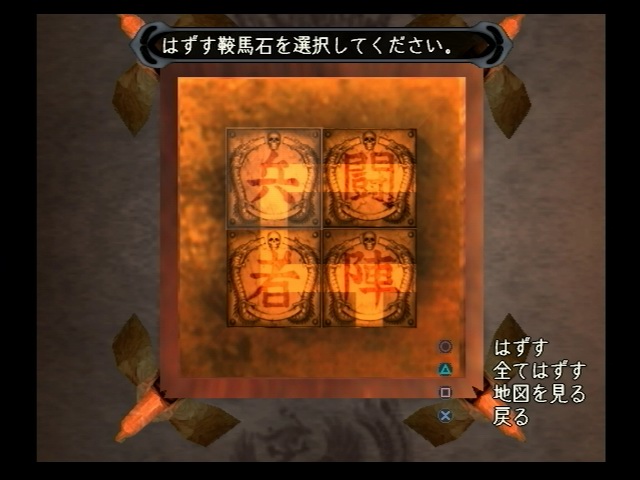
1. Start with Kurando party, get the first security key from the treasure box and use the key on ![]() (2), switch to Uru (Yuri) party
(2), switch to Uru (Yuri) party
2. Go through the ![]() door and get the security key from the treasure box, use the key on
door and get the security key from the treasure box, use the key on ![]() (1), switch to Kurando party
(1), switch to Kurando party
3. Take the key back, go through the 2 ![]() doors, use the key on
doors, use the key on ![]() (3) switch, switch to Uru (Yuri) party
(3) switch, switch to Uru (Yuri) party
4. Remove the key and use the key on ![]() , go through the
, go through the ![]() door and get the Captain's room key from the treasure box at the end of the path
door and get the Captain's room key from the treasure box at the end of the path
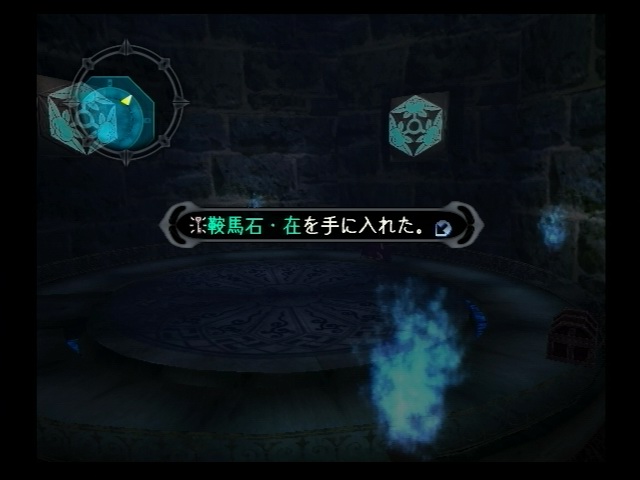
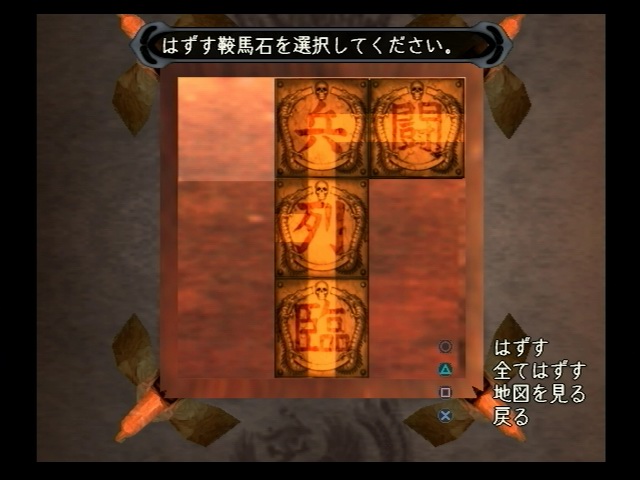
5. Go to the Captain's room and toggle the ![]() (A) switch, switch to Kurando party, take back the key and go through the
(A) switch, switch to Kurando party, take back the key and go through the ![]() door
door
6. Toggle the ![]() (B) switch, switch to Uru (Yuri) party, go back through the
(B) switch, switch to Uru (Yuri) party, go back through the ![]() door and go to the
door and go to the ![]()
![]() (1,2), use the key on
(1,2), use the key on ![]() (1), switch to Kurando party
(1), switch to Kurando party
7. Go back through the 2 ![]() doors and go to the
doors and go to the ![]()
![]() (1,2) switches, use the key on
(1,2) switches, use the key on ![]() (2), switch to Uru (Yuri) party
(2), switch to Uru (Yuri) party
8. Remove the key and go to through the ![]() door and go to the
door and go to the ![]()
![]() (1,4) switches and use the key on
(1,4) switches and use the key on ![]() (1), switch to Kurando party
(1), switch to Kurando party
9. Remove the key and go through the ![]() door and reach the
door and reach the ![]() door, switch to Uru (Yuri) party
door, switch to Uru (Yuri) party
10. Remove the key and use it on ![]() (4), switch to Kurando party
(4), switch to Kurando party
11. Go through the ![]() door and go down the stairs to toggle the
door and go down the stairs to toggle the ![]() (C) switch, switch to Uru (Yuri) party
(C) switch, switch to Uru (Yuri) party
12. Take back the key and go through the ![]() door, talk to the sailor (Seaman 2nd Class Hashimoto) and go down the stairs, switch to Kurando party
door, talk to the sailor (Seaman 2nd Class Hashimoto) and go down the stairs, switch to Kurando party
13. Go down the stairs and you will proceed with rescuring the girl.
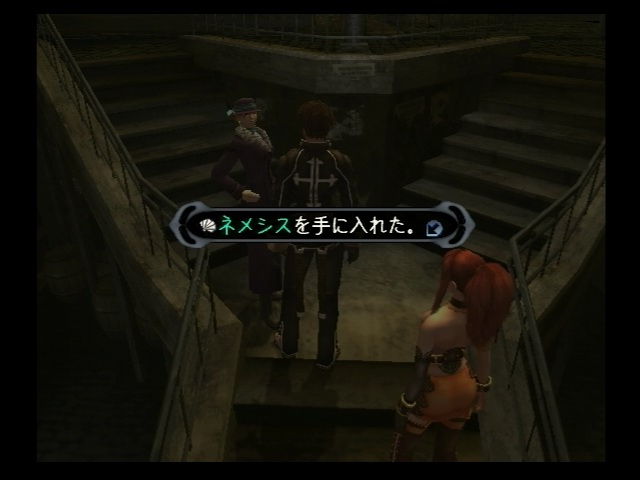
Click here to see a picture of Nemesis - the ultimate weapon for Lucia
*** If you don't have the things in the steps below you are screwed, you can still buy Nemesis in Junk Shop at Cathedral (Paris) after the last dungeon appeared, though ***
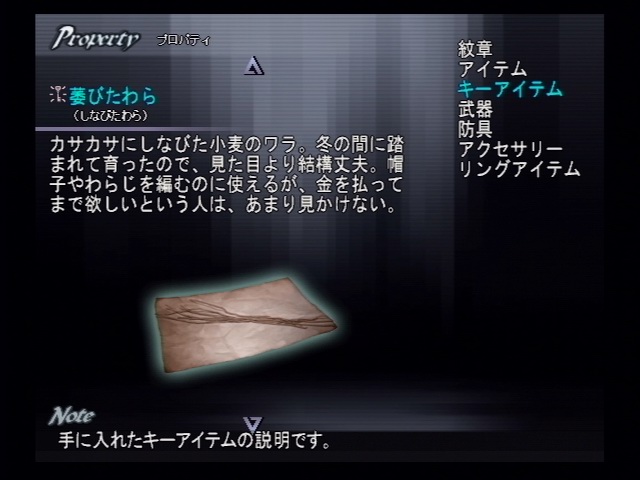
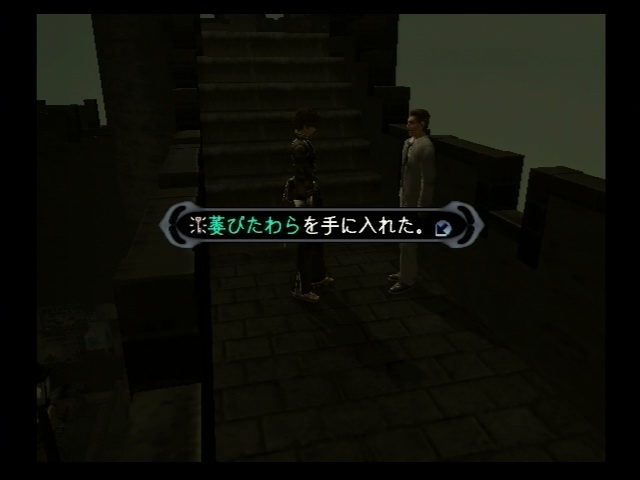
1. Everything starts with the "Dried Straw" from a man (Himovic, the Straw Merchant) in Port of Southampton - click here to see the picture
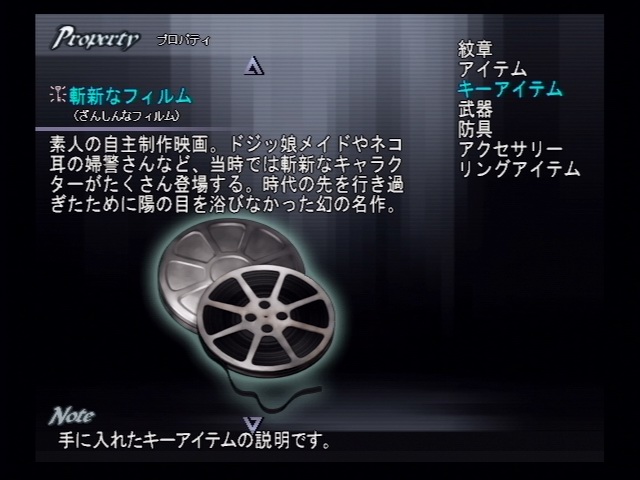
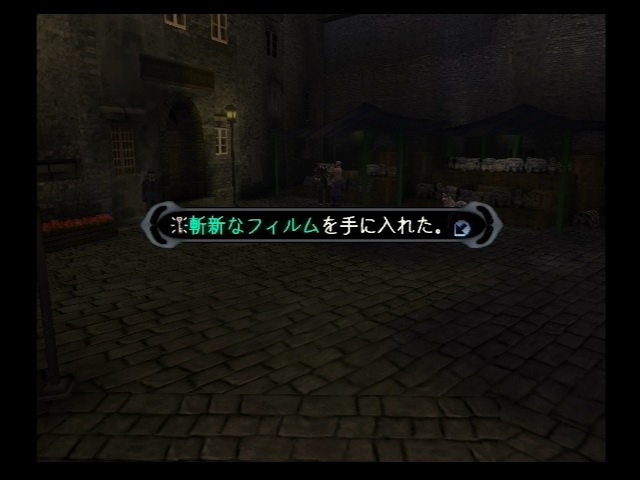
2. Exchange "Dried Straw" with a man (Straw Handiwork Fan, Massimo) in Firenze/Florence (in front of the stores at a corner) for "Underground Film" - click here to see the picture
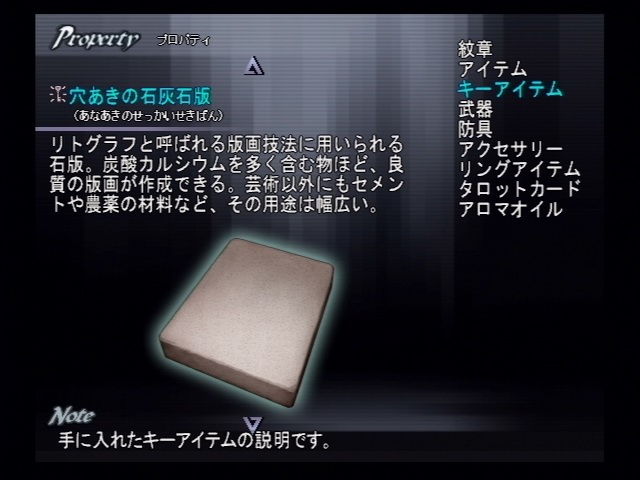
3a. Path A - Exchange "Underground Film" with a boy (Wannabe Movie Critic Fabio) in Cannes for a "Limestone Block" - click here to see the picture
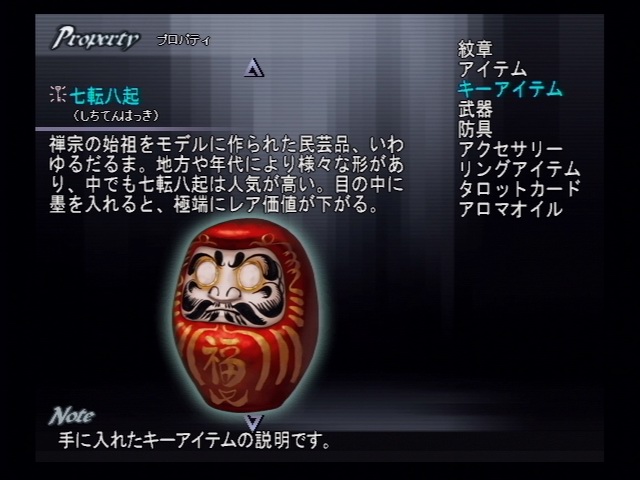
3b. Path B - Exchange "Underground Film" with a man (Aspiring Director Ijichi) in Cannes for a "Daruma Doll" - click here to see the picture
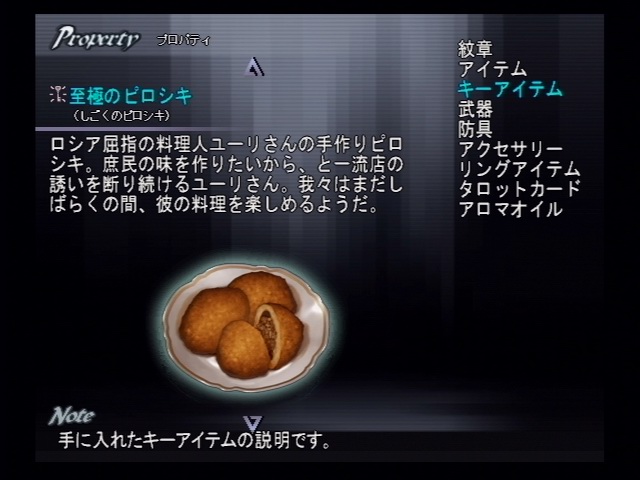
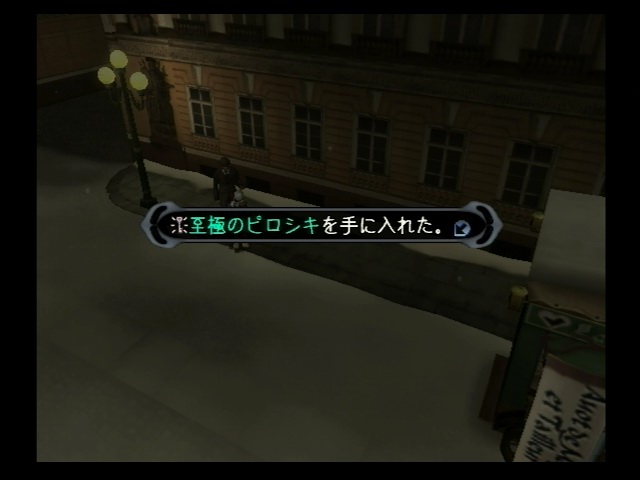
4a. Path A - Exchange "Limestone Block" with a man (Chagall, Who Stinks of Ink) in Petrograd (Besides the Mazymell brothers) for "Super Piroshki" - click here to see the picture
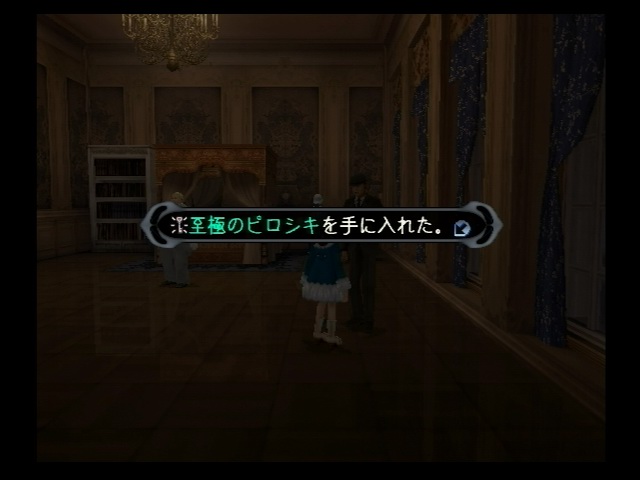
4b. Path B - Exchange "Daruma Doll" with a man (Zuvious, Lover of Folkcraft) inside the Hermitage for "Super Piroshki" - click here to see the picture
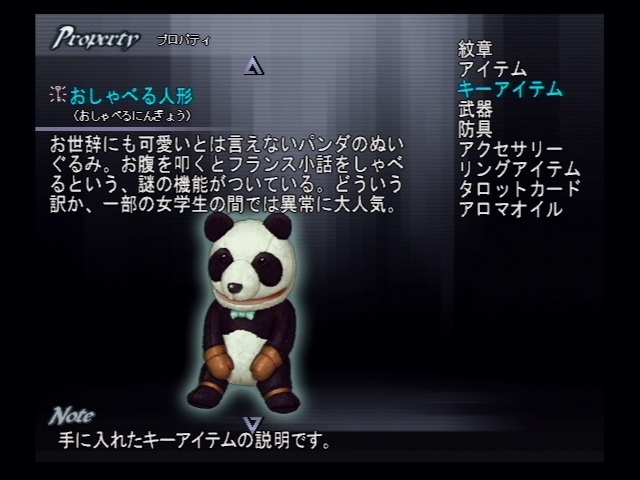
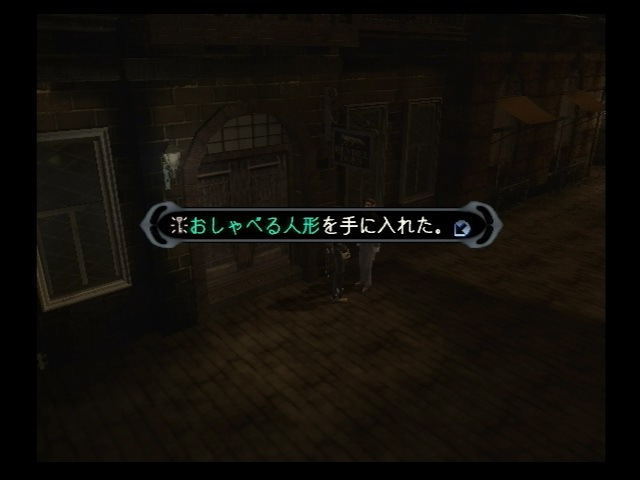
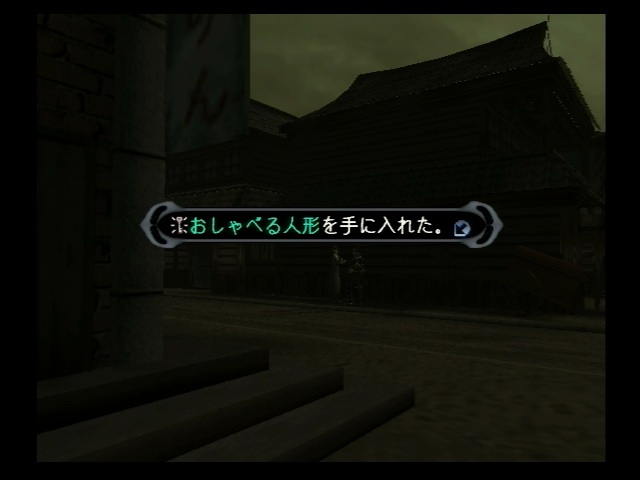
5c. Path C - Exchange "Super Piroshki" with a man (Zinedine of Mitsuboshi) at Champs Elysees for a "Talking Panda" - click here to see the picture
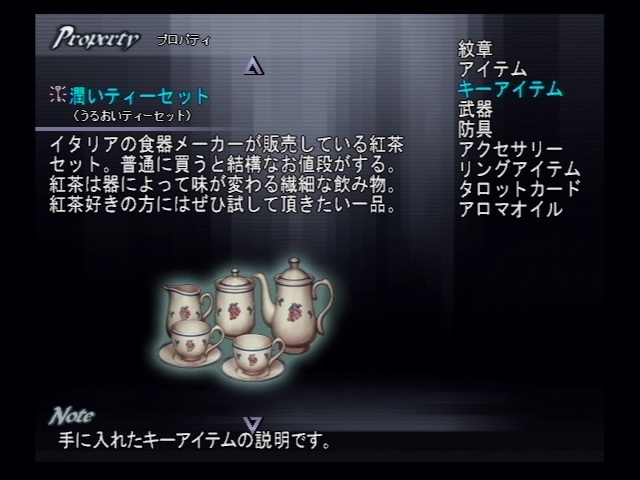
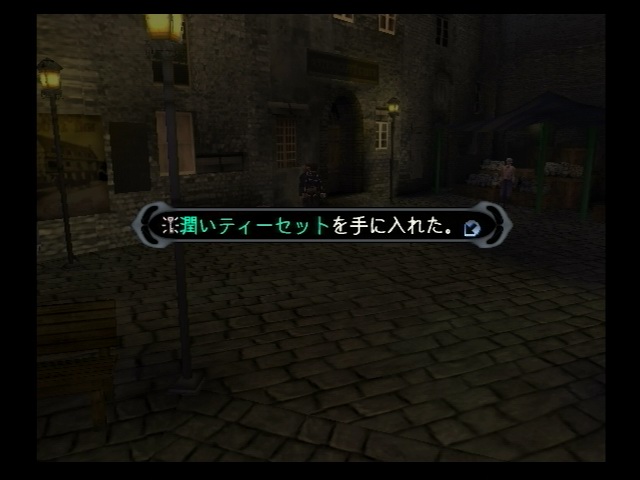
5d. Path D - Exchahge "Super Piroshki" with a man (Gourmet Connoisseur Ginori) in Firenze/Florence (near the man that you get "Underground Film") for "Fine Tea Set" - click here to see the picture
5d-1 Path D - Exchange "Fine Tea Set" with a woman (Akiko the Celebrity) in Yokohama Streets for a "Talking Panda" - click here to see the picture
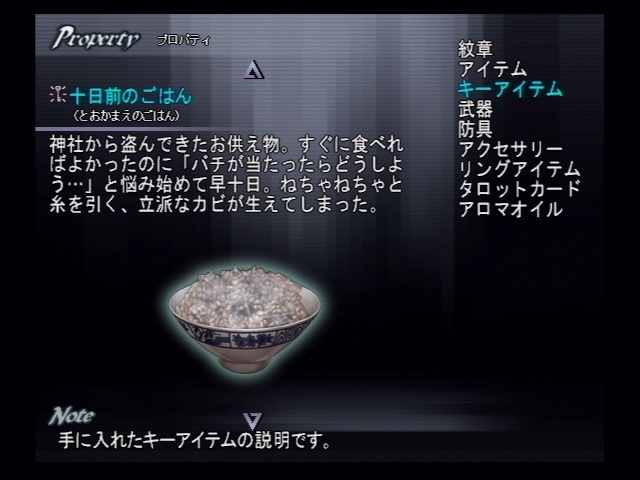
6. Exchange "Talking Panda" with a man (Ichizumi, the Ventriloquist) standing in front of Fountain of Sukune at Inugami Village for a bowl of "10-day-old rice" - click here to see the picture
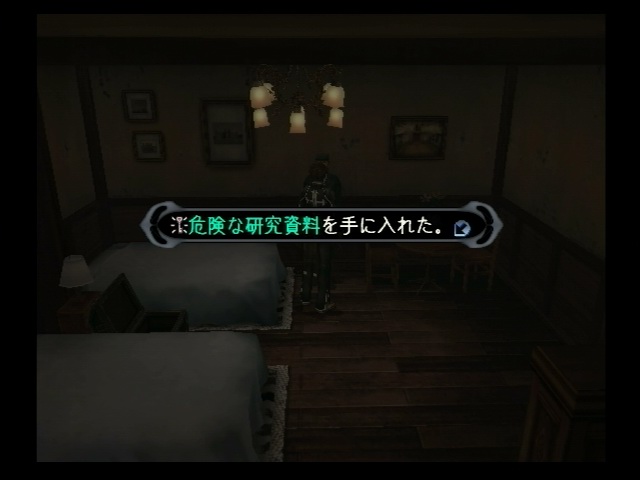
7. Exchange "10-day-old rice" with a man (Fusty Fleming) at the hotel room at Southampton (Port of Southampton) for a "Research Paper" - click here to see the picture
8. Exchange "Research Paper" with a woman (Margarete Gertrude Zelle, aka Malkovich) at the Cathedral in Paris for "Nemesis" - click here to see the picture
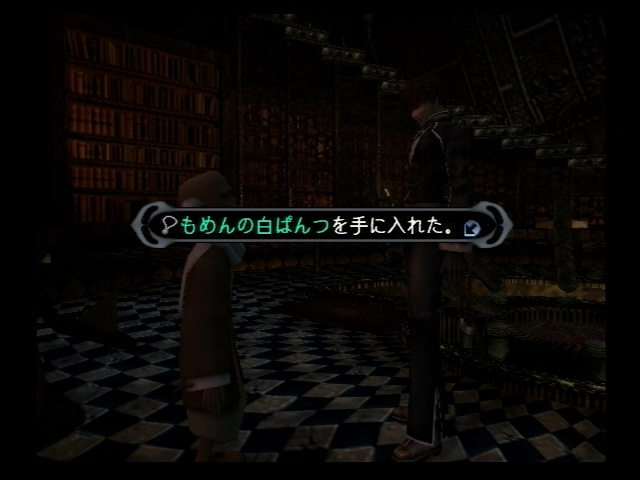
1. White cotton pant (White Underpants)- click here to see the picture - click here to see the picture of the acquisition
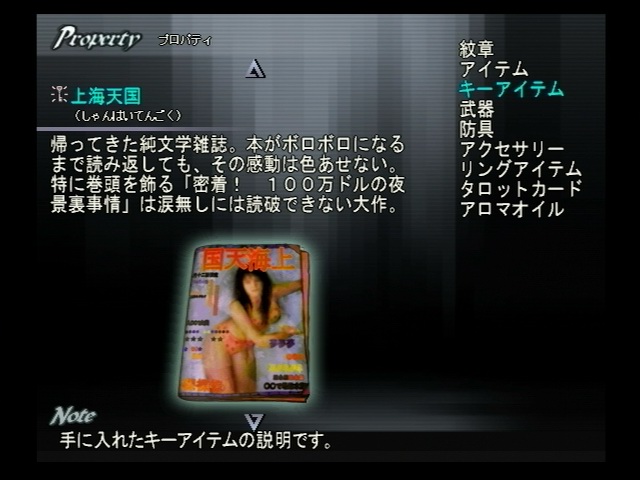
- Get this one from Roger at Wales, you will need to get the "Shanghai Heaven" magazine from "Underground ruins of Neam" (Neam Ruins)- click here to see the picture of the magazine
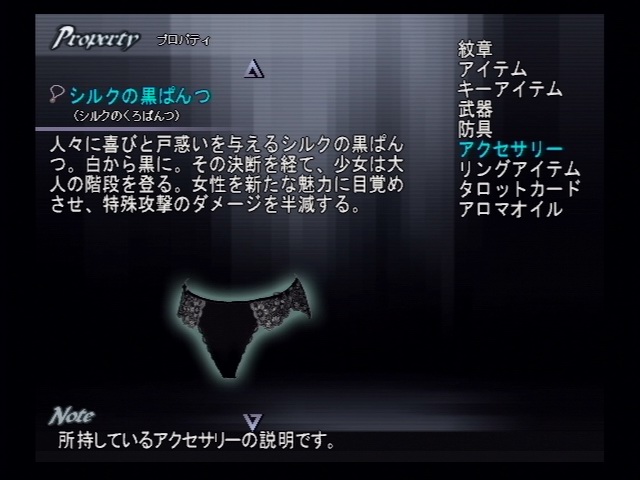
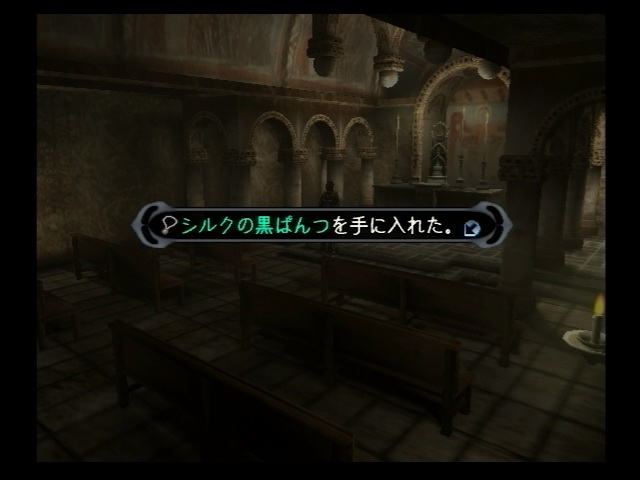
2. Black silk pant (Black Underpants) - click here to see the picture - click here to see the picture of the acquisition
- Get it from Lawrence at the Gully of Goreme (Goreme Valley), but you need to complete your monsters library (i.e. met all of them) beforehand.
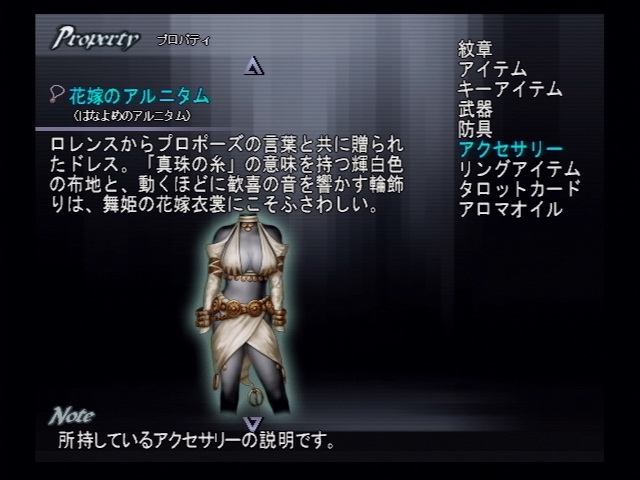
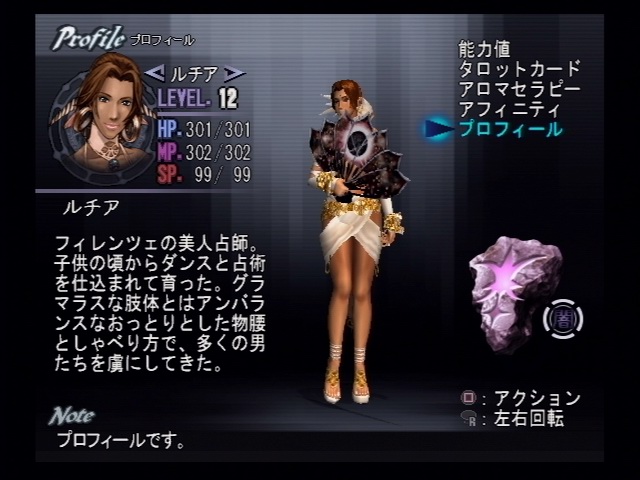
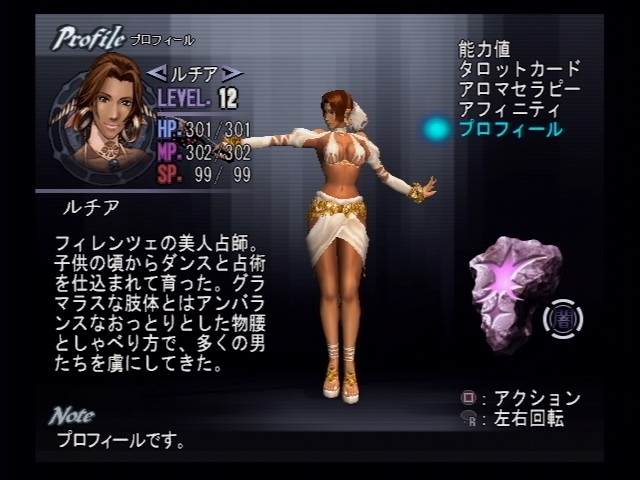
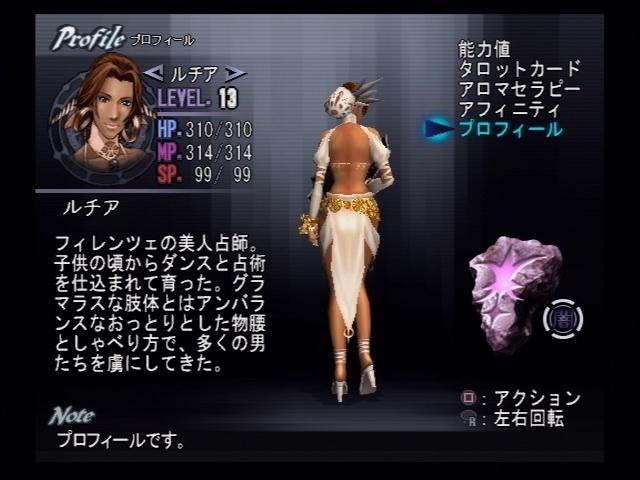
3. Bride's Dress for Lucia - click here to see the picture
- Get it from Lawrence at Southampton (Port of Southampton) after talking to Carla when you have finished the flower quest at Schwarzwald (Black Forest)
- Pictures for Lucia wearing it - front picture1 - front picture 2 - back picture
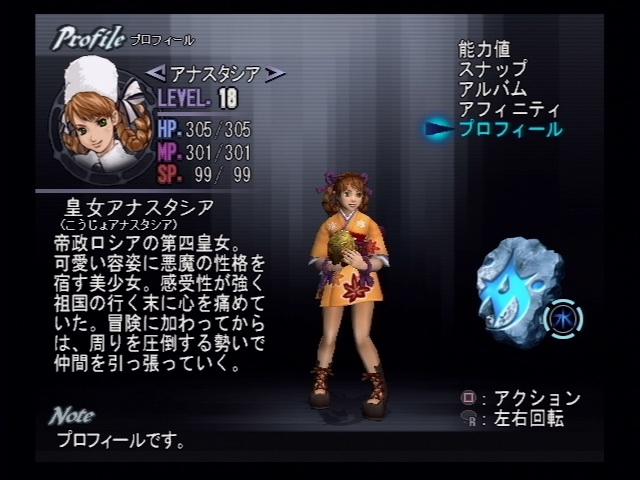
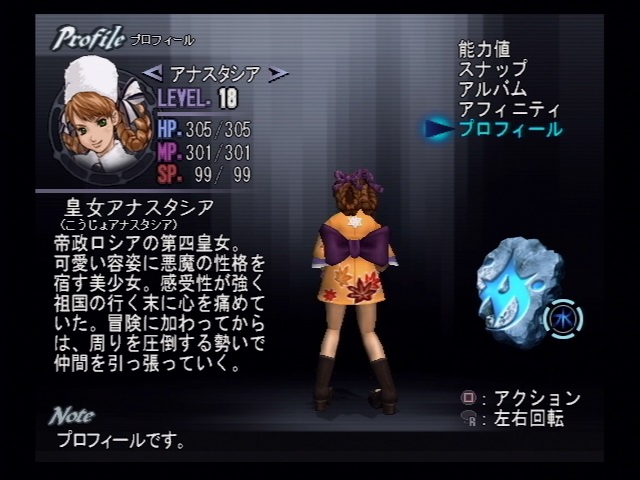
4. Autumn Kimono Anastasia - click here to see the picture
- Get this one from Saki after Kurando has his 2nd Fusion
- Pictures for Anastasia wearing it - front picture - back picture
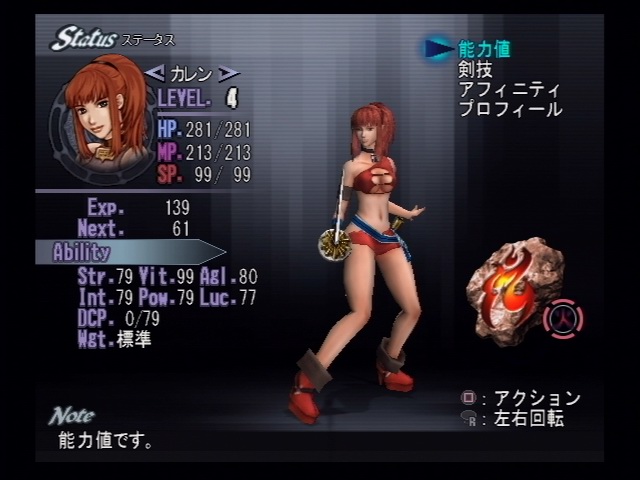
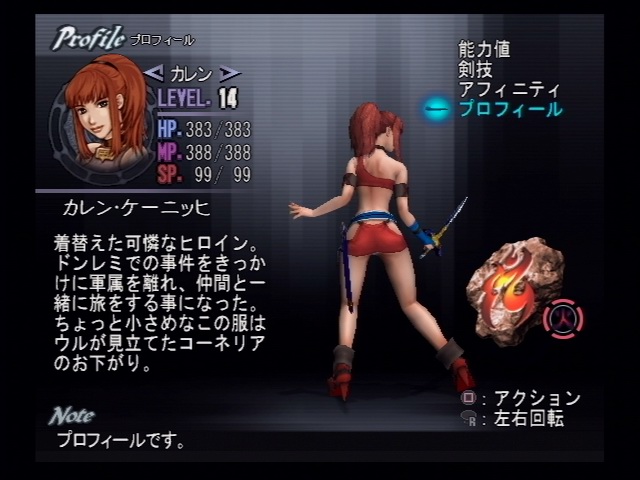
5. Dating Outfit for Kallen (left over at Wales by Margareta) - click here to see the picture
- Get this one from Roger when you have visited the last dungeon, got her ultimate weapon and cleared Underground ruins of Neam the 2nd time. And have acquired the ultimate weapon of Lucia.
- Pictures for Kallen wearing it - front picture - back picture
1. Get Red crystal (from a treasure box) and put it on the first portal, warp
2. Get Blue crystal and put it on the portal without a save point next to it, warp
3. Get Yellow crystal, warp back to where you put your blue crystal
4. Remove the Blue crystal, put it on the portal next to a save point, warp
5. Put the Yellow crystal on the only portal, warp
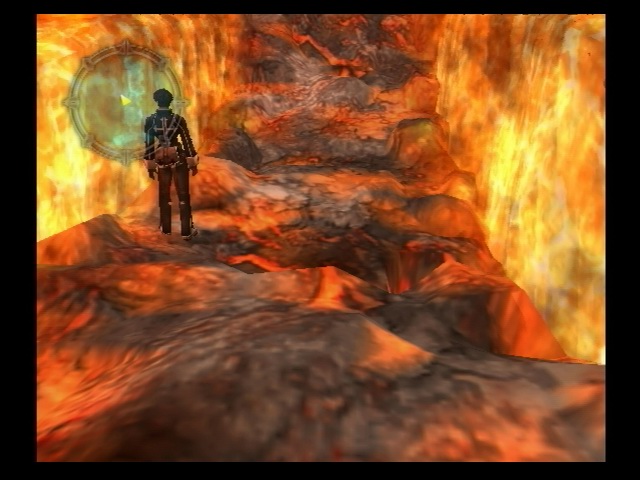
6. Go straight through the middle path and you will get to the boss.
An accessory, Flare Brooch, is at the lava path that leads to the boss fight.
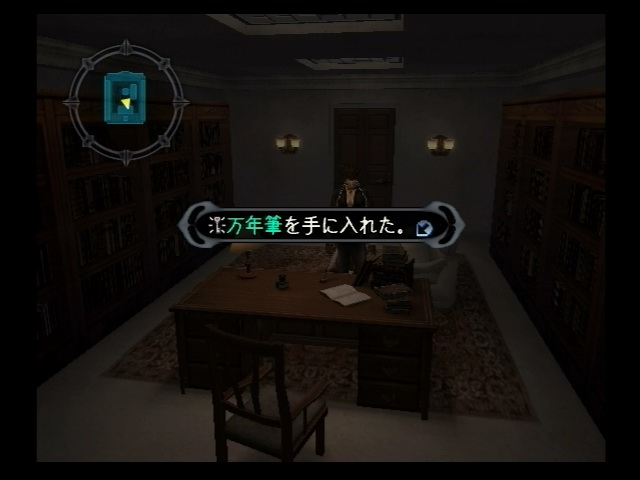
You need 3 items - click here to see the picture
1. Fountain pen - click here to see the picture
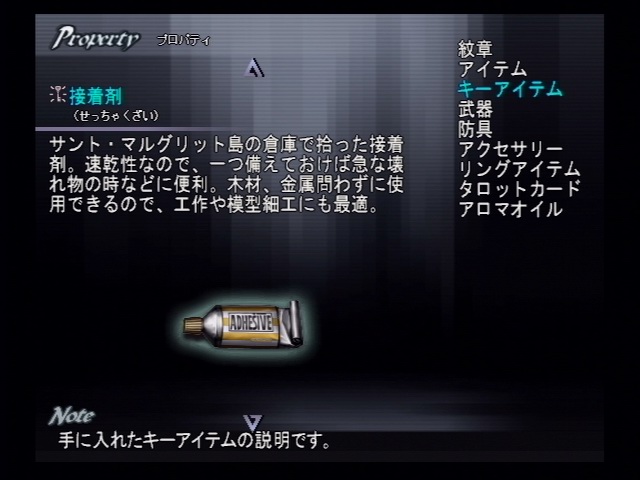
2. Adhesive - click here to see the picture
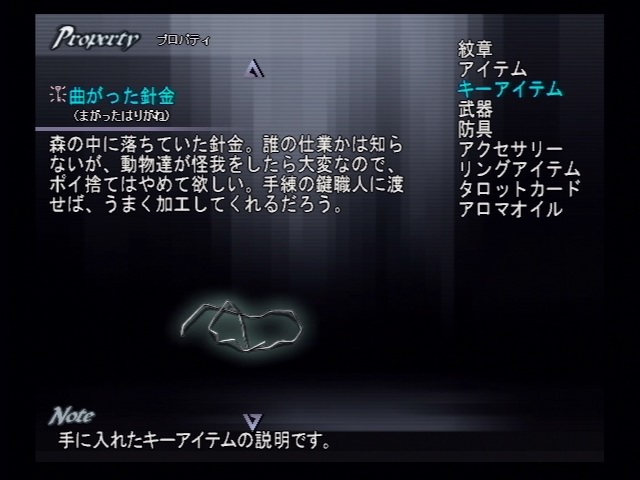
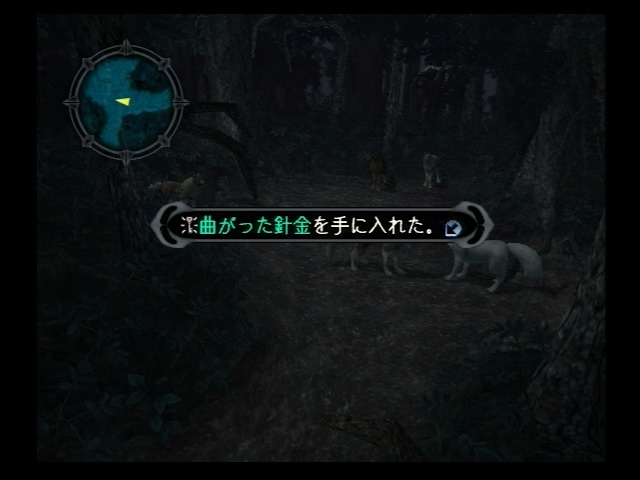
3. Bent Wire - click here to see the picture
When you have the above 3 items, go back and talk to the prisoner (Dexterous Locke) and you will get the Handmade Key - click here to see the picture
1. Pendulum (the first monster that attacked Anastasia in Petrograd) - click here to see the picture
- Summoned skill : ![]() (Aqua Raise), 36 MP
(Aqua Raise), 36 MP
- Effect : Water, Special Damage + Poison, Middle sized circular attack area, 1 hit, Hard Hit attack
2. Hati (in the corridors of Idar Flamme) - click here to see the picture
- Summoned skill : ![]() (Direct Press), 28 MP
(Direct Press), 28 MP
- Effect : Take out half the HP of an enemy
3. Andre (Monk Level 3 of the Solomon trials) - click here to see the picture
- Summoned skill : ![]() (Cash Steal) , 38 MP
(Cash Steal) , 38 MP
- Effect : Steal the cash from an enemy
4. Oscar (Monk Level 4 of the Solomon trials) - click here to see the picture
- Summoned skill : ![]() (Remove), 50 MP
(Remove), 50 MP
- Effect : Revert any Status up effects on an enemy (e.g. Speed up, P-Atc up, ...)
5. Mini Tanukis (Believer Level 4 of the Solomon trials) - click here to see the picture
- Summoned skill : ![]() (Pillage Storm) , 38 MP
(Pillage Storm) , 38 MP
- Effect : Steal an item from an enemy
6. Tengu (in Forest of Wind, must equip the Warning Device) - click here to see the picture
- Summoned skill : ![]() (Falling Leaves), 1 MP
(Falling Leaves), 1 MP
- Effect : Escape from a battle
7. Kannazuki (Mecha Lord) (Azabu Kurayamizaka - Ishimura's place) (Azabu Kamiyashiki) - click here to see the picture
- Summoned skill : ![]() (Power Cannon) , 72 MP
(Power Cannon) , 72 MP
- Effect : Neutral, Special Damage, Medium straight line attack, 17 hits, High Angle attack
8. King Tamakos (Boss of Queen's Garden) - click here to see the picture
- Summoned skill : ![]() (Spirit Ward), 80 MP
(Spirit Ward), 80 MP
- Effect : Remove an enemy from the battle
9. Buggy (Bailey) (a cockroach in Doll House) - click here to see the picture
- Summoned skill : ![]() (Nightmare) , 56 MP
(Nightmare) , 56 MP
- Effect : Force the HP of an enemy to be just 1
10. Orobas (2nd Boss of Underground Ruins of Neam) - click here to see the picture
- Summoned skill : ![]() (Euthanasia), 88 MP
(Euthanasia), 88 MP
- Effect : Water, Special Damage + Abnormal status, Big circular attack area, 1 hit, High Angle attack
Thank to a fellow netizen for pointing out the error of the map to me, I hadn't check the map again after I prepared it. Sorry.

| Region 1 | Palace of Transcendere |
Region 2 | Enchanting Sea |
Region 3 | Forest of Passion |
|||
| Positions | Crests | English | Positions | Crests | English | Positions | Crests | English |
| 1 | Astaroth | 1 | Vepar | 1 | Furfur | |||
| 2 | Orobas | 2 | Crocell | 2 | Gremory | |||
| 3 | Gaap | 3 | Forneus | 3 | Andras | |||
| 4 | Baal | 4 | Focalor | 4 | Zepar | |||
| 5 | Asmodeus | 5 | Uvall | 5 | Sitri | |||
| 6 | Amon | 6 | Sallos | |||||
| 7 | Vassago | |||||||
| Region 4 | Forsaken Hill |
Region 5 | Flame Desert |
Region 6 | Eternal Boneyard |
|||
| Positions | Crests | English | Positions | Crests | English | Positions | Crests | English |
| 1 | Paimon | 1 | Amy | 1 | Glasyalabolas | |||
| 2 | Marchosias | 2 | Beleth | 2 | Bune | |||
| 3 | Camio | 3 | Bathin | 3 | Bifrons | |||
| 4 | Phenex | 4 | Haures | 4 | Samigina | |||
| 5 | Purson | 5 | Aim | 5 | Murmur | |||
| 6 | Raum | 6 | Furcas | |||||
| 7 | Barbatos | |||||||
| 8 | Agares | |||||||
| Region 7 | Wilderness of War |
Region 8 | Bastion of Riches |
Region 9 | Spring of Wisdom |
|||
| Positions | Crests | English | Positions | Crests | English | Positions | Crests | English |
| 1 | Dantalion | 1 | Andromalius | 1 | Vapula | |||
| 2 | Leraje | 2 | Valefor | 2 | Stolas | |||
| 3 | Halphas | 3 | Belial | 3 | Botis | |||
| 4 | Berith | 4 | Zagan | 4 | Naberius | |||
| 5 | Ipos | 5 | Shax | 5 | Foras | |||
| 6 | Eligos | 6 | Malphas | 6 | Gusion | |||
| 7 | Balam | 7 | Haagenti | 7 | Buer | |||
| 8 | Ose | 8 | Decarabia | 8 | Orias | |||
| 9 | Alloces | 9 | Seere | 9 | Marbas | |||
| A | Sabnock | A | Cimeies | A | Ronove | |||
| B | Valak | |||||||
| C | Andrealphus | |||||||
| D | Vine | |||||||
| E | Marax | |||||||
| F | Amdusias | |||||||
* Names of the crests follow the US version of the game
* Previously, names references from Deliriumsrealm.com. © 1995-2004 Krista Bake were being used.
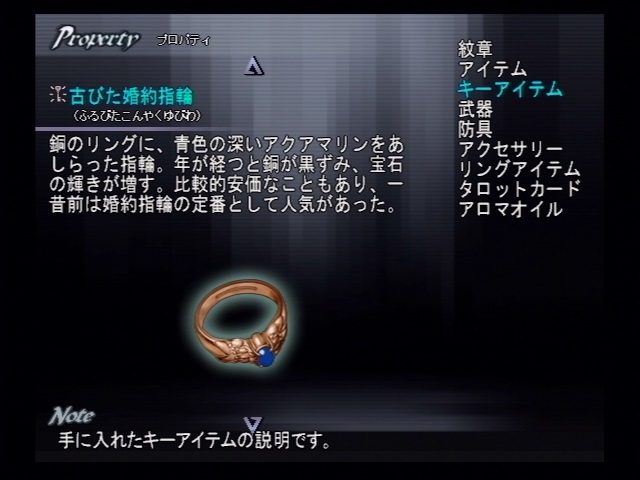
1. The man (Serge the Sailor) that gave you an Engagement Ring - Give the ring to the wandering old women (Elderly Irene) near Joachim's place at Le Havre
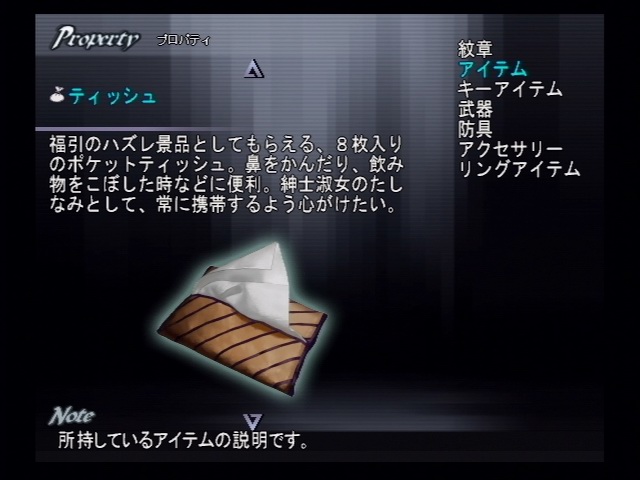
2. The man (Darcy, Who Didn't Make It) in a prison cell - Give him a pack of Tissues (from lottery or Rasputin's room)
(this man had not yet cleaned his butt as he died in a toilet during an earthquake)
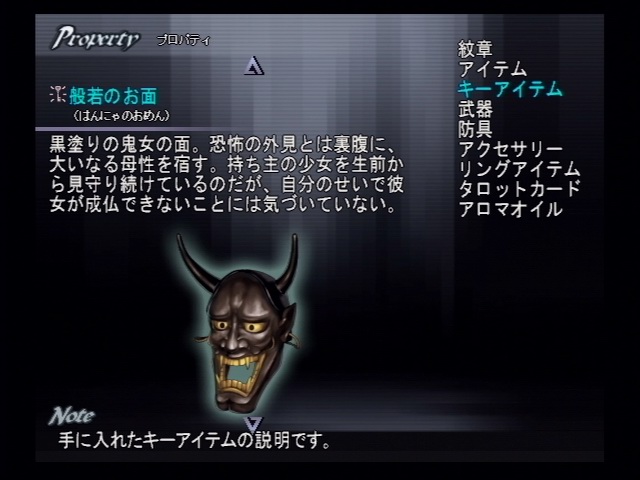
3. The girl (Crybaby Kazuna) that gave you a Japanese Orgress Mask - Give the mask to the man (Japanophile Taylor) in white suite standing in front of the junk store at the Cathedral in Paris
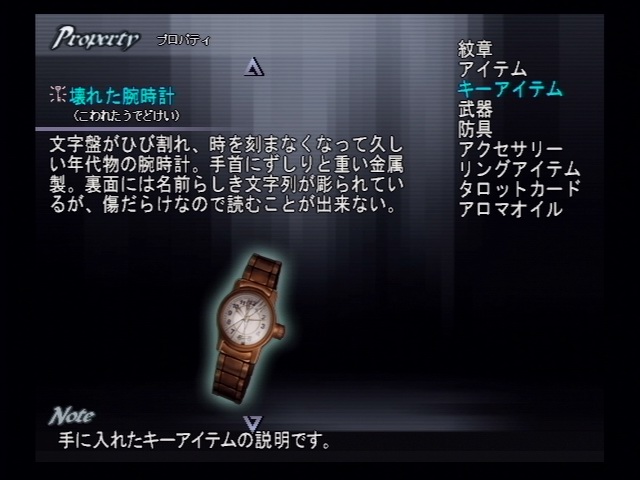
4. The sailor (Troubled Soldier) that gave you a Broken Watch - Give that watch to an old man (Retired Old Man Iwai) at Foreigner's Graveyard in Yokohama
5. The lottery guy (Bitter Ludwig) - Play lottery 3 times
6. The Ghost Professor
- Talk to an old man (Professor Stein) at the beach at Cannes
- Go back and talk to the Ghost Professor
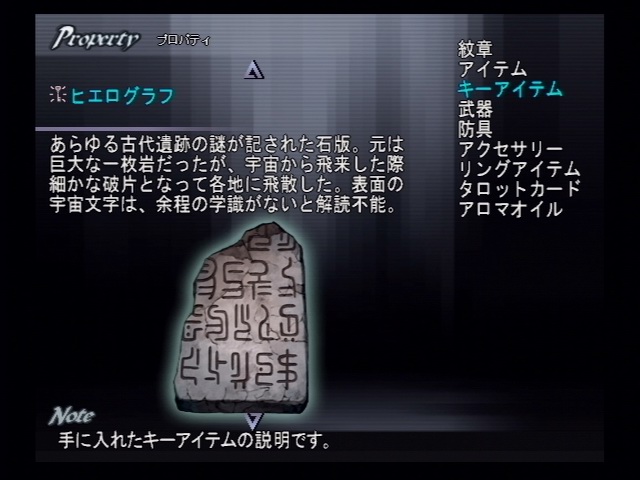
- Get Hieroglyphics from Underground Ruins of Neam (Neam Ruins)
- Go back and give it to the Ghost Professor (Professor Mancini, Memory Back)
- Get Joachim's ultimate weapon (Nautilus) from the beach at Cannes
- Go back to the Cannes beach side walkway from the
beach to trigger a scene with the old man (Professor Stein)
- Go back and talk to the Ghost Professor (Professor Mancini, Memory Back)
You will be at the final room to meet someone (Doris) in this dungeon and get Kallen's ultimate weapon (Durandal).
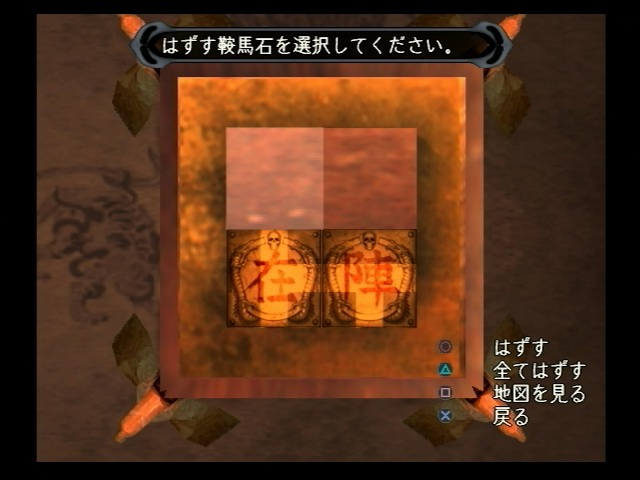
1. Arrange the stones like this picture at area 1. Go through the door ways and go to area 2
2. Get a new stone from a treasure box in area 2
3. Arrange the stones like this picture at area 2, go to the red room and get the items in the treasure boxes
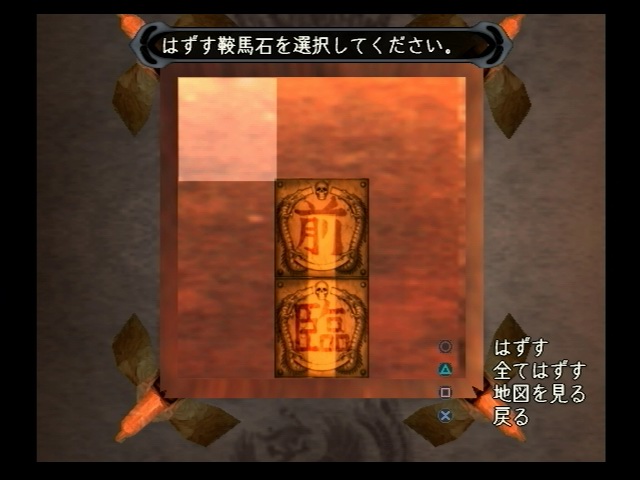
4. Go back to area 2, remove all stones, go back to area 1 and arrange the stones like this picture, go to area 3
5. Get a new stone from a treasure box in area 3
6. Arrange the stones like this picture at area 3, go to the blue room
7. Get a new stone from a treasure box in the blue room, go back to area 3, remove all the stones and go back to area 1
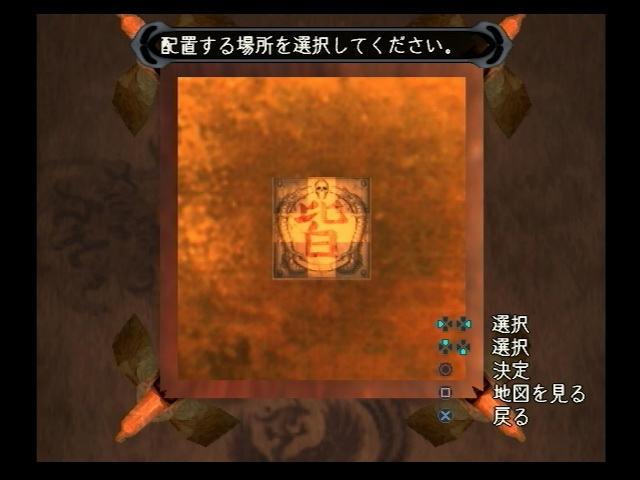
8. Arrange the stones like this picture at area 1, go to area 4
9. Arrange the stones like this picture at area 4, go to area 5
10. Arrange the stones like this picture at area 5, go to white room
11. Get a new stone from a treasure box in the white room, go back to area 5, remove all stones, go back to area 4, remove all stones, go back to area 1
12. Arrange the stones like this picture at area 1, go to the black room (the center of the 9 squares)
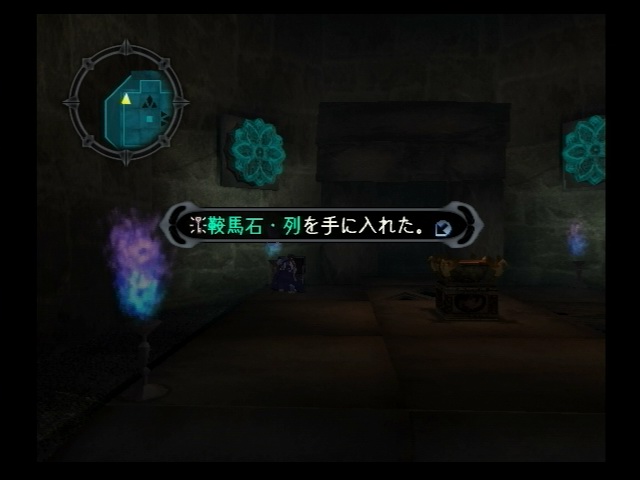
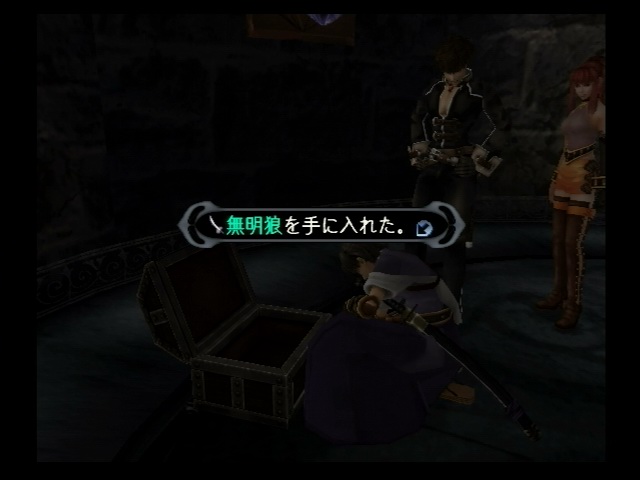
13. Get Kurando's ultimate weapon (Mumeiro) and prepare to fight the boss
Thank to a fellow netizen for pointing out the error at level 2.
Level 1 - cash 100, 8 boxes, max 2 misses, you'll get a Mr. Chef builder card
- pre-requisite : finished the Wine Cellar quest
Level 2 - cash 300, 12 boxes, max 3 misses, you'll get a Soul Drop
- pre-requisite : beaten the boss at Idar Flamme
Level 3 - cash 500, 16 boxes, max 4 misses, you'll get Decarabia Crest
- pre-requisite : Enter and leave the last dungeon
Level 4 - cash 1000, 16 boxes, max 4 misses, you'll get a Mr. Baigen (Mr. Meiyuan) builder card
- pre-requisite : You must have an old SH1 (or the best version) save on the same memory card
(Not officially available in US version)
1. Roof top of the Hermitage at Petrograd, where you fight Veronica - click here to see the picture
2. Behind the dried vegetables at Inugami Village - click here to see the picture
3. Solomon Trials - ![]() (Worshiper) #1 - click here to see the picture
(Worshiper) #1 - click here to see the picture
4. The owners room (the room at end of the corridor at 2/F) of Doll House - click here to see the picture
5. Win from Builder Quiz at the park on the left side at Nihonbashi - click here to see the picture
1. Treasure : Dawn
-
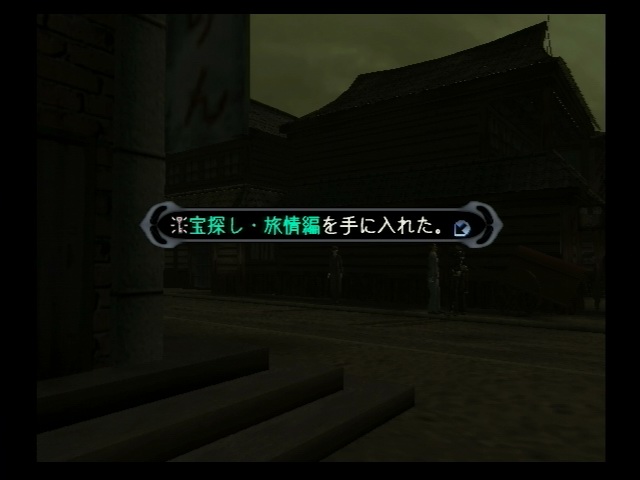
Get the first hunting note from the man standing (Loud Croft) in front of the bar at Cannes - click here to see the picture
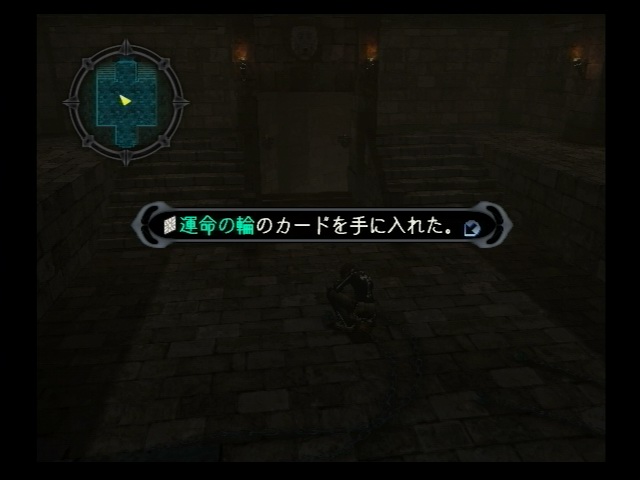
- The treasure is near the end of the chain in the room where Blanc (Blanca) fight the huge dog monster during the rescue - click here to see the picture
- Item : Wheel of Fortune Tarot Card
2. Treasure : Love
- Get the 2nd note from the same man - click here to see the picture
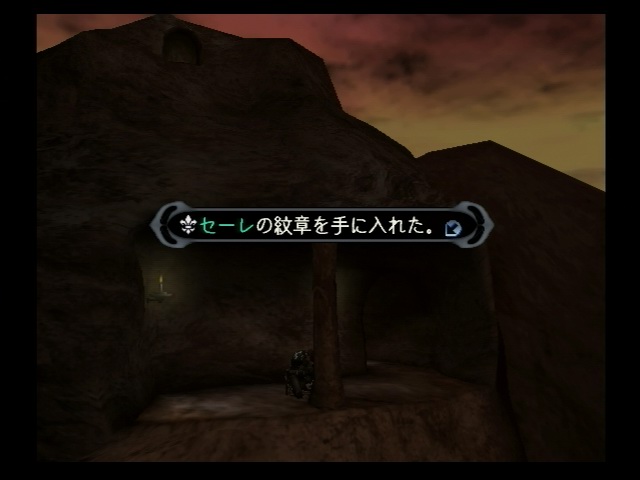
- The treasure is near the pillar at the gully of Goreme (Goreme Valley), where Kallen (Karin) and Uru (Yuri) sat and talked - click here to see the picture
- Item : Seere Crest
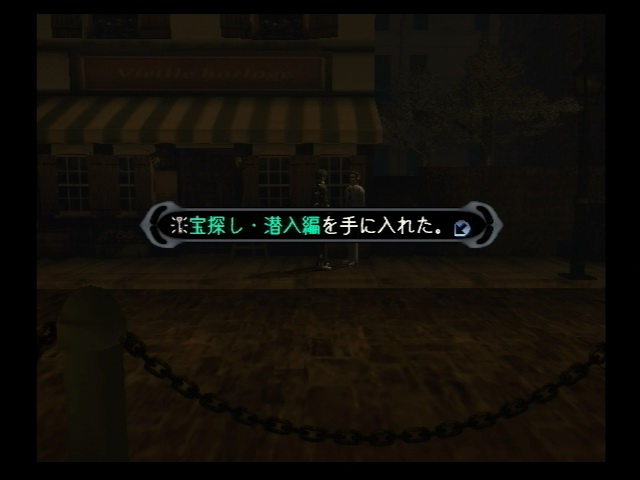
3. Treasure : Sneak
- Get the 3rd note from the same man - click here to see the picture
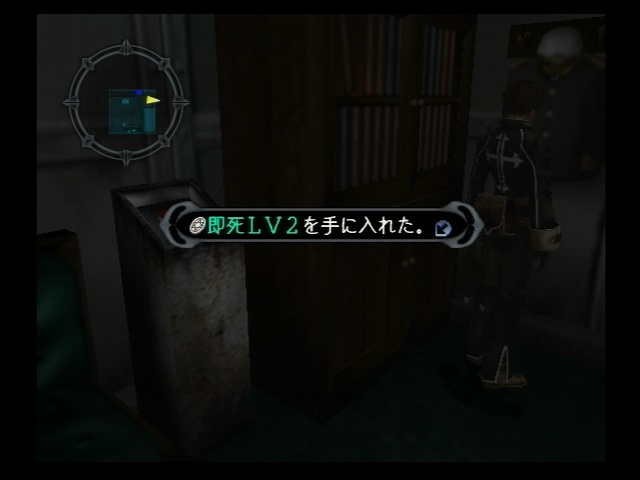
- The treasure is at the uniform in the room where you find the ![]() (A) switch at Battleship Mikasa - click here to see the picture
(A) switch at Battleship Mikasa - click here to see the picture
- Item : Instant Death Level 2
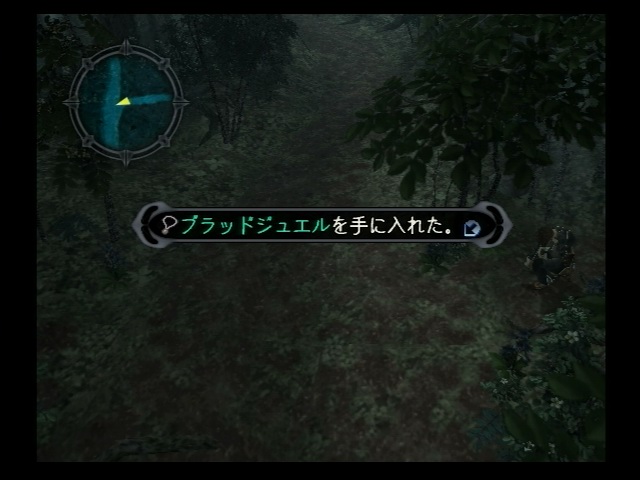
4. Treasure : Roamer
- Get the 4th note from the man, but he will now be in Yokohama streets - click here to see the picture
- Go to Forest of Wind, on the branch to the cliff where Uru and Albert talked, on the way back from the branch, right at the position where the scene changed from the branch to the main, don't move after the change, tap the "O" (X in US version) - click here to see the picture
- Item : Blood Jewel
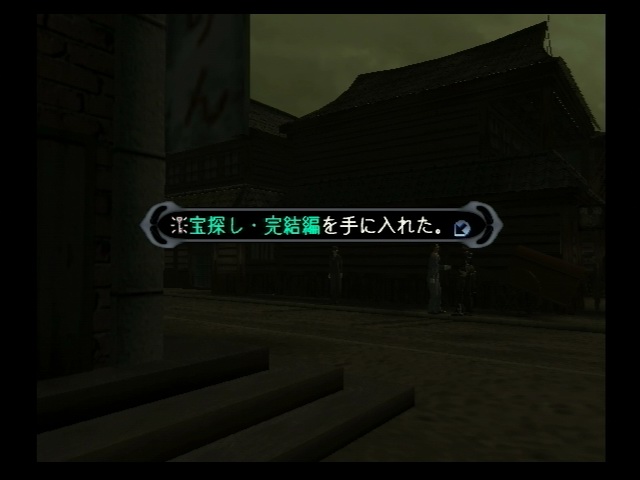
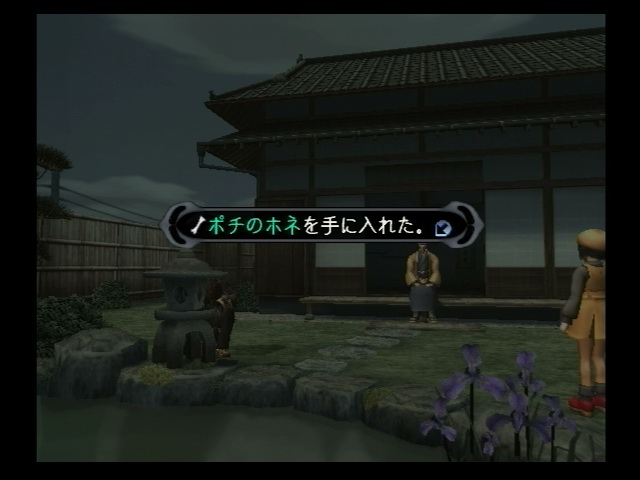
5. Treasure : Done
- Get the final note from the man at Yokohama streets - click here to see the picture
- Go to Mukyo-An, you will find the last treasure at the stone latern - click here to see the picture
- Item : Dog Bone
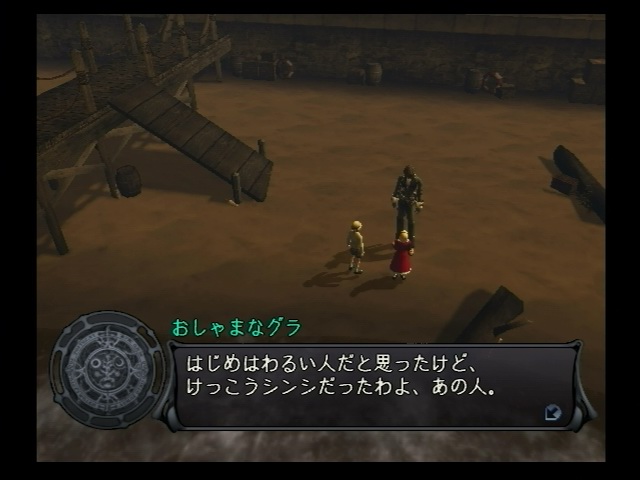
1. Talk to 2 kids (Naive Guri & Precocious Gura) on the beach at Cannes - click here to see the picture
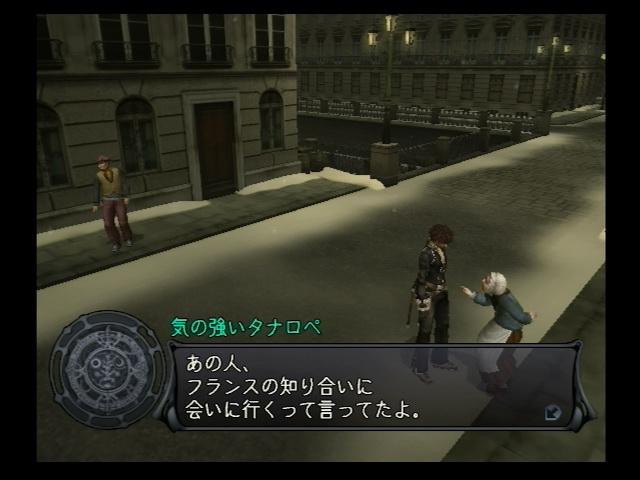
2. Talk to an old women (Tough Old Tanarope) at Petrograd, near the bridge, opposite of the drunk - click here to see the picture
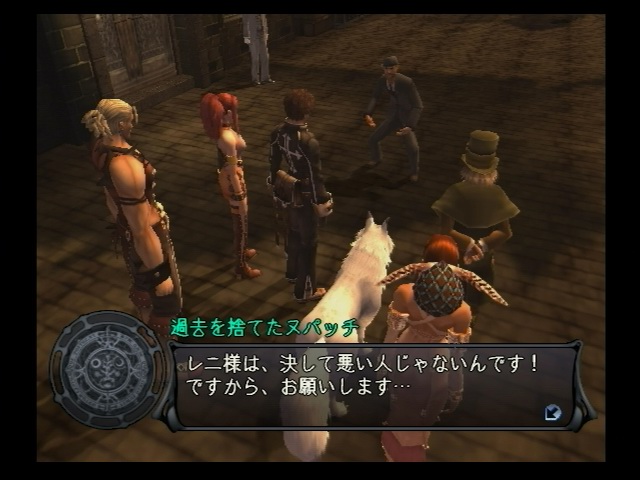
3. Talk to an obvious old Claws Gang (Nupach, Who Abandoned His Past) at Champs Elysees in Paris - click here to see the picture
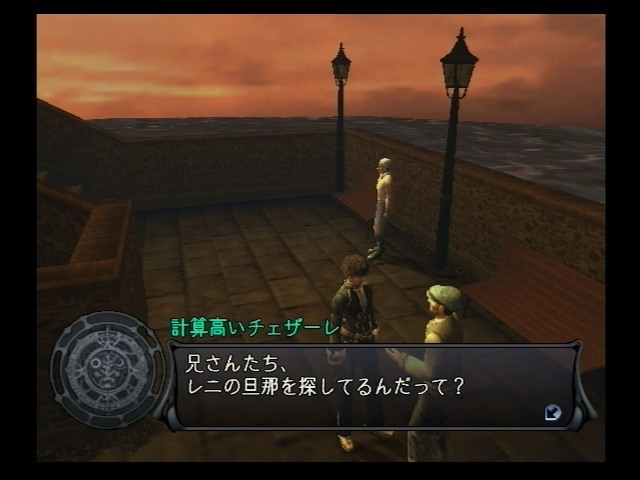
4. Talk to a man (Calculating Cesare) and finish a simple mathematics quiz at Cannes - click here to see the picture
5. Go to the room where you saved Roger at Iles Sainte Marguerite (St. Marguerite Island) and meet Rene - click here to see the picture
You will get the ultimate armor (Bike Jacket) for Uru - click here to see the picture
Iles Sainte Marguerite (St. Marguerite Island) :
A door needs a code, it is a 3 digits code composed of even numbers that is >=4 and <=8, if you want to try that out yourself, skip the next line. The line below is intentionally faint.
The code is 864.
Doll House :
The big door to the basement needs a password and you can get the password by answering the right names for all of the dolls, they will give you a letter and its position when you answer them correctly. If you want to try that out yourself, skip the next line. The line below is intentionally faint.
The code is BRIDGET.
Manmariana Island :
There is a door that needs one with the right blood type to open, you can do the test pair by pair to test the blood type. The line below is intentionally faint.
Gepetto will open that door.
Captain's Quiz - Clear the mission at Battleship Mikasa and go to the big captain's room at the middle deck - Foras Crest
Monster Quiz - There will be a man in white suit standing at the end of Yokohama streets - Steel Egg
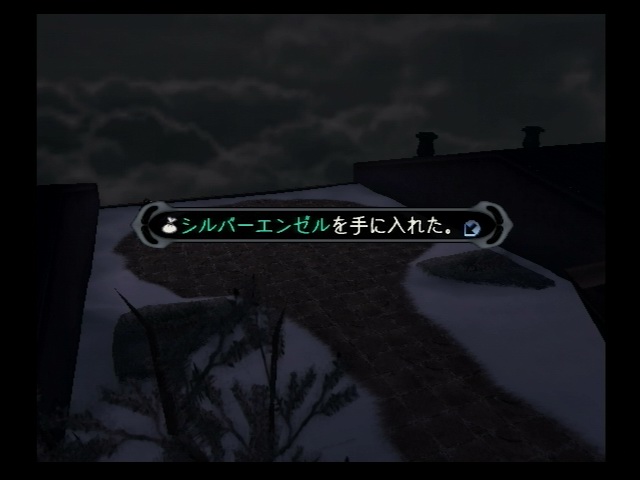
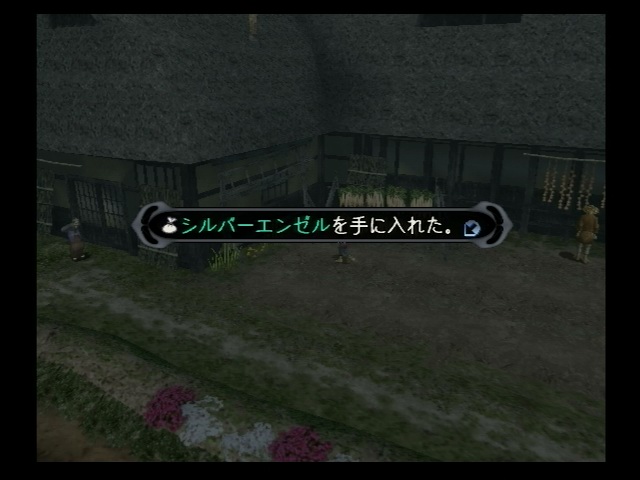
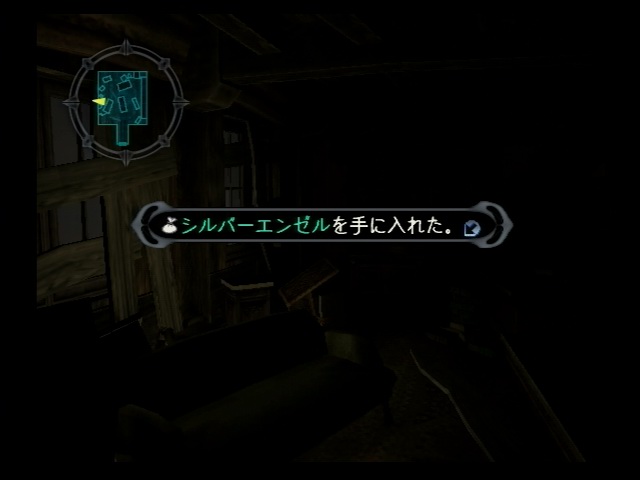
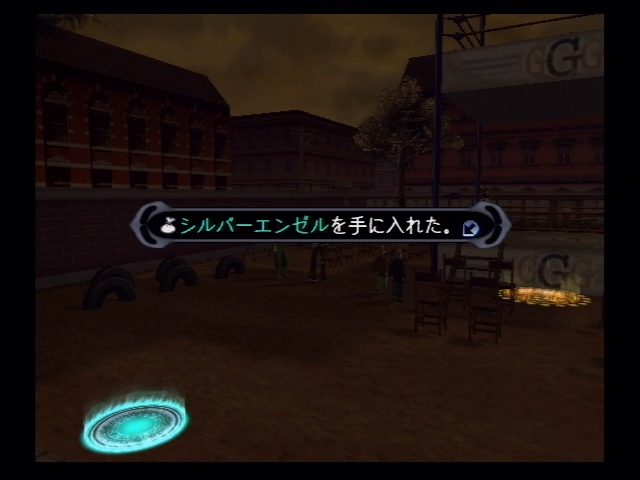
Builder Quiz - There will be a man standing on the left side near Gran Gama's stage at Nihonbashi - Silver Angel
Abandoned mine of Ronda (Rhondda Mines) - click here to see a sketched map
Subway ruin at Paris - click here to see a sketched map
Tiffauges Castle hand drawn map (for finding Lottery #4, Neo Amon and Henry - the wolf) - click here to see the map
.. will add more later ...
There are 2 known endings.
Jeanne will ask you the final question at the last dungeon when you warp from first floor to the uppermost floor (after you are done aligning the big circular coloured tower at the centers of the floors), there are 2 answers
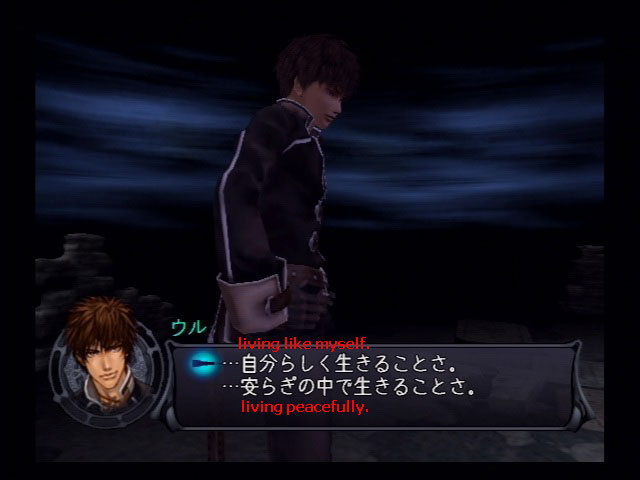
Selecting the first will lead you to an ending where Uru will appear at the train stop in 1913 (the start of the first Shadow Hearts).
Selecting the second will lead you to an ending where Uru will lost his memory and will appear at the cliffs in Wales, and Roger picked him up.